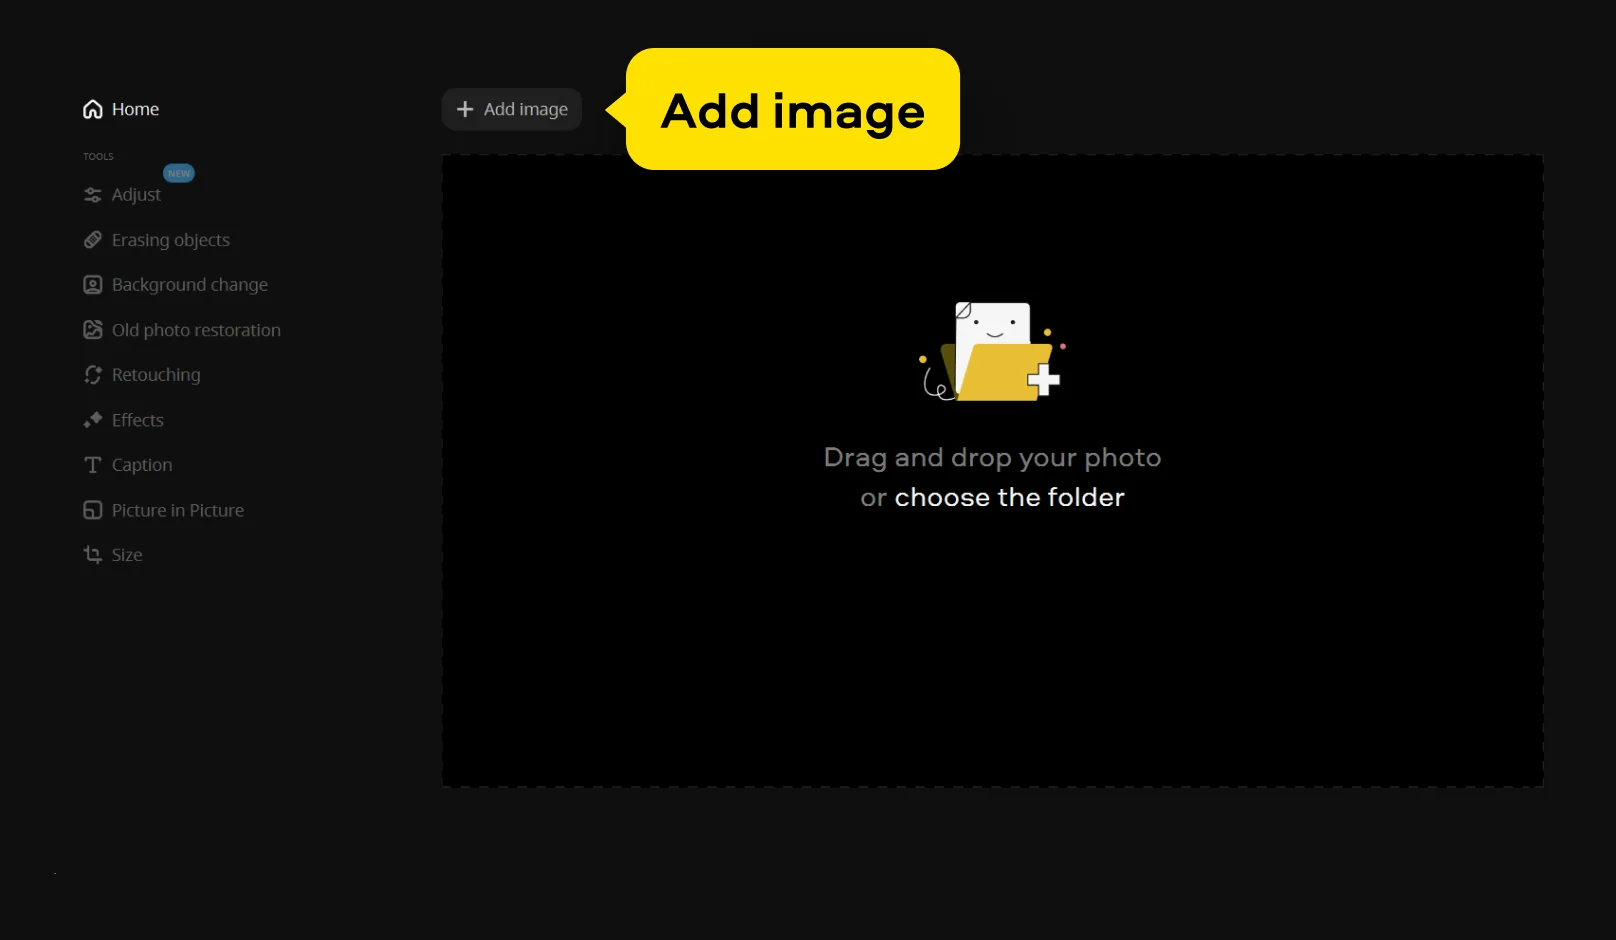
Step 1. Open your base image and set the size
Launch Movavi Photo Editor and click Add image to open the photo that will be used as the background.
Meet the Photo Collage Maker for a PC and Mac
Create eye-catching photo collages with customizable layouts and creative design tools
Flexible collage layouts
Use this photo collage maker to arrange multiple images in ready-made templates or build your own layout from scratch. Adjust spacing, borders, and backgrounds, and experiment with different compositions to find the look that fits your idea.
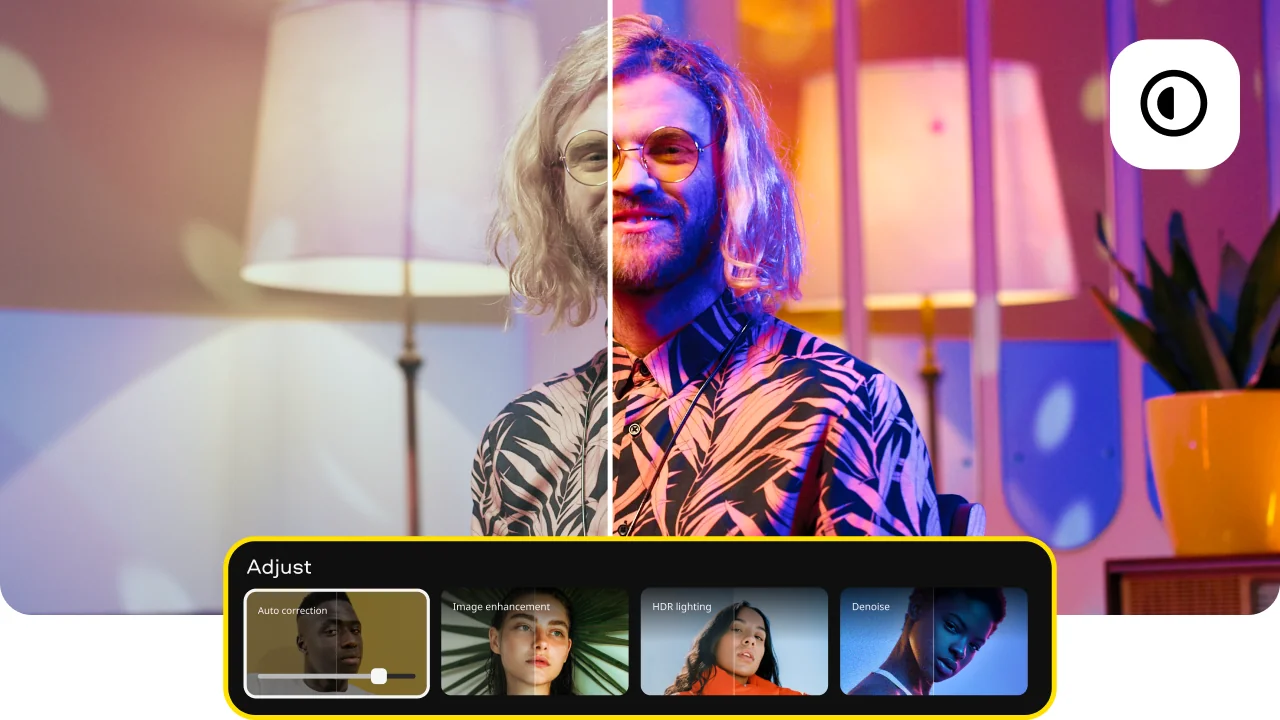
Easy image customization
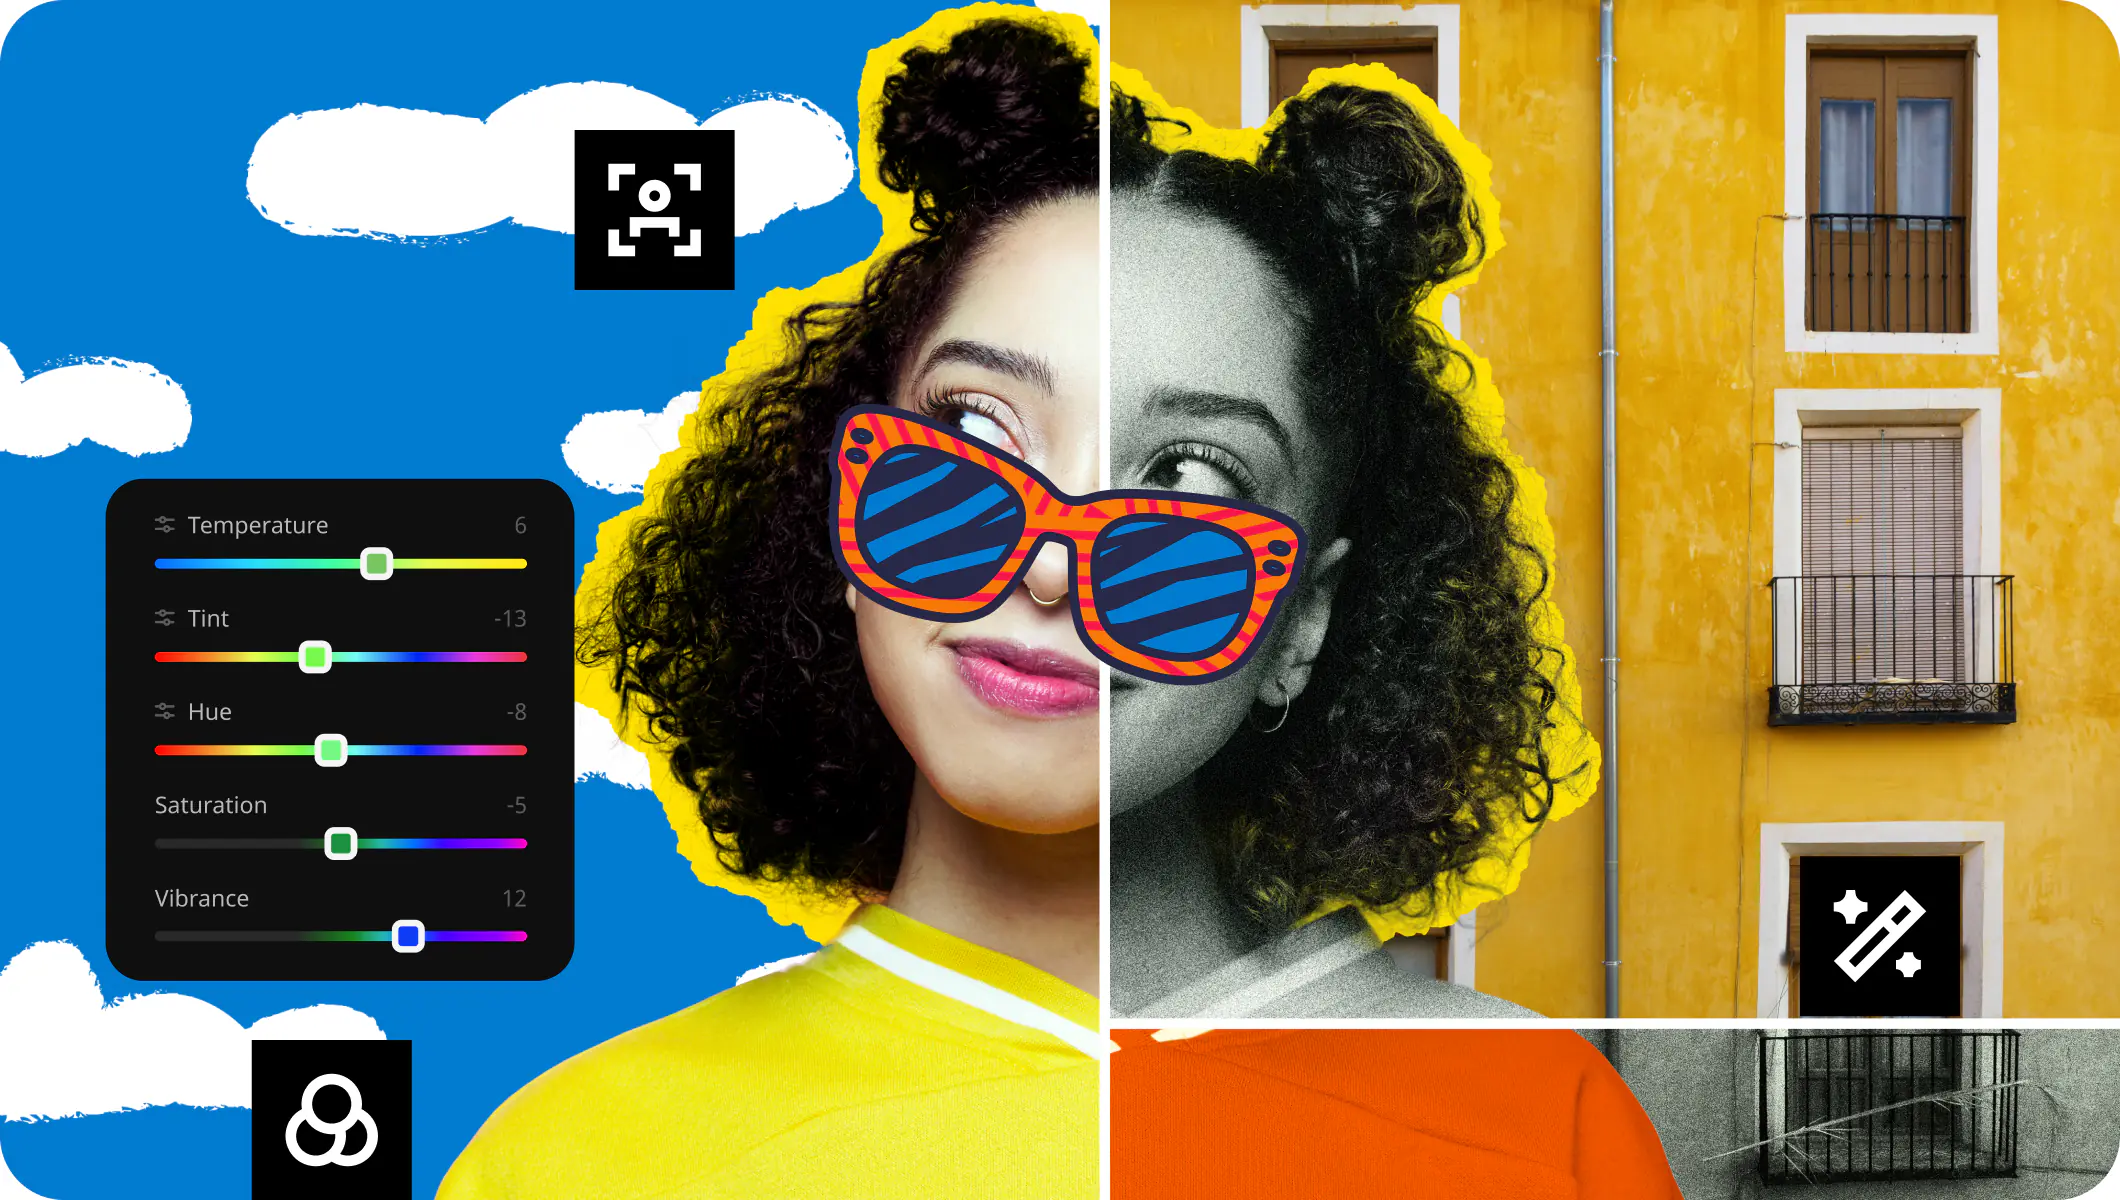
Edit each photo inside your collage with tools for cropping, resizing, and color correction. This helps you make a collage where all images share a consistent tone, lighting, and overall style. You can refine details so every element works well together.

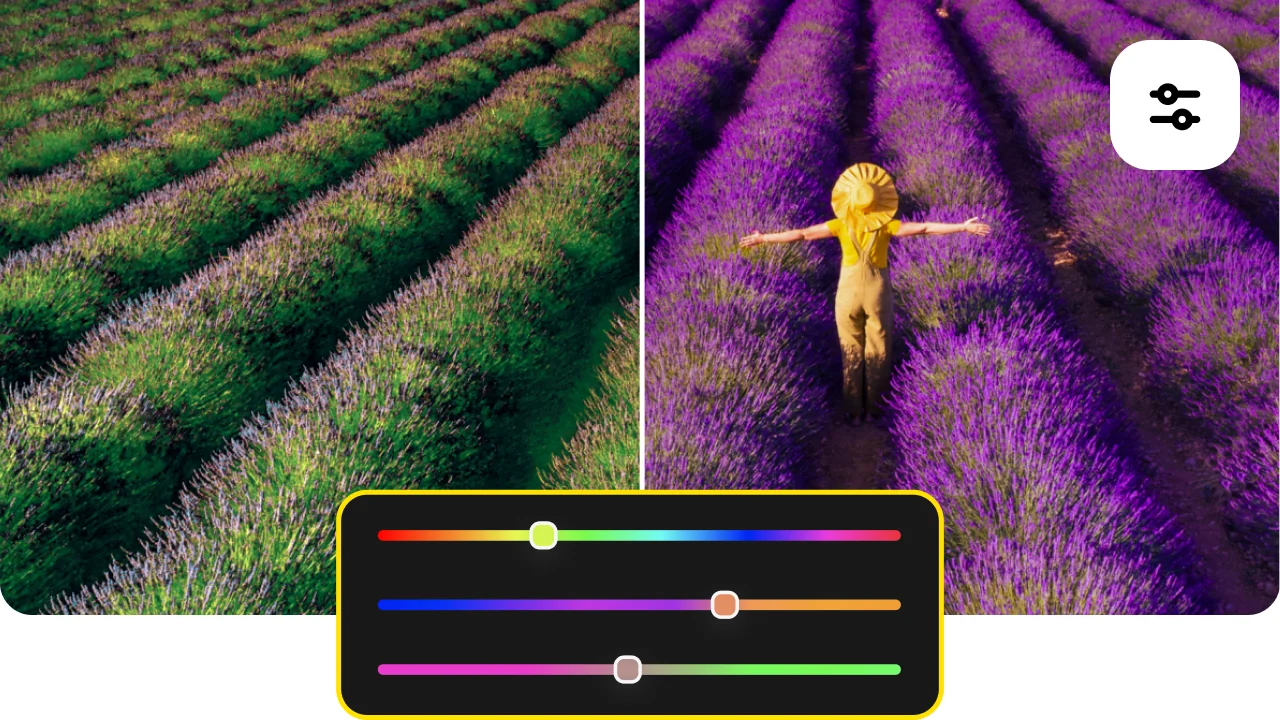
Creative finishing touches
Enhance your collage with filters, text, and design elements. Add captions, apply effects, and fine-tune small details to give your final composition a more polished and expressive look, suitable for sharing or printing.
Make a collage quickly and easily
Looking for a free collage maker that turns everyday shots into something worth sharing? Movavi Photo Editor is a powerful app for PC, giving you the tools to create eye-catching compositions without overcomplicating the process.
With support for multiple formats and flexible editing options, this picture collage maker lets you combine images, refine their look, and explore fresh design ideas. Whether you’re experimenting or working on a more polished photography project, it gives you unlimited freedom to shape each detail your way.
Download the free photo collage maker for Windows or Mac and start turning your ideas into visual stories that feel uniquely yours.
Launch Movavi Photo Editor and click Add image to open the photo that will be used as the background.
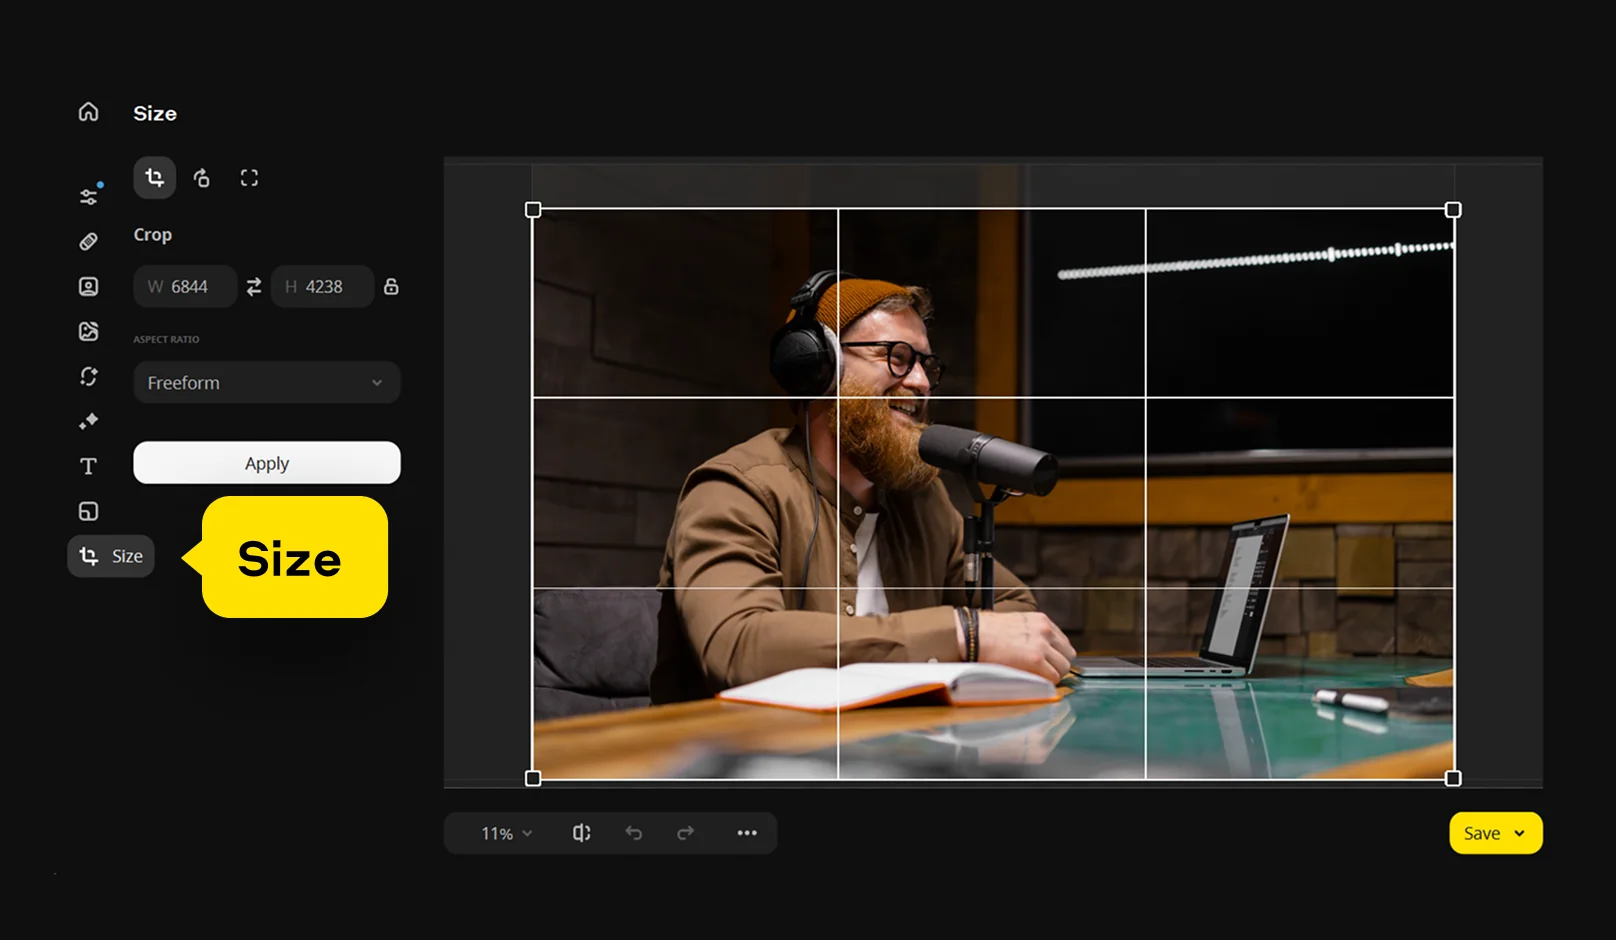
Open the Size section and choose the required aspect ratio for your project. You can adjust the canvas dimensions if needed before adding more images.
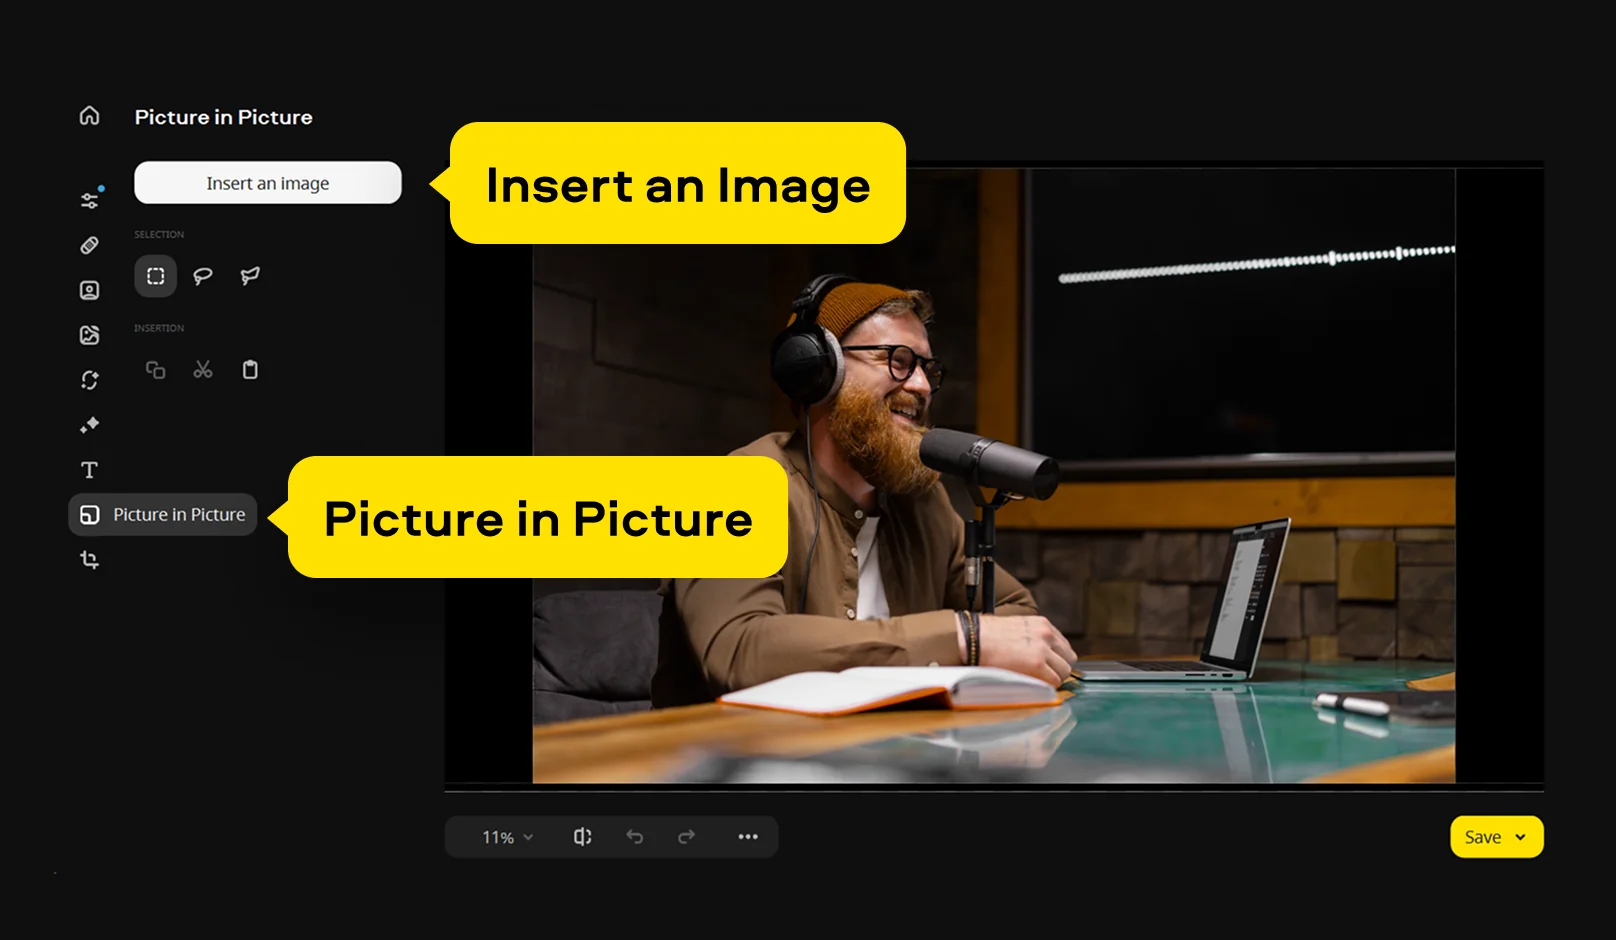
Go to the Picture in Picture tab and click Insert an image to add another photo.
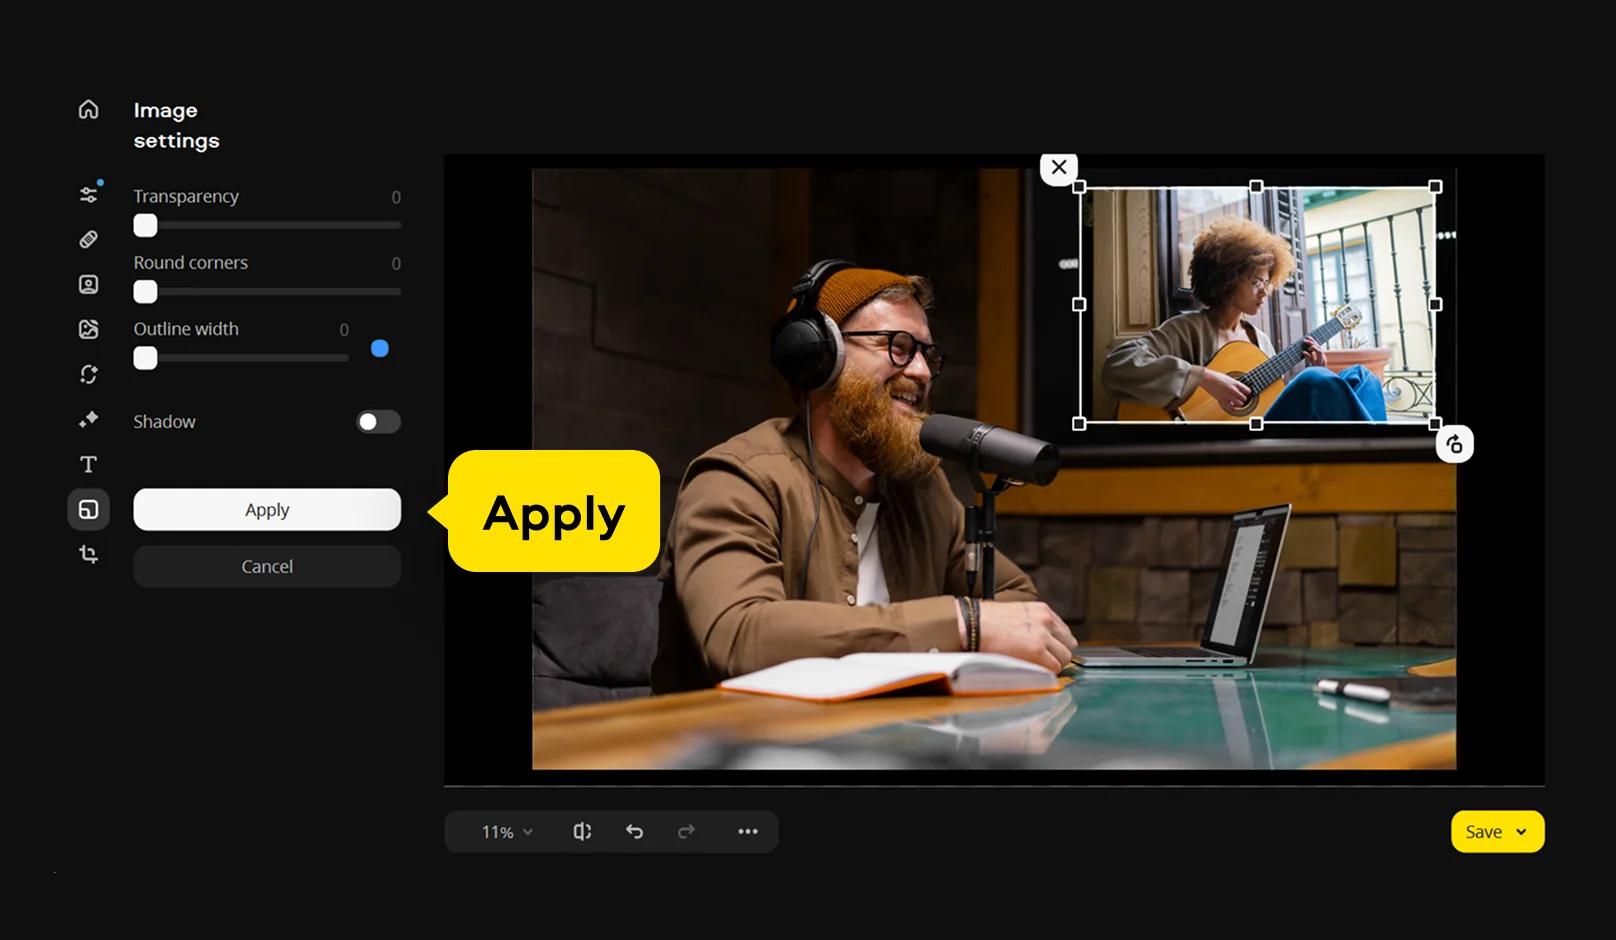
Resize the added image, move it to the desired position, and adjust opacity or edges if needed. Use the corner handles to scale the image and drag it across the canvas to place it accurately. Repeat this step to add more images.
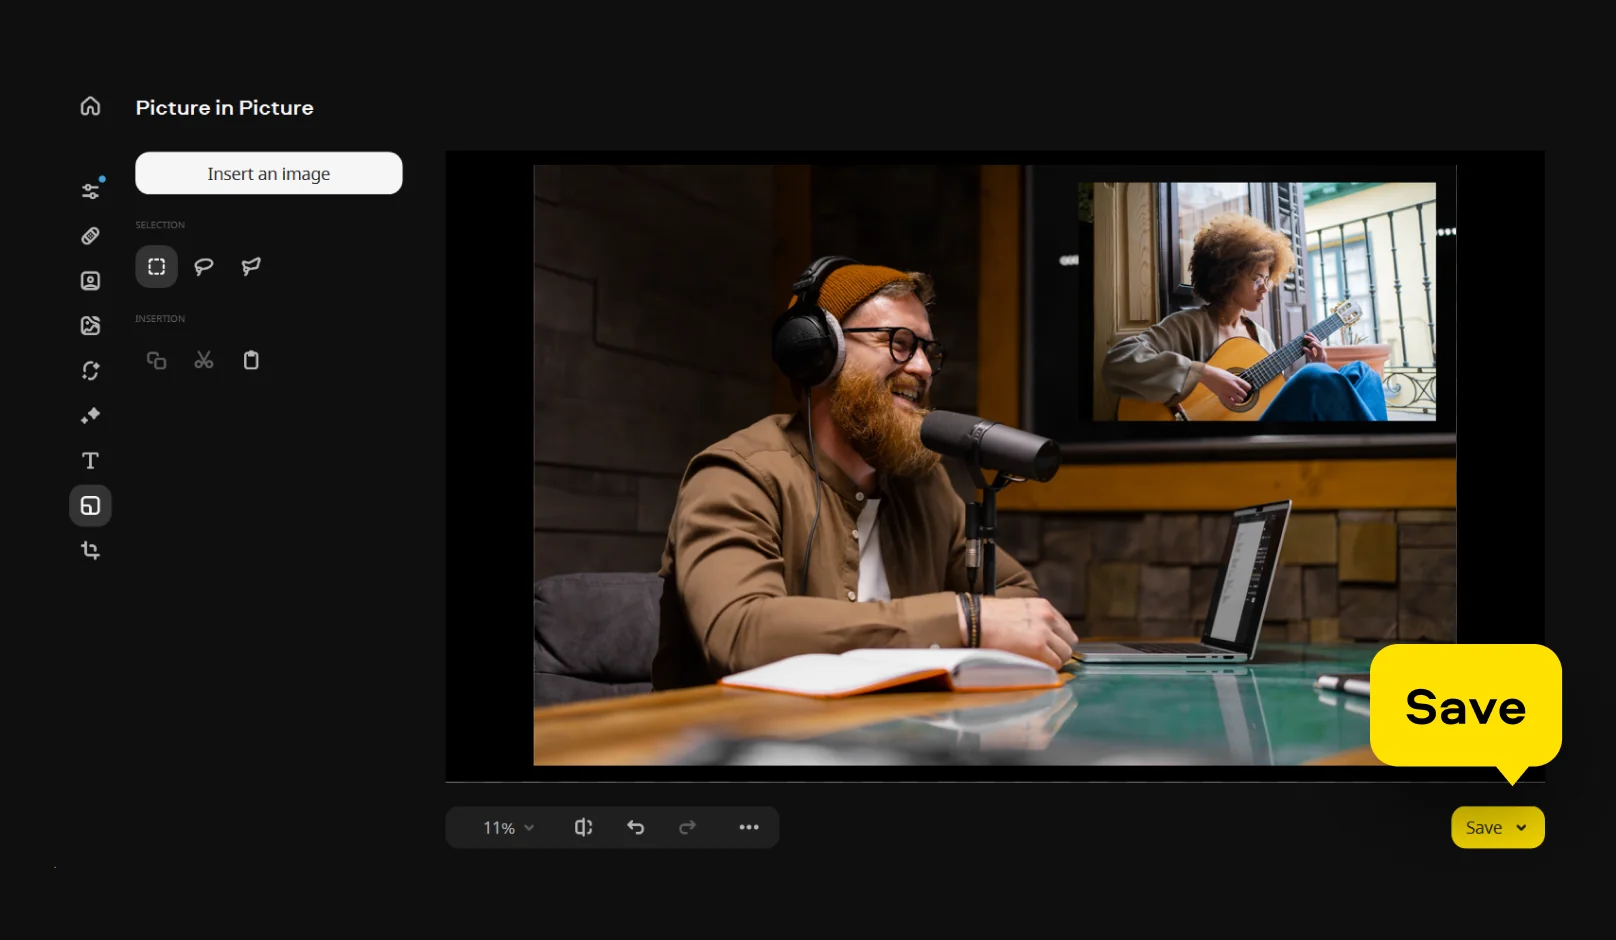
Position all images on the canvas to form your collage. Align elements, adjust spacing, and apply cropping, color correction, or filters if required.
Click Save, select the format and quality settings, and export the final image.
*The trial version of Movavi Photo Editor has the following restrictions: you can save up to 10 images with added watermark, screenshots are disabled.
We’re the #1 choice for millions of people from all around the world. Join our thriving community and create stunning content with incredible ease.
70M+


To make a collage on a PC, open an image editor, import your photos, and arrange them on a canvas by adjusting size, position, and spacing until the layout feels complete. Then save the result.
Movavi Photo Editor offers a more guided way to do this, letting you start with a base image and add other photos on top while fine-tuning each element as you go.
It depends on what you’re looking for, but many users prefer software that combines simple controls with tools for layering, color adjustment, and cleanup. Movavi Photo Editor is one of the options that offers this balance. It’s available for Windows 11, other Windows versions, and Mac, and has a clear, user-friendly interface.
Microsoft doesn’t offer a dedicated collage maker, but built-in apps like Photos or Paint can be used for basic image combining. For more flexible layouts and creative control, tools like Movavi Photo Editor are often used instead.
Open one image as your base in Movavi Photo Editor, then place the second one on top and adjust its size and position. Match colors or lighting if needed so both images blend well. Once everything looks consistent, save the final image.
*The trial version of Movavi Photo Editor has the following restrictions: you can save up to 10 images with added watermark, screenshots are disabled.


1.5M+ users already subscribed to our newsletter