Audio Normalizer by Movavi

  • Normalize audio in a few simple clicks

  • Record voiceover

  • Save the result as an audio or a video file

By clicking the download button, you're downloading a trial version of the program.*

Features for audio normalization

AI noise removal

Automatically remove car, wind, and other uncool sounds from your clips with our AI-driven audio denoiser. Create videos with crisp sound that viewers are sure to appreciate.

Silence removal

Cut out unwanted pauses automatically or fine-tune the pause length and volume threshold yourself. Skip the tedious cleanup and make your videos more dynamic in a flash.

Audio editing

Make your videos sound amazing: add effects, fine-tune with the equalizer, toss in some reverb, drop in smooth transitions with fade-ins and fade-outs. Auto-sync, beat detection, and easy voice-over recording let you perfect your audio in no time.

How to normalize audio with the Movavi audio normalizer

Step 1. Install the Movavi audio normalizer

Download the Movavi volume-leveling software and launch the installation file on your computer. Follow the on-screen instructions to complete the installation process. When this is done, launch the program.

Step 2. Import your music files

Drag your video or audio file onto the timeline. The editor automatically detects sound tracks, making setup quick even for first-time users.

Step 3. Normalize audio files

Click the audio track, then open the Tools > Audio panel. This is where volume controls live, including automatic options designed to smooth out loud and quiet moments. Use Sound autocorrect and Noise removal features.

Play the timeline and make small adjustments if needed. You can tweak volume or mute sections to match your project’s tone without touching complex settings.

Step 4. Export your file

Click the Export button and save your project. The normalized audio stays clean and balanced, ready for sharing on any platform.

More tools for easy editing

AI motion tracking

Enhance reality in your videos with additional moving graphics. Just click, and AI will quickly attach any photos, videos, emojis, or memes to objects in your footage.

Automatic subtitles

Let AI quickly turn your speech into text and automatically create captions for your videos in almost any language. Just choose the font, text color, position – and you’re all set!

AI background removal

Use the power of the AI to instantly swap backgrounds in your videos with no green screens. Drop in a new vibrant scene and get ready for an avalanche of likes on socials!

Split and splice videos

Cut, split, and splice your clips with ease. Rearrange sequences and build the perfect flow for your story.

Overlays, stickers, and transitions

Use stickers to add fun and personality, overlays to give extra style, and transitions to keep your storyline flowing smoothly. Make every moment pop and keep your viewers hooked.

Filters and LUTs

Use filters and LUTs to instantly change the look and feel of your video. Create a cinematic vibe, fix the lighting, or give your clips a unique style in seconds.

Crop, resize, trim, cut, and flip videos

Shape your videos exactly how you want: crop, resize, trim, cut, or flip with ease. Turn raw clips into polished montages your viewers will love.

Video speed controls

Take full control of your video’s pacing: speed up, slow down, or create smooth time-lapses with ease. Perfect for dramatic slow-mos or fast-paced highlights that will grab attention.

Hundreds of drag-and-drop cinematic effects

Supercharge your videos with tons of creative, professionally designed effects. Add stickers for cool accents, transitions for smoother stories, overlays for extra style, and there’s even more!

Slow motion

Make every second count: slow motion lets a fleeting moment last longer and get that cinematic feel. Transform quick scenes into lasting memories on screen.

Chroma key

Swap out any background in a flash: use chroma key to place yourself anywhere, from exotic beaches to outer space. Perfect for fun effects, creative scenes, or professional-looking videos.

Picture-in-picture

Show multiple clips at once: overlay videos with picture-in-picture to highlight reactions, tutorials, or side-by-side action. Make your content more dynamic and engaging in seconds.

How to choose a video volume normalizer

Choosing the right tool for sound control is less about chasing studio jargon and more about understanding how you actually work. A good video volume normalizer should feel helpful, not intimidating, and solve problems before you even realize they’re there. If you open an app and immediately feel like you need a degree in audio engineering, that’s already a red flag.

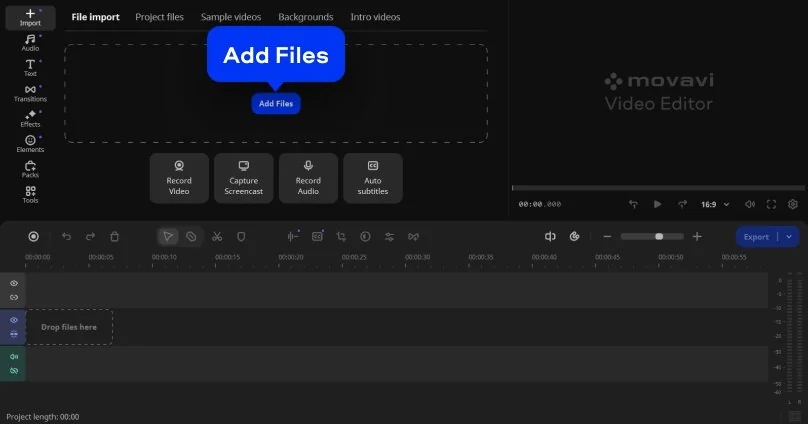
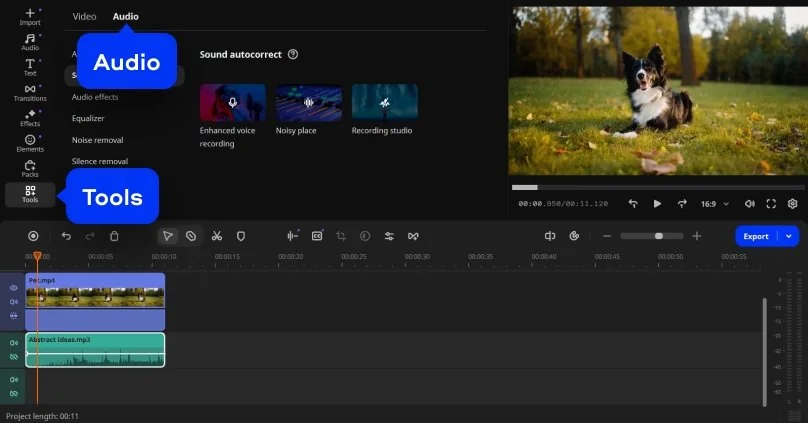
First, look for clarity over complexity. If a tool demands ten sliders, three graphs, and a mysterious checkbox just to fix uneven dialogue, it’s probably not built for everyday creators. Smart audio normalization software should take care of volume differences automatically, while still letting you step in when you want more control. Movavi Video Editor gets this balance right by keeping advanced options available, but never forcing them on you.

Second, think in terms of real scenarios, not feature lists.

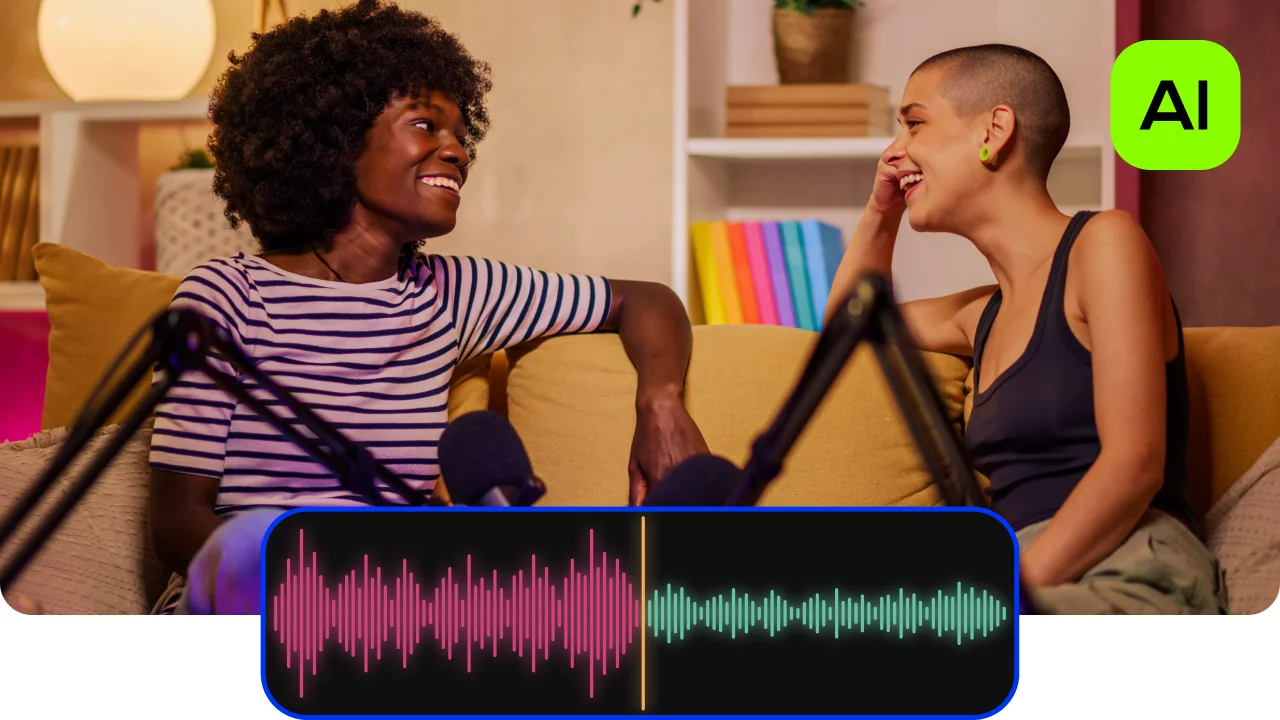
Case one: a travel vlogger pulls audio from everywhere – busy sidewalks, quick voice-overs recorded in hotel rooms, music dropped in at the last minute. Normalization quietly evens things out, so the story stays front and center and no one has to keep riding the volume knob like it’s part of the experience.

Case two: an online course creator records lessons over weeks, sometimes leaning into the mic, sometimes drifting back in a rolling chair. When volume stays consistent from lesson to lesson, the course feels intentional. Without it, even great content can feel stitched together instead of thoughtfully built.

Case three: a social media editor lives on tight deadlines and shorter attention spans. Fast normalization keeps edits moving without sacrificing finish. The audio lands clean, feels confident, and sounds ready for feeds the moment it’s exported.

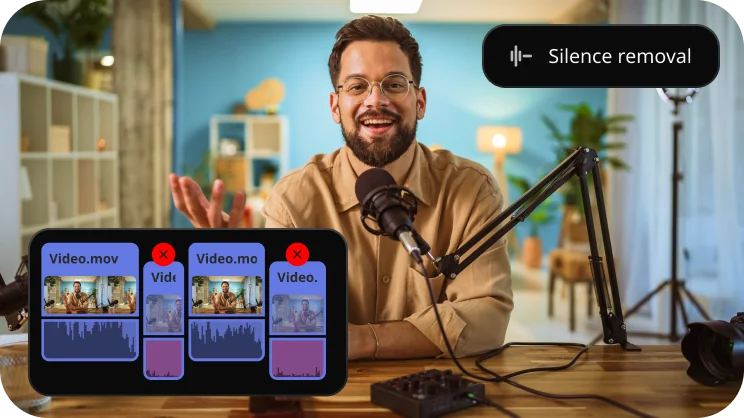
File flexibility matters more than most people expect. Whether you’re exporting mp3 audio, finishing a full video, or wrangling several files inside one timeline, the tool should keep up without forcing detours. Built-in leveling saves time and helps you avoid the subtle quality loss that creeps in when audio gets bounced between too many apps.

There’s also a reason to be wary of tools that rely entirely on online processing. They’re convenient, sure, but they can slow momentum and raise privacy questions. Desktop editors tend to feel steadier and more responsive, especially when you’re working with longer projects or layered sound tracks that need room to breathe.

And in the end, trust your ears. A solid balancer doesn’t announce itself. It doesn’t squeeze voices or drain music of its warmth. Everything just settles into place. If the result feels sharp or oddly artificial, the tool may be normalizing too aggressively. The goal isn’t technical perfection – it’s audio that feels natural, relaxed, and easy to live with.

Movavi Video Editor
Create awesome videos easily

*The free version of Movavi Video Editor may have the following restrictions depending on the build: watermark on exported clips, 60-second video or 1/2 audio length limit, and/or some advanced features unavailable when exporting videos.

Movavi Video Editor

Frequently asked questions

What is audio normalization?

Audio normalization is the quiet fixer working behind the scenes, bringing your sound to a consistent volume level without sanding down its character. It doesn’t reshape dynamics or dramatize differences. It simply adjusts the entire track so everything lands where listeners expect it to. Think less makeover, more cleanup — the room feels better, even if you can’t quite explain why.

What does normalize audio do?

To normalize audio means correcting volume imbalance in a clean, predictable way. Quiet clips get lifted, overly loud moments are kept in check, and everything lands in a comfortable listening zone. The goal isn’t drama or punch – it’s consistency, so viewers aren’t reaching for the volume controls every thirty seconds.

What are the benefits of normalizing audio?

The biggest win is comfort. Normalization smooths out listening fatigue, keeps dialogue intelligible, and makes transitions between clips feel intentional. It’s especially useful when audio comes from different sources or recording sessions. Instead of sounding stitched together, the final result feels cohesive, calm, and easier on the ears.

What should I normalize my audio to?

Most creators aim for platform-friendly loudness targets that play nicely across phones, laptops, and TVs. Normalizing to these standards helps audio feel balanced no matter where it’s played. You don’t need to chase exact numbers – the idea is to land in a range that feels natural, not startling or sleepy.

What is the difference between normalization and compression?

Normalization adjusts the overall volume of a track as a whole. Compression, on the other hand, actively reshapes dynamics by pushing loud sounds down and pulling quiet ones up. One sets the ceiling, the other remodels the room. Used together, they can work beautifully, but they solve very different problems.

Should I turn on or off audio normalization?

Turn it on when your clips come from different sources or vary in loudness. It’s a lifesaver for mixed recordings. Leave it off if your audio was carefully recorded and already feels balanced by design. Normalization should support your intent, not override it.

Does normalizing audio affect quality?

When handled well, normalization keeps quality intact and simply improves usability. Problems usually come from poor tools or overly aggressive normalizing, which can introduce distortion or harsh peaks. A good editor applies normalization gently, making audio feel smoother without sounding processed or artificial.

Why choose Movavi

We’re the #1 choice for millions of people from all around the world. Join our thriving community and create stunning content with incredible ease.

70M+

users

190+

countries

15+

updates per year

10,000+

effects to choose from
Movavi Video Editor
Create awesome videos easily

*The free version of Movavi Video Editor may have the following restrictions depending on the build: watermark on exported clips, 60-second video or 1/2 audio length limit, and/or some advanced features unavailable when exporting videos.

Movavi Video Editor
Join us for discounts, editing tips, and content ideas

1.5M+ users already subscribed to our newsletter

By signing up, I agree to receive marketing emails from Movavi and agree to Movavi's Privacy Policy.