70M+


What’s new in Movavi Photo Editor
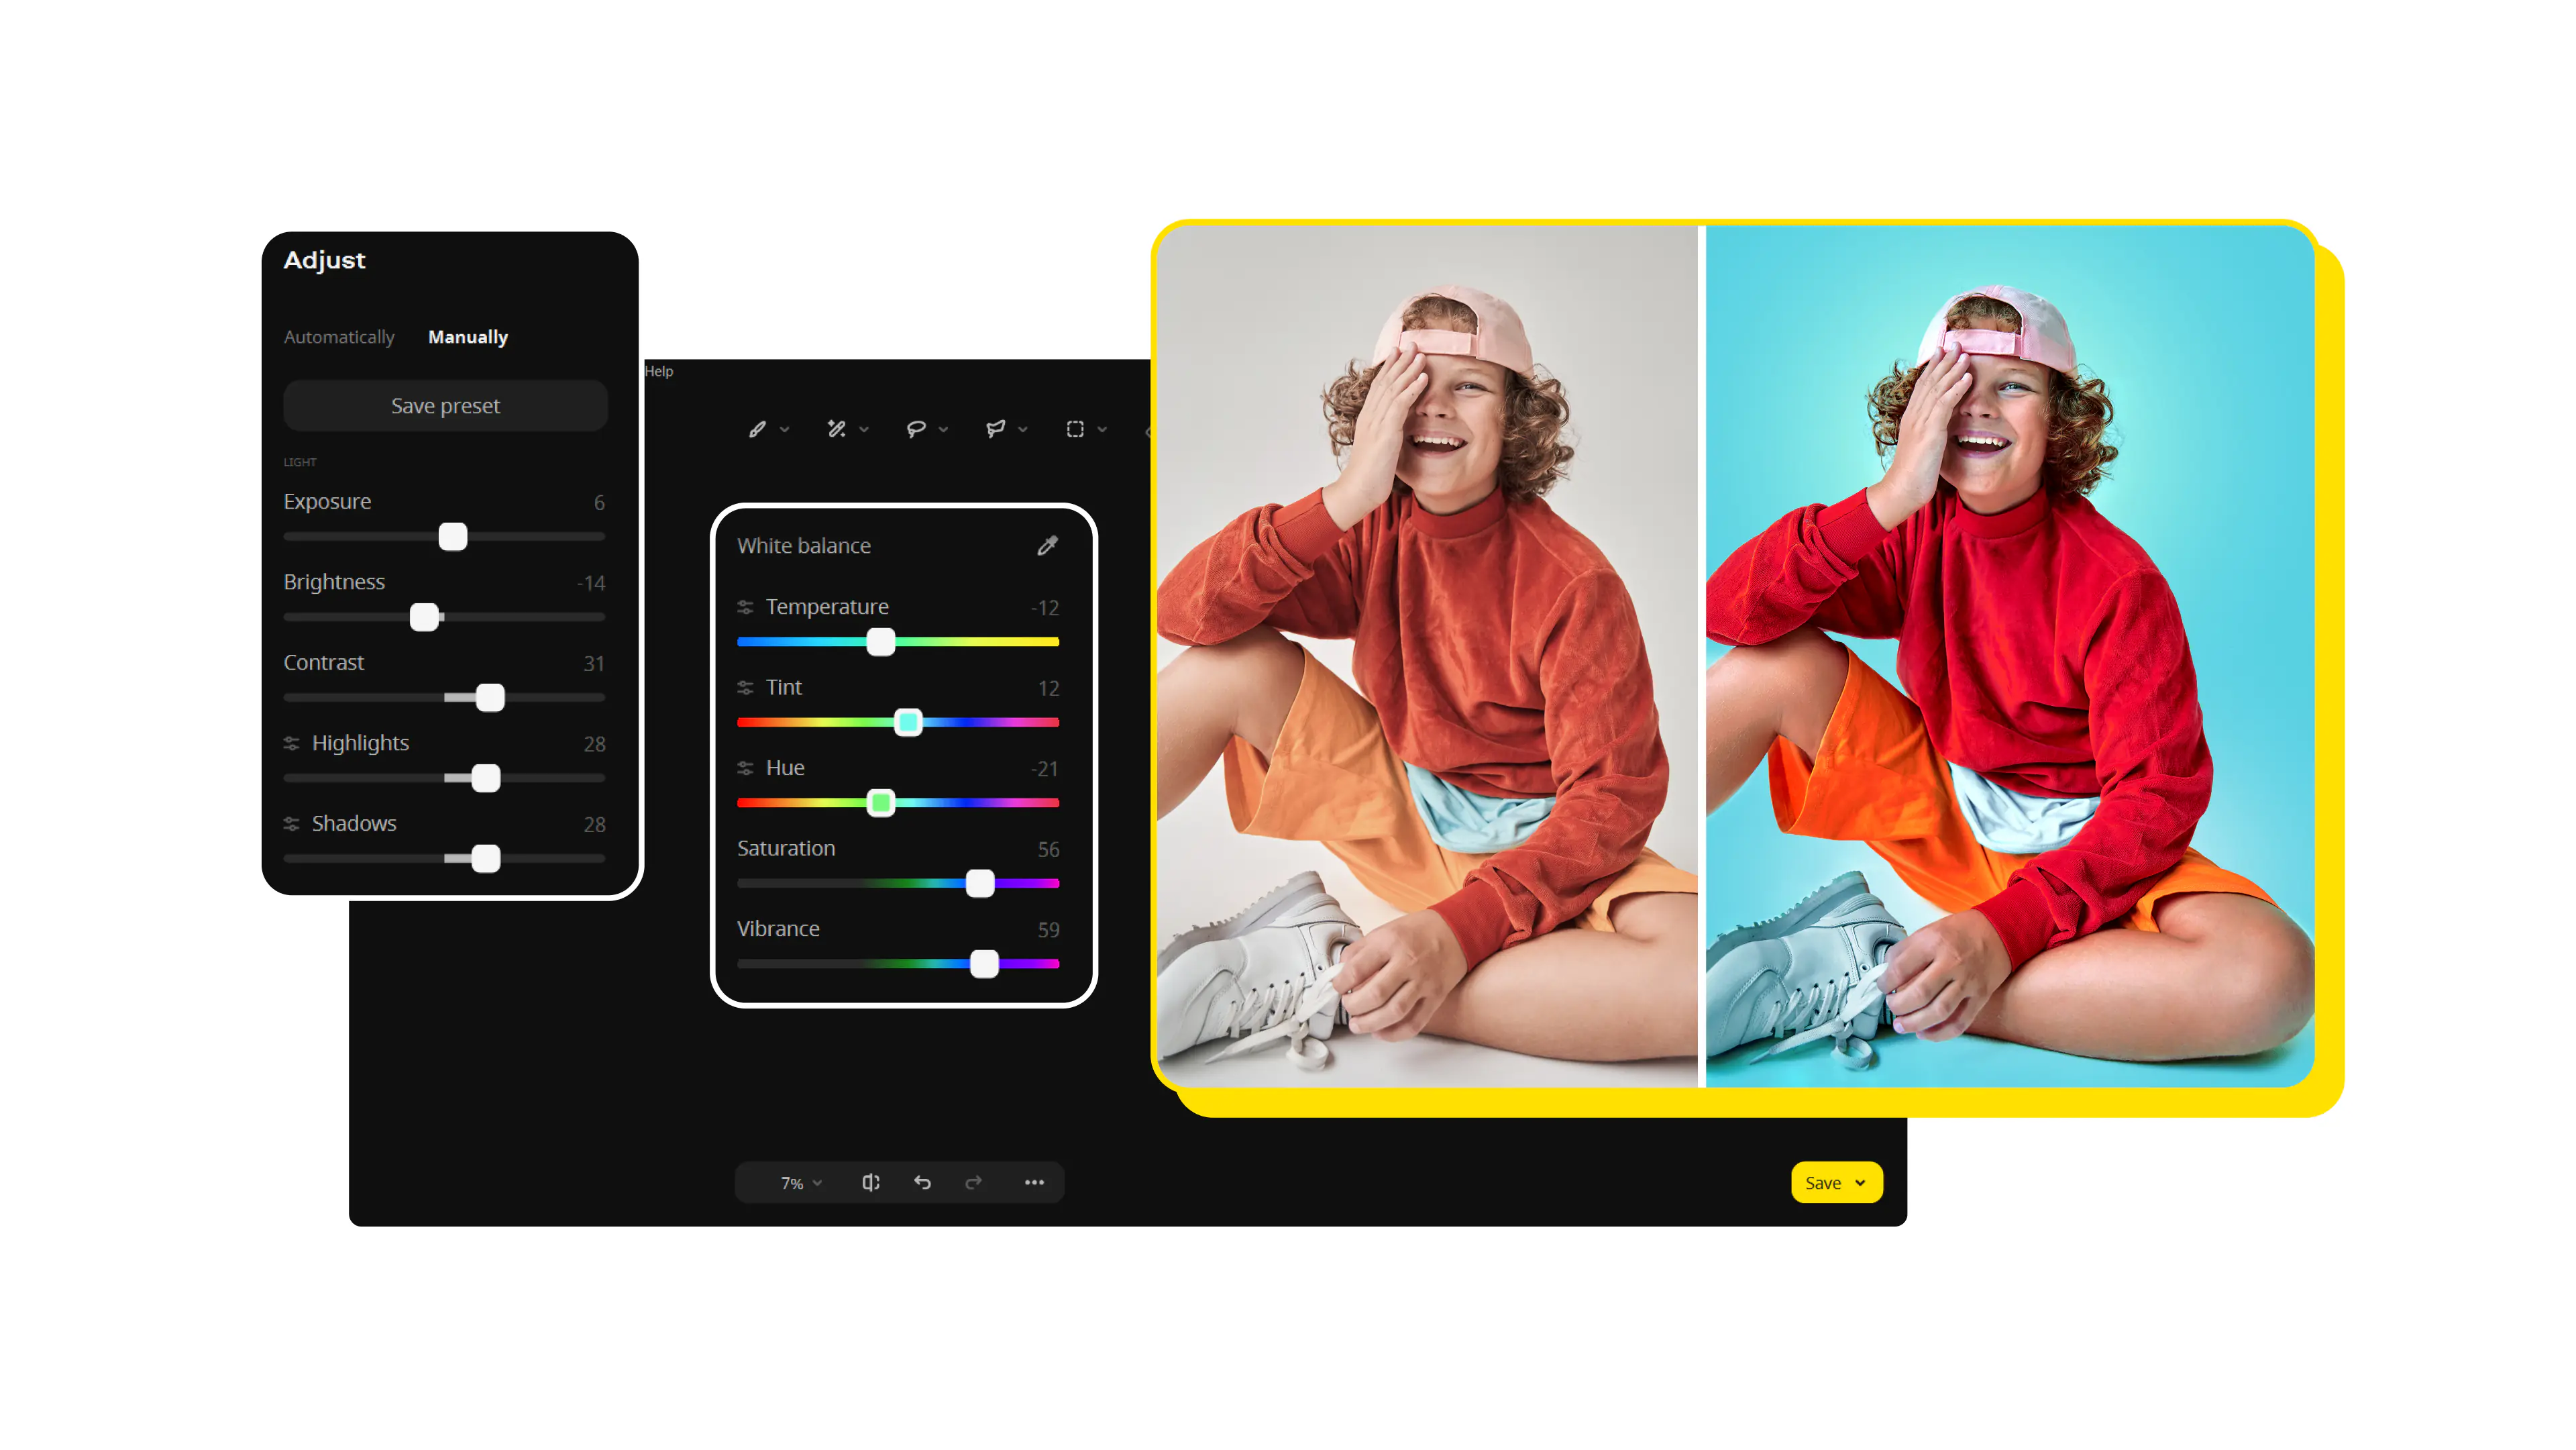
Pro-quality color correction
Get next-level color correction with the same simplicity. With our AI photo editor, you can boost colors in a snap and make more viewers fall in love with your photos.
A pack of juicy presets
Choose from 34 new presets to easily fine-tune your images in the Movavi Photo Editor software. Try each at the touch of a button and pick the one that fits your photo perfectly.
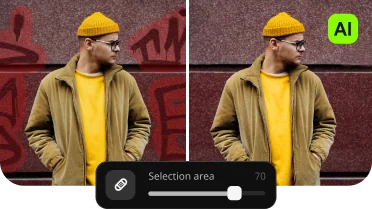
High-quality object removal
Clean up your photos in no time and with great precision. Artificial intelligence will generate a natural-looking background to replace the erased objects.
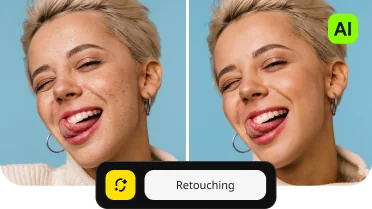
AI-based retouching
Remove dark spots and blemishes from faces – our photo editor lets you do this at the click of a button. Whiten teeth and apply makeup to make your portraits even more stunning.
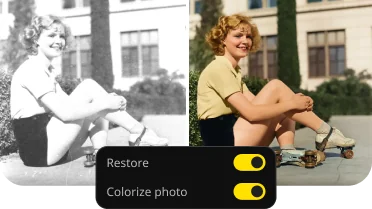
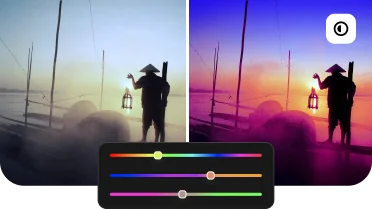
Natural-looking colorization
Get more vibrant and realistic colors while reviving people in black-and-white photographs.
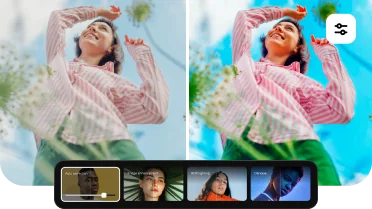
Automatic photo enhancement
Easily improve light and color balance in your images with artificial intelligence. You’ll love the fast, high-quality results.
Find the right tool for your every need
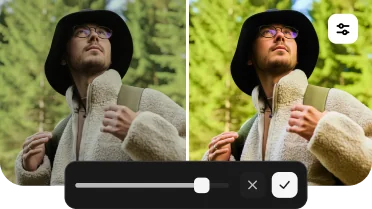
Custom sharpness adjustment
Adjust the level of detail in your photos to your liking. Emphasize texture and remove blur. Get our photo editor for PC and make your photos pop in just seconds.
AI object removal
Effortlessly erase unwanted stuff so nothing distracts from the focus of the scene. Let our photo editor's AI work its magic so you can enjoy natural-looking results with no signs of editing.
AI retouching
Just click – and AI will quickly bring out the best in your portraits. Smooth skin, whiten teeth, apply makeup, and more. The final image will have a perfectly balanced, realistic look.
What users think about Movavi Photo Editor

Movavi is the easiest photo editor I have used, but don't let that fool you. It is also incredibly powerful.

Provides a lot of features (even on the trial version), easy removal of picture elements that you don't want.

With its AI-powered features, editing is a breeze. This photo background editor is a gem for anyone looking for an AI photo editor free from hassles!
Movavi Photo Editor software awards
Frequently asked questions
How can I safely edit photos for free?
How can I safely edit photos for free?
You can safely edit your photos for free with our Photo Editor app. The photo editor’s free version provides secure, user-friendly tools to boost your images.
What is the best photo editor for beginners?
What is the best photo editor for beginners?
Movavi Photo Editor is an excellent choice for beginners. Its intuitive interface and AI-powered tools help users achieve professional-looking results without a steep learning curve. This Windows photo editor provides an enjoyable experience for anyone just starting their journey into the world of photo editing.
How can I download a photo editor for free?
How can I download a photo editor for free?
If you’re looking for a photo editor to download for free, you've come to the right place – just click any Download for Free button on this page. Download the program directly from our official website to mitigate the risk of downloading compromised or altered versions, viruses, malware, or other harmful content.
Our photo editor app offers a free version with the following restrictions: you can save up to 10 images, and those images will carry a watermark.
System requirements
Microsoft® Windows® 10/11 64-bit with up-to-date patches and service packs installed
Intel® Core™ i5 or higher
Intel® HD Graphics 2000, NVIDIA® GeForce® series 8 and 8M, Quadro FX 4800, Quadro FX 5600, AMD Radeon™ R600, Mobility Radeon™ HD 4330, Mobility FirePro™ series, Radeon™ R5 M230 or higher graphics card with up-to-date drivers
1280 × 768 screen resolution, 32-bit color
6 GB
500 MB available hard disk space for installation, 5 GB for ongoing operations


1.5M+ users already subscribed to our newsletter