Movavi Screen Recorder is feature-rich software that enables you to capture high-quality screenshots on your Acer desktop. Here’s how to screenshot on an Acer laptop with Movavi Screen Recorder:

How to Screenshot on an Acer Laptop [5 Easy Ways]
Try Movavi Screen Recorder!
Take high-quality screenshots, including scrolling screenshots
Add annotations to your screenshots
Save and share your files
By clicking the download button, you're downloading a trial version of the program.*

Edited by Ben Jacklin
22,212
Mastering the art of screenshotting on your Acer laptop will empower you to efficiently save and share visual information. Read on to learn how to screenshot on an Acer laptop in 5 different ways.
Quick summary
For taking screenshots with annotations: Movavi Screen Recorder
For taking and editing screenshots: Print Screen
For saving screenshots with ease: Snipping Tools
Special pick: Movavi Screen Recorder
Movavi Screen Recorder can make taking screenshots on Acer computers simple. It is a powerful and versatile software designed to cater to all your screen-recording needs, whether it be on your laptop or PC. With its intuitive interface and robust features, it offers a comprehensive solution for capturing and editing screen activities.
One of the standout features of Movavi Screen Recorder is its ability to capture high-quality Acer screenshots and videos from your computer screen. Easily add annotations to your screenshots and save them in popular formats or upload directly to social media platforms.

Our goal is to provide you with only verified information. To ensure this, Movavi Content Team does the following:
The team tests all the products mentioned in this article.
When testing, we compare the key characteristics of the products, which include selecting capture area, schedule recording, showing keystrokes and mouse, and other significant features.
How to screenshot on an Acer laptop with the Print Screen button
Capturing using Print Screen is a simple process on all Acer computers and laptops, including the Acer Nitro, Aspire, TravelMate, Swift, or Spin. Follow the guides below for each method to find out how to screenshot on a laptop by Acer.
Method 1: Capture your whole screen
For Windows 7/8/10: hit the Print Screen button to copy the screenshot to your clipboard.
For Windows 11: press the Windows key + Print Screen buttons simultaneously. You’ll find your screenshot in the Pictures folder under Screenshots.
Method 2: Capture a window
Navigate to the program window you need to capture.
For Windows 8/10: hit Alt + Print Screen simultaneously to copy the screenshot of your active program window to the clipboard.
For Windows 11: press Alt + Print Screen. The screenshot of the active window will be saved in the Pictures folder under Screenshots.
Method 3: Save your screenshot automatically
For Windows 7/8/10/11: press the Windows + Print Screen buttons. The screenshot of the entire screen will be automatically saved in your Pictures folder under Screenshots.
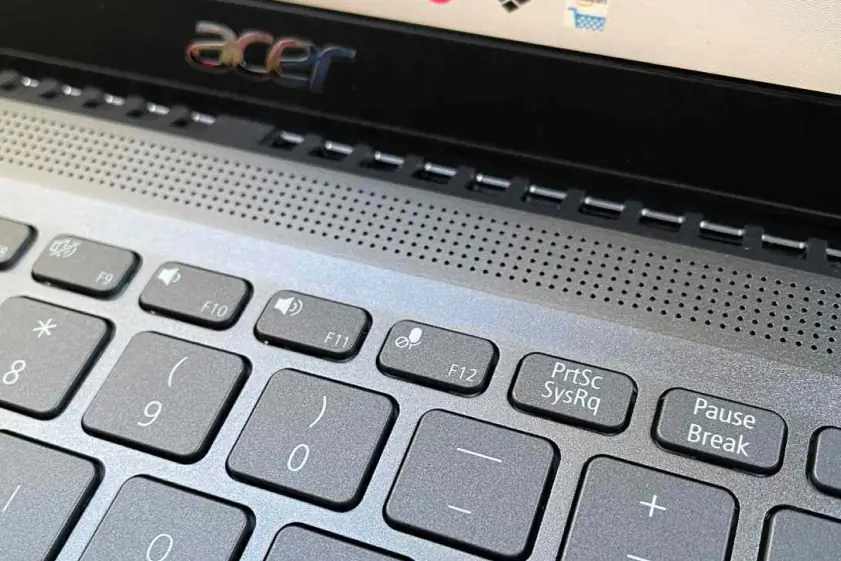
Please note that the Print Screen button may be labeled differently on some Acer laptops, such as PrtScn or PrtSc. Additionally, depending on your laptop's keyboard configuration, you may need to use the Fn key in combination with the Print Screen button.
How to take a screenshot on an Acer laptop with Movavi Screen Recorder
Step 1. Download the program
First, download the installation file. Once the download is complete, launch the installation file and install the recorder.
Step 2. Select the screenshotting area
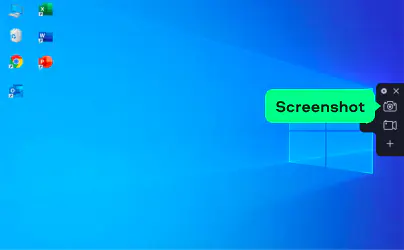
Open Movavi Screen Recorder and click on the Screenshot button in the toolbar. Use your mouse to select the capture area for the screenshot. After selecting the area, choose the Scrolling screenshot option from the menu if you want to take a scrolling screenshot.
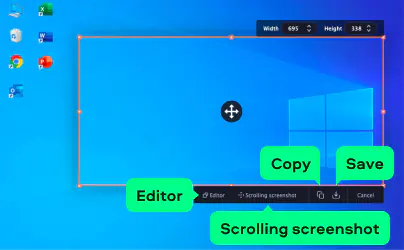
Step 3. Edit and save the result
Once the screenshot is captured, you can edit it to make it more informative and visually appealing. Click the Editor button to use the built-in editing tools, such as adding arrows, lines, and text to annotate the screenshot.
Click the Copy button to copy your screenshot to the clipboard or the Save button to save the picture on your computer.
How to take an Acer screenshot with Snipping Tool
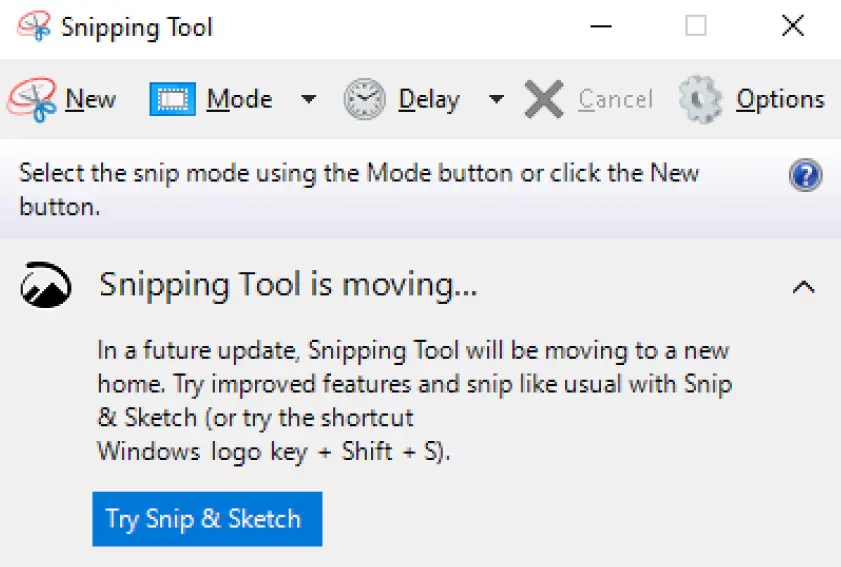
Snipping Tool is a built-in screenshot utility on Windows that allows you to capture specific areas of your screen with ease. Here’s how to take a screenshot on an Acer laptop using Snipping Tool:
Press the Windows key on your keyboard, type Snipping Tool in the search bar, and open the app.
Capture the screenshot:
Rectangular snip: click on New, then click and drag the cursor to capture a rectangular portion of the screen.
Free-form snip: click on New, select Free-Form Snip, and draw a shape around the area to capture.
Window snip: click on New, choose Window Snip, and click on the window you want to capture.
Full-screen snip: click on New, select Full-Screen Snip, and wait for the Snipping Tool to finish the process.
To save your picture, open the File menu and choose Save As. Select a location on your laptop to save the screenshot, choose a file format, and click Save.
Take delayed screenshots
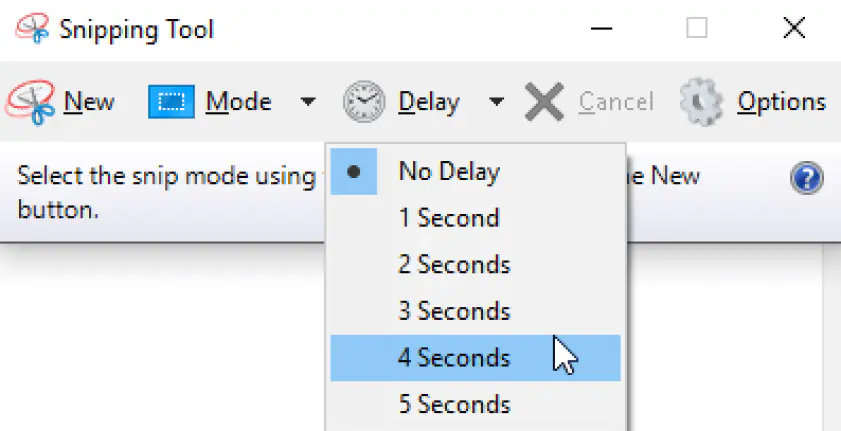
Press the Windows key, type Snipping Tool, and open the app.
Click on Delay in the toolbar. Choose a delay duration from the drop-down menu (e.g., 3 seconds, 5 seconds, etc.).
Click New and select the desired snip type. Snipping Tool will wait for the specified delay duration before capturing the screenshot.
Once the screenshot is captured, open the File menu, select Save As, choose a location to save the screenshot, select a file format, and click Save.
How to screenshot on a laptop by Acer using Snip & Sketch
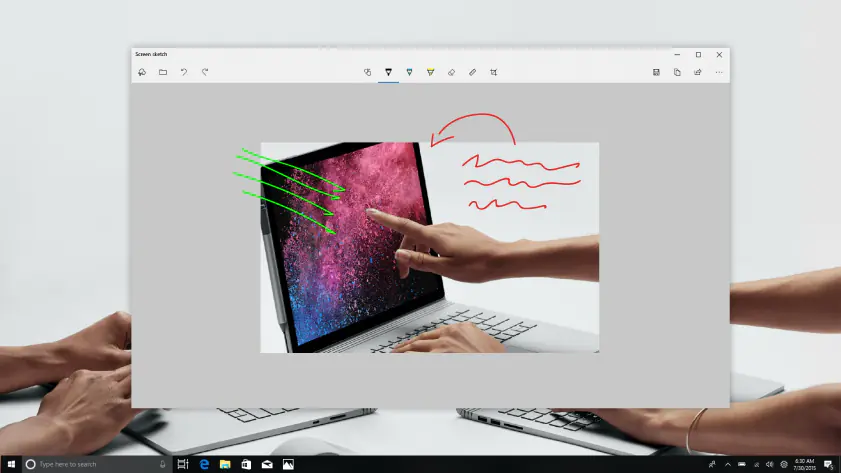
Snip & Sketch is a built-in screenshot tool that comes with Windows 10. It offers various capturing options and editing tools to enhance your screenshots. Here’s how to take a screenshot on an Acer laptop with this app:
First, open the application or window to capture.
Press the Windows key on your keyboard. Type Snip & Sketch in the search bar and open the app.
Once Snip & Sketch opens, you'll notice a small toolbar with several options. By default, it should be in the New mode, which allows you to capture a new screenshot.
Choose the type of screenshot. Snip & Sketch offers four options: rectangular snip, window snip, free-form snip, and full-screen snip. Click on the respective button on the toolbar or use the corresponding shortcut:
Rectangular snip: Ctrl + Shift + S
Free-form snip: Ctrl + Shift + F
Window snip: Ctrl + Shift + W
Full-screen snip: Ctrl + Shift + Print Screen
After selecting your desired snipping mode, your screen will dim, and you'll be able to click and drag the cursor to select the area for capture. Release the mouse button to take the screenshot.
Once you've captured the screenshot, the program will open a new window displaying the screenshot along with editing options. You can use these tools to annotate, crop, highlight, or make other adjustments to your screenshot if desired.
When you're satisfied with the edits, click the Save icon located in the top-left corner. Choose a location on your Acer laptop to save the screenshot and give it a suitable name.
How to take screenshots on Acer tablets
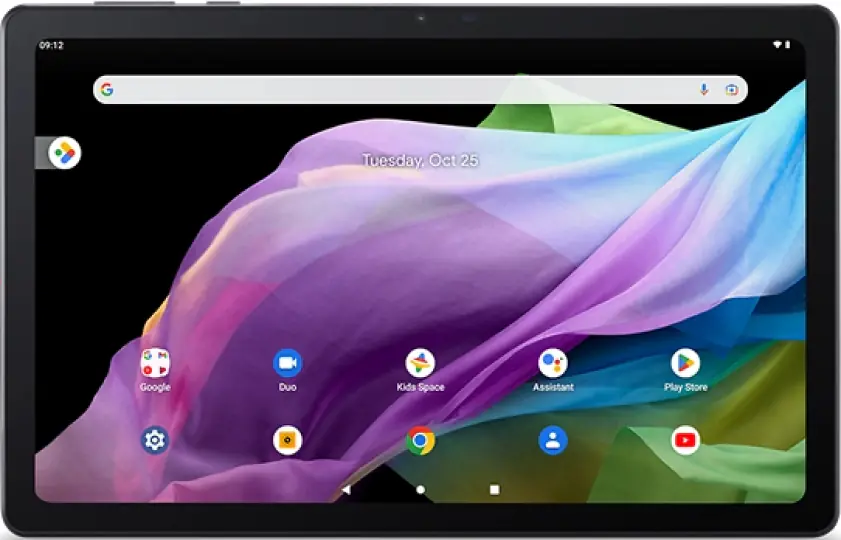
If you’re wondering how to take screenshots on Acer Chromebooks or tablets, simply follow these steps:
Locate the power button and the volume down button on your Acer tablet. The power button is usually located on the top or side, while the volume-down button is typically on the side of the device.
Navigate to the screen for capture.
Press and hold the power button and the volume down button simultaneously.
You should see a visual indication or hear a shutter sound, indicating that the screenshot has been taken.
Access your device's gallery to view the captured screenshot. It is usually located in the app drawer or on the home screen.
Where are my screenshots saved?
Here's where screenshots are typically saved on an Acer laptop for each method mentioned:
Method 1: Print Screen button
The screenshots are copied to the clipboard. You need to manually paste the Acer laptop screenshot into an application and save it to a desired location. The save location for the screenshot depends on the application you use to paste and save it.
Method 2: Movavi Screen Recorder
Movavi Screen Recorder allows you to choose the saving location for your screenshots. By default, the screenshots taken with Movavi Screen Recorder are usually saved in the Movavi Screen Recorder folder within the Pictures directory.
Please note that the default save location in Movavi Screen Recorder can be customized, and you have the flexibility to choose a different location to save your screenshots during the saving process within the software.
Method 3: Snipping Tool
The screenshot is usually saved in the Pictures folder. To access it, go to This PC or File Explorer, then navigate to Pictures, and look for a subfolder named Screenshots.
Method 4: Snip & Sketch
Screenshots captured with Snip & Sketch are automatically saved in the Pictures folder. To locate them, open This PC or File Explorer, then open the Pictures folder, and look for the Screenshots folder.
Summary
As you can see, many of the standard Windows tools are fully applicable to Acer PCs. Some of the built-in tools can be very helpful in case you don’t expect advanced functionality. If what you need is a full-featured screenshot maker, try Movavi Screen Recorder.
Movavi Screen Recorder
The perfect way to record anything from your screen
Disclaimer: Please be aware that Movavi Screen Recorder does not allow capture of copy-protected video and audio streams.
Frequently asked questions
How do you take a screenshot on Acer without the Print Screen button?
How do you take a screenshot on Acer without the Print Screen button?
Use Movavi Screen Recorder:
Download and install the program.
Download Movavi Screen RecorderOpen the program, click Screenshot, and select the capture area.
Edit and save the screenshot to a preferred location.
Where do screenshots go on an Acer?
Where do screenshots go on an Acer?
Screenshots taken with the Print Screen button are copied to the clipboard, and you need to paste and save them in an application of your choice.
Popular
How to use a snipping tool on Mac
How to screen record on an HP laptop
How to Screenshot on ASUS Laptop [14 Best Ways]
What Is a Screencast? Complete Guide [2025]
21 Best Technology Tools for Teachers [2025] – Movavi
9 Fixes for OBS Not Recording Audio Issue – Movavi
12 Ways to Record a Part of a Screen in 2025 – Movavi
How to Create the Best Training Videos – Movavi
12 Best Video Calling Apps for PC [2025] – Movavi
17 Best Free Screenshot Tools to Use [2025] – Movavi
How to take screenshot in Windows 11
Best screenshot tools for Windows
How to Screenshot on Any Laptop [Easy] – Movavi

Have questions?
If you can’t find the answer to your question, please feel free to contact our Support Team.
Join us for discounts, editing tips, and content ideas


1.5M+ users already subscribed to our newsletter