


Movavi Screen Recorder
The perfect way to record anything from your screen

Movavi Screen Recorder
Boost your efficiency with our free screen recorder. Record your screen and capture audio to create engaging educational videos, must-attend webinars, and killer business presentations.
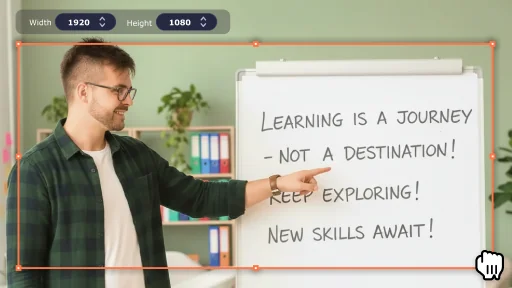
Record full screen or custom area
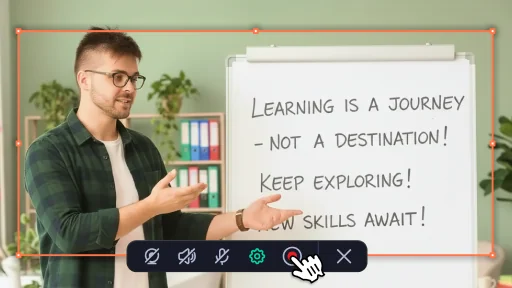
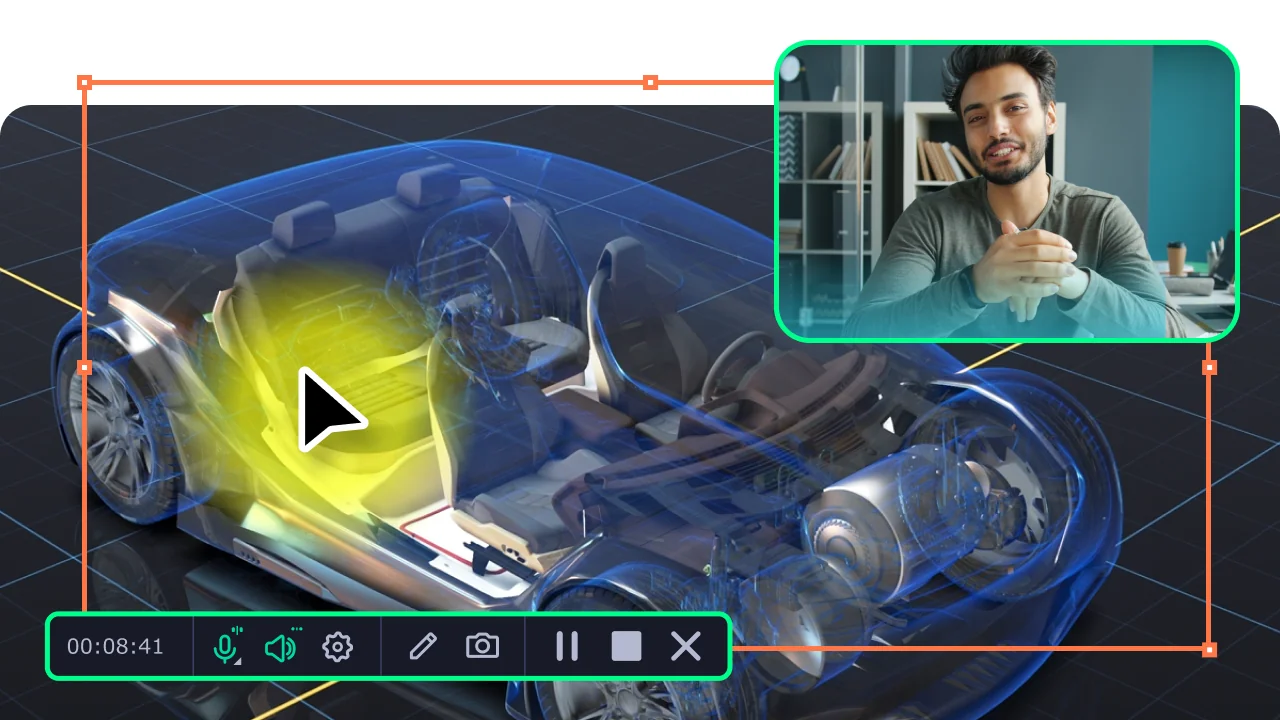
Capture webcam and draw on recordings in real time
Highlight mouse cursor and keystrokes
Record system audio and your voice

Step 1
Click the Screen recording icon on the sidebar of this screen recorder with a free download option.
Step 2
Select the area you want to record.
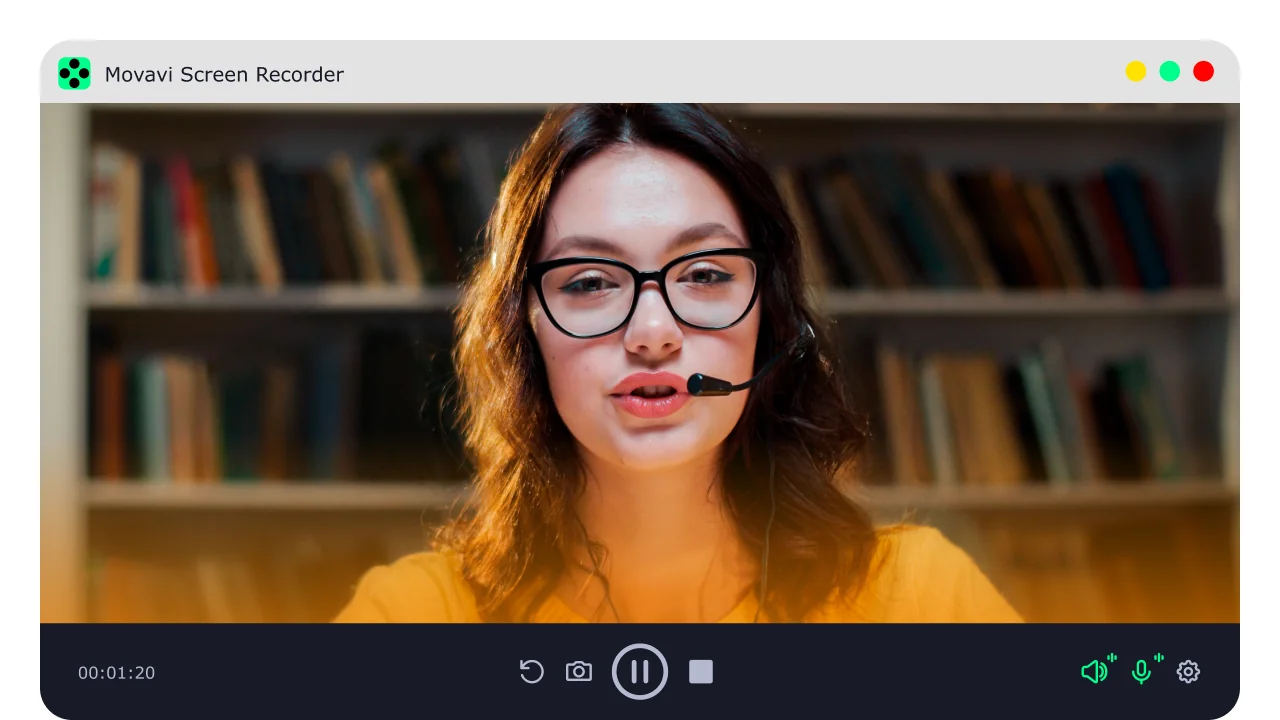
Step 3
Click Rec to record the screen with this display recorder on your PC. When you’re done, click Stop.
Screen capture for all your needs
Movavi Screen Recorder is ready to meet any of your recording needs, from business presentations to personal branding. Boost your productivity and creativity by capturing and sharing your digital experiences effectively.
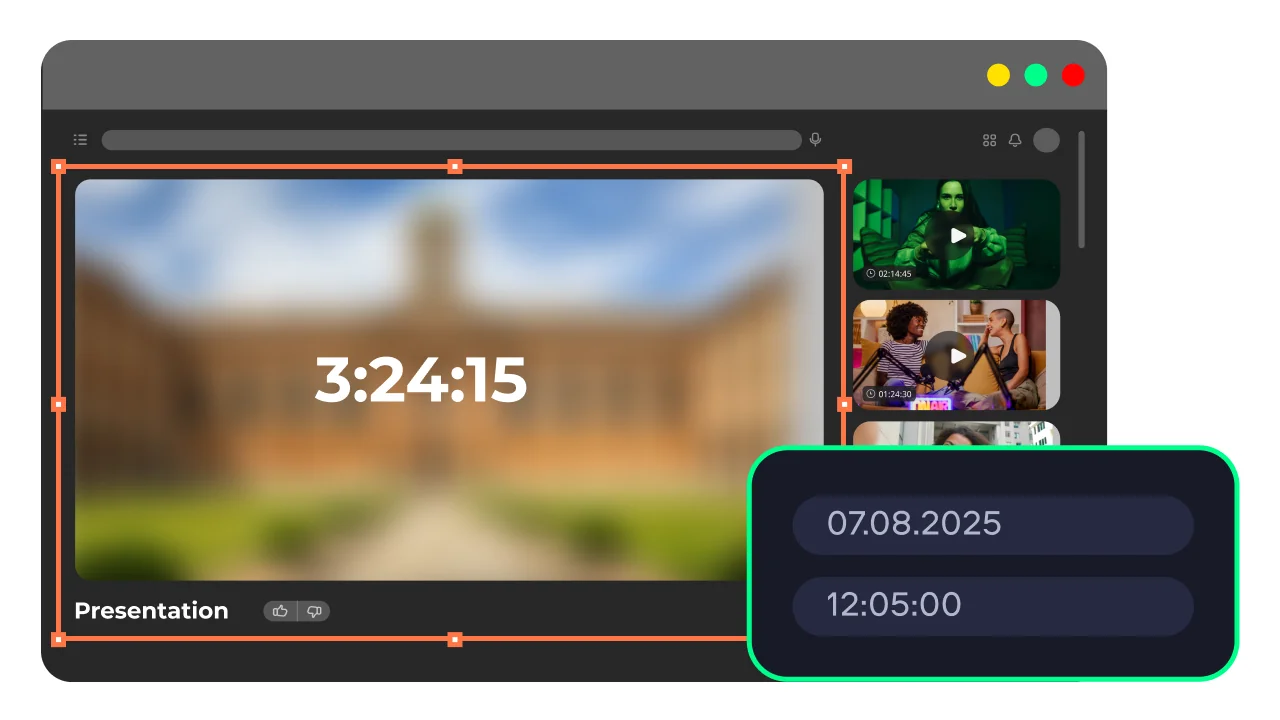
Never miss a thing with webinar recording
Try this easy-to-use free screen recorder for self-education. Grab the webinars, online courses, or TED Talks you want to attend. Schedule your recordings at the touch of a button. Capture audio and video simultaneously or separately.
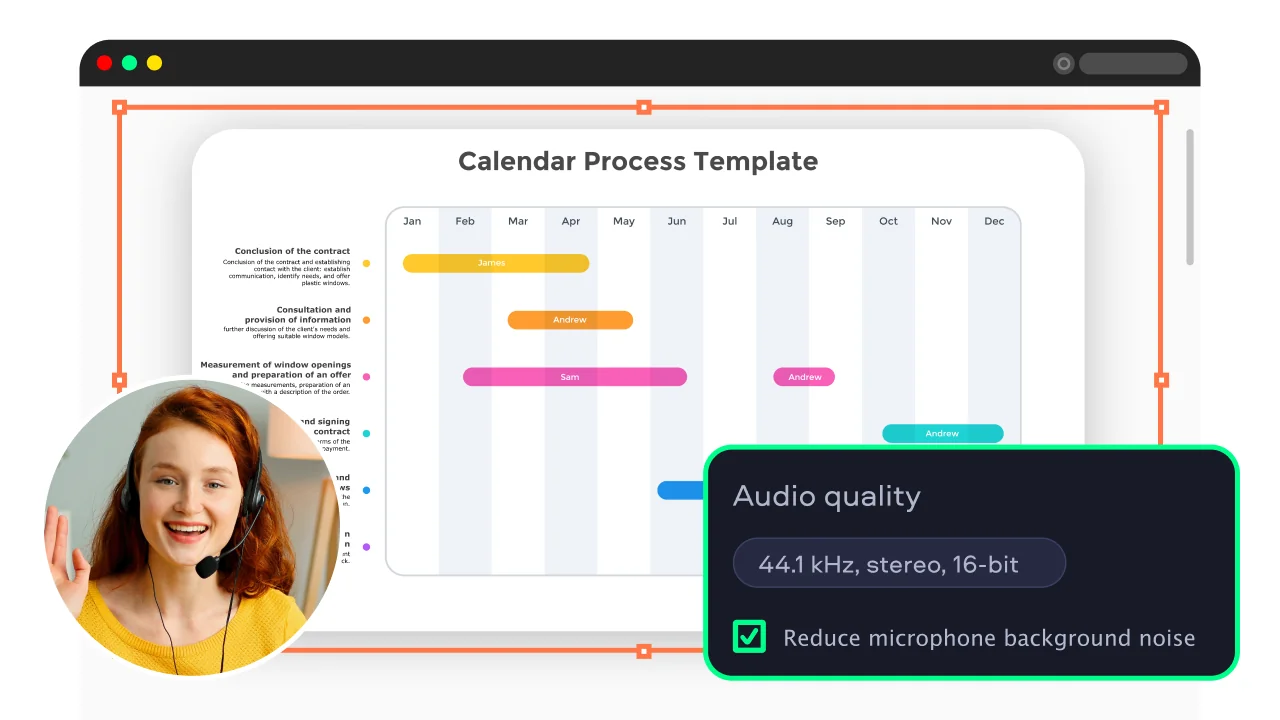
Narrate your presentation
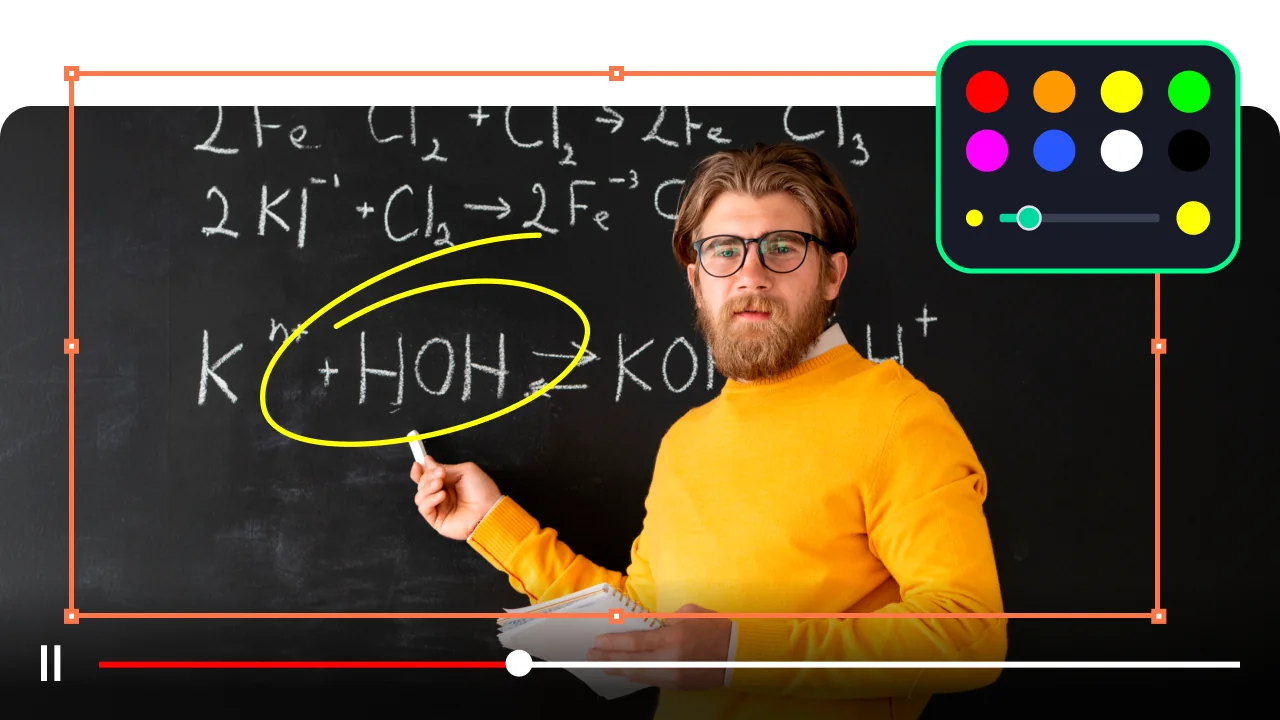
Use our screen-recording app to prepare for your next big meeting. Make the best impression, whether you’re pitching ideas to executives, preparing a quarterly report, or managing a major account. Compile visual materials and figures, highlight key elements with drawings, present your vision with confidence – and snag that promotion!
Create video prospecting content
Capture your computer screen to showcase your product or service in action. Record your voice-over to add a personal touch and explain the benefits of your offerings. Add annotations, captions, and other elements to make your videos more visually appealing.
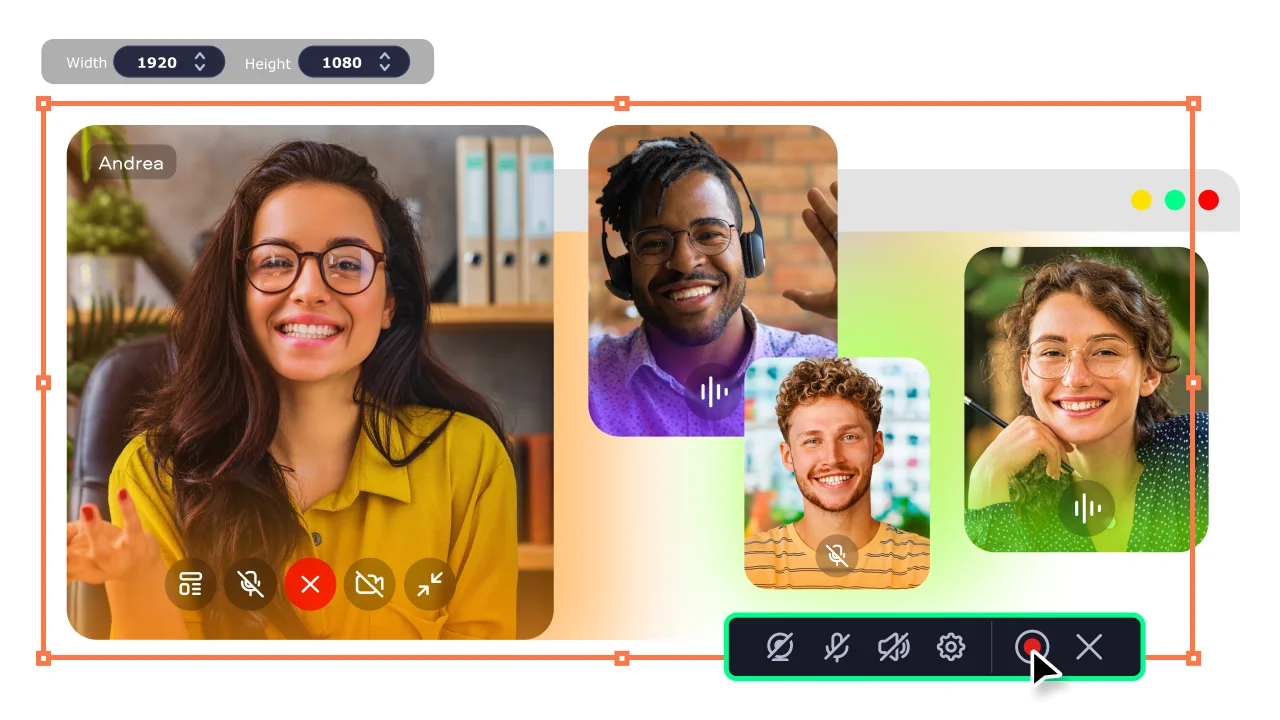
Record your Google Meet, Teams, and Zoom calls
Start recording your calls with a simple click – no complicated setup required. Enjoy crystal-clear recordings of both your screen and audio. Set up automatic recordings for recurring meetings and make sure you never miss a session. Easily capture video calls for later review, sharing, or reference.
Record a clip on a PC for YouTube
Choose this screen recorder and video editor for instant recognition on YouTube. Create high-quality screencasts in 4K. Showcase your talents by capturing just your screen or narrating over stock videos. Wow your subscribers with a few simple edits. Download this screen recorder or get the full version and make it to the top!
Microsoft® Windows® 10/11 64-bit with up-to-date patches and service packs installed
Intel®, AMD®, or compatible dual-core processor, 1 GHz
1280 × 768 screen resolution, 32-bit color
4 GB
300 MB available hard disk space for installation, 2 GB for ongoing operations
* The trial version of Movavi Screen Recorder has the following restrictions: a 7-day trial period, a watermark on output videos, and an inability to add a description or tags to a video before sharing it on YouTube. Learn more
Disclaimer: Please be aware that Movavi Screen Recorder does not allow capture of copy-protected video and audio streams.
70M+


My overall experience using Movavi Screen Recorder has been pretty amazing. Especially because both the video and audio quality comes out really clear and vivid. I love it and would recommend it to course creators especially.
Movavi Screen Recorder is a simple program I was able to use without a ton of training. I like software that is generally simple enough to use without reading instructions. All of the tools and functional items in Movavi Screen Recorder are as simple as possible to me.
Overall experience is perfect. The screen recording looks clear and the formats to export are the ones I need. I recommend this software a lot!
I like the ease of use of this software. It provides lots of options from screen capture images to screen capture videos. You can highlight material, draw on the images, even put arrows on it. The program is always open as a tab on the side of your computer screen so it is quick to get to.
Release notes
Frequently asked questions
Launch Movavi Screen Recorder and сlick the camera icon on the control panel. Select the recording area and enable system audio capture and your microphone. Click Start recording to capture your screen with sound.
Launch Movavi Screen Recorder and click the screen recording icon. Select the area you want to capture, adjust the capture parameters, and click Start recording. To end the recording, click Stop on the recording panel.
To screen-record on an iPhone, enable screen recording in Settings > Control Center and tap the Screen Recording button while the Movavi apps are active.
Use our free online screen recorder. Choose what you want to capture, allow access to your webcam and mic, and click Share to grab your screen.
Many YouTubers choose Movavi Screen Recorder for its intuitive interface, hassle-free screen capture tools, and high-quality video recordings. It has everything you need to make your screencasts extra informative and effortlessly create engaging video lessons, killer presentations, software demos, and super-clear tutorials.
Yes, Movavi screen-recording software lets you record system sounds. Just click the System audio button on the recording panel before starting your recording session.
Unfortunately, Screen Recorder is not suitable for game recording. If you need to record games, we recommend you to try Gecata by Movavi.
Gecata is a lightweight and free streaming and game recording software for PCs that lets you capture and stream gameplay with one click.
You can stream and record simultaneously, embed your webcam image into the recording, capture in-game sounds, and add voice comments with your microphone. It has many more cool functions for advanced game recording!
Yes, of course. If you have any questions, you can contact our Support team any time. You can also explore our detailed instructions on how to use Screen Recorder.
Yes, Movavi screen-recording software lets you record multiple streams at once. You can capture your computer screen, webcam, and audio.
Whether you choose a free online screen recorder or a paid desktop application depends on your needs. Desktop recorders like Movavi Screen Recorder have more features, better performance, and offline access. Online recorders are convenient for quick tasks but may have security risks, limited features, and poorer recording quality.
Best screenshot tools for Windows
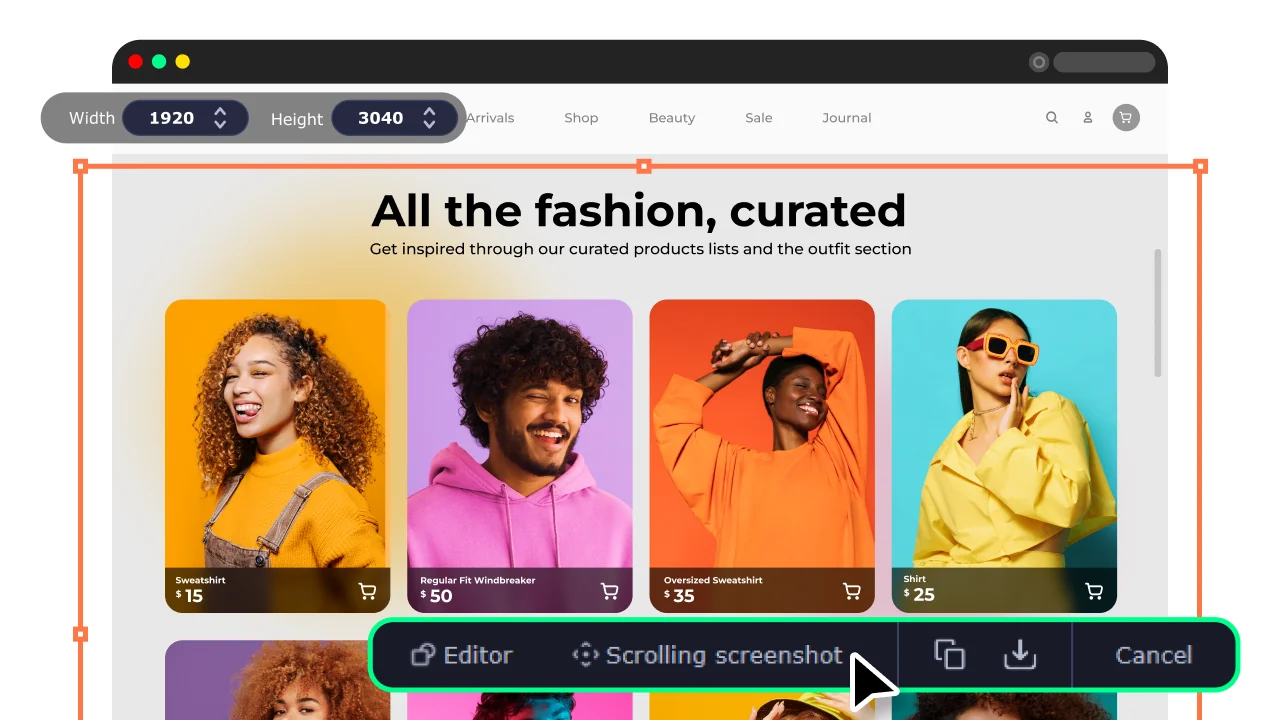
How to capture a scrolling screenshot


1.5M+ users already subscribed to our newsletter