From a plain clip to a polished zoom in video – in under five minutes.

How to Zoom in Movavi Video Editor – Zoom In on Any Video
Movavi Video Editor is a practical video zoomer for Windows and Mac that lets you zoom in on any part of a video with smooth, frame-controlled transitions – highlighting key details and guiding viewer attention without interrupting the flow of the scene.
Using the Pan and Zoom tool, you can apply a zoom in video effect to a clip you have already taken, refine it with keyframes on the timeline, preview the result instantly, and export the finished video in any popular format.
Trusted by 70 million creators worldwide
70M+


users
countries
updates per year
effects to choose from
Key features of the zoom in video editor
Everything you need to zoom in on video – smoothly, precisely, and creatively – on Windows and Mac.
Pan and zoom tool – smooth zoom in and zoom out
Movavi's Pan and Zoom tool gives direct control over the zoom position, scale, and direction for any clip on the timeline. Select Zoom In to push the frame closer to a specific area, or choose Zoom Out to pull back from a tight shot. Both directions produce smooth, controlled motion that updates in the preview window in real time as you adjust — so you see exactly how the zoom in video effect will look before export.

Keyframe-based zoom adjustment for frame-accurate results
Keyframes on the timeline let you set the start position and end position of any zoom independently, so you control precisely when the zoom begins, how fast it moves, and where it lands. This is the difference between a mechanical zoom that moves at a fixed rate and a crafted zoom that accelerates into a key moment and holds on a specific detail. No prior knowledge of keyframing is needed – the tool guides you through the setup with a visual interface.

Combine zoom effects with filters, transitions, and titles
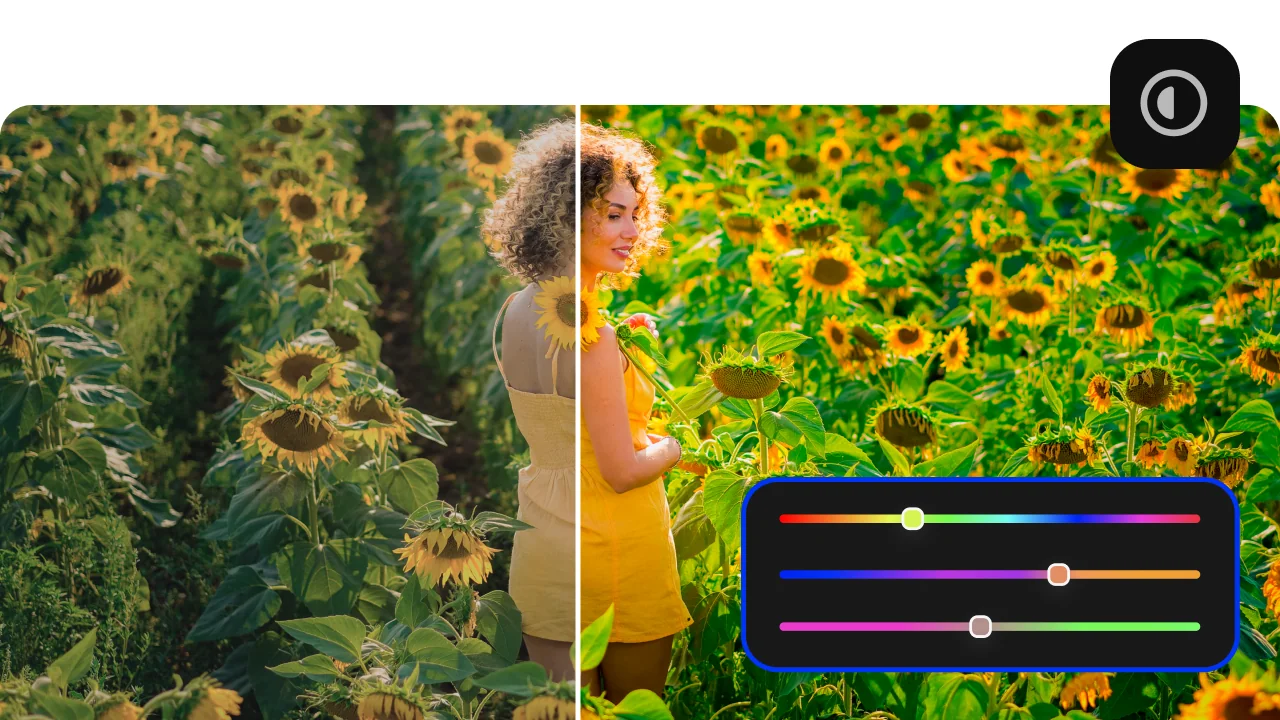
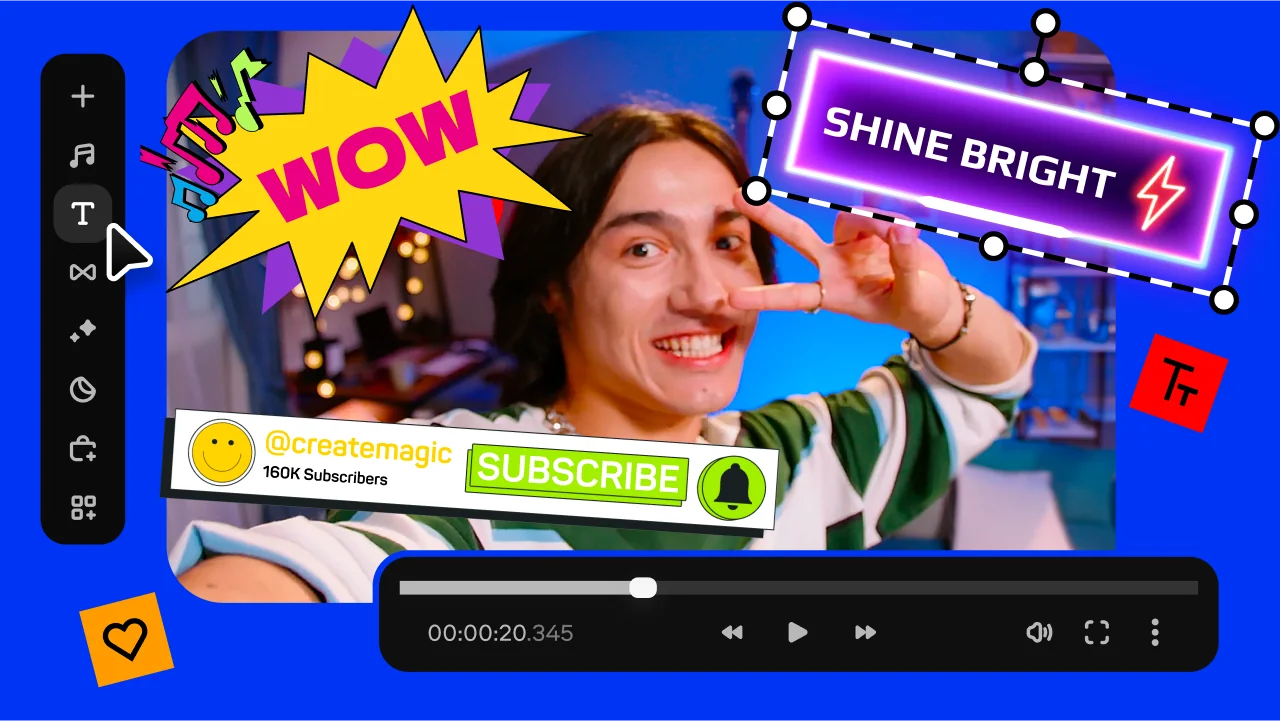
The zoom in video effect works alongside Movavi's full library of over 10,000 filters, transitions, stickers, and title presets. Add a colour grade to a zoomed scene to heighten its impact, apply a transition at the cut point to smooth the move between clips, or overlay a text annotation on the zoomed area to direct the viewer's attention. All of these elements exist on the same timeline and are adjusted in the same workspace.
Instant preview and export in any popular format
Every change to the zoom position or scale updates in the preview window immediately, so you evaluate the effect in context rather than rendering a test export. When the zoom looks right, click Export and choose MP4, MOV, AVI, or any other widely supported format. Resolution and quality settings are available for each export to match the intended platform or device.
Why use Movavi as your video zoomer
Three reasons Movavi is the practical choice for zooming in on video footage.
How to zoom in on a video with Movavi – 3 steps
Step 1. Install Movavi Video Editor
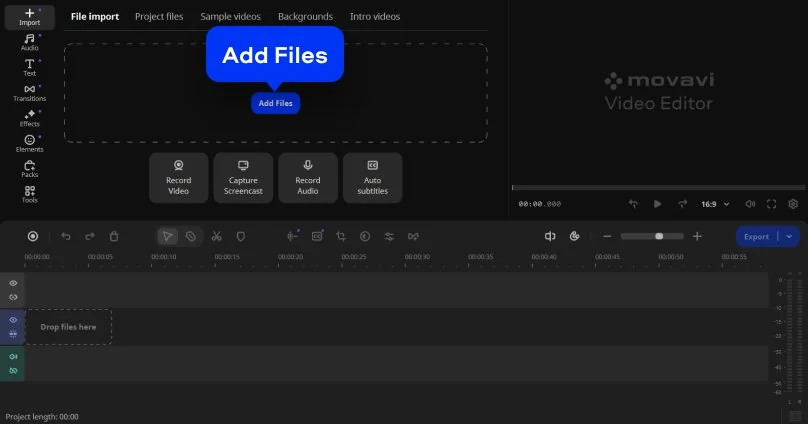
Download Movavi Video Editor for Windows or Mac and install it following the on-screen instructions. Once you open the program, import your clip by clicking Add Files. Drag it from the Project files onto the Timeline to start editing and get familiar with how to zoom a video using the available tools.
Step 2. Apply and adjust the zoom
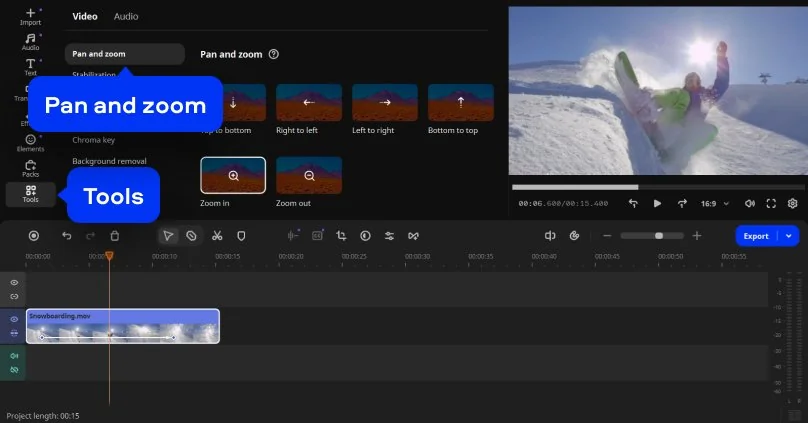
Open Tools and select Pan and Zoom. Choose Zoom in, then apply the effect to your clip. In the preview window, move and resize the frame to set the focus area. Use keyframes on the timeline to refine the video zoom-in and control how it progresses throughout the scene.
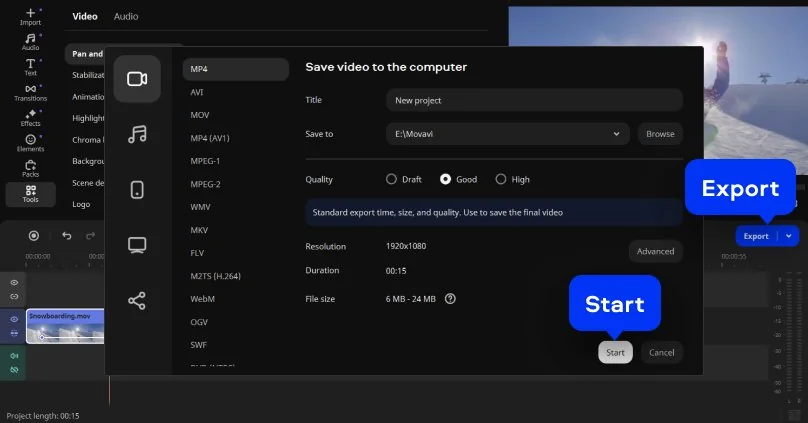
Step 3. Export your video
When everything looks right, click Export. Pick the format and settings that suit your needs, then save the file. Your video will be ready to watch or share right after exporting.
Who uses a zoom in video effect
Zooming in on footage is a fundamental editing technique used across many different types of content.
Social media creators and short-form editors · CONTENT CREATION
Creators editing content for Instagram Reels, TikTok, and YouTube Shorts use zoom in effects to punctuate reactions, highlight comedic moments, and create visual energy in fast-paced cuts. A quick push-in zoom on a subject's face at the right moment is one of the most effective ways to amplify emotional impact in short-form video – and Movavi's keyframe control makes it possible to time that movement precisely to the beat of the music or the punchline of a moment.
Educators and tutorial creators · EDUCATION
Teachers and tutorial creators use the zoom in video effect to direct viewer attention to specific steps in a demonstration – zooming in on a hand movement, a particular menu item in a software tutorial, or a product detail in a review. Movavi's Pan and Zoom tool makes it straightforward to apply a clean zoom to an already-recorded clip without needing to reshoot the footage at closer range.
Video journalists and documentary makers · JOURNALISM
Journalists and documentary editors use post-production zoom to simulate camera movement on archive footage, still photographs, and wide shots where a closer crop adds narrative emphasis. The Ken Burns effect – a slow pan and zoom across a still image – is one of the most widely used techniques in documentary editing, and Movavi's Pan and Zoom tool handles this directly on the timeline without requiring a separate motion graphics application.
Movavi Video Editor
Create awesome videos easily

Frequently asked questions
Common questions about zooming in on video – in editors, media players, and recorded footage.
How do I zoom in on a specific part of a video?
How do I zoom in on a specific part of a video?
To zoom in on a specific part of a video in Movavi, place the clip on the Timeline, open Tools → Pan and Zoom, select Zoom In, and drag the focus frame in the preview window to the exact area you want to emphasise. Resize the frame to set how close the zoom goes. Use keyframes to control the timing – set one keyframe at the start of the zoom and another at the end to define the movement. The zoom in video effect renders smoothly between these two points. This approach works on any clip you have already recorded; you do not need to reshoot the footage at a closer distance. Other software that lets you zoom in on video footage after recording includes DaVinci Resolve (free, professional-grade), Adobe® Premiere® Pro (subscription), and CapCut (free, for shorter clips).
How do I zoom in on a video already taken?
How do I zoom in on a video already taken?
Zooming in on a video you have already taken – rather than during filming – is done in post-production using a video zoomer or editing software. In Movavi: import the clip, open Pan and Zoom, position the focus frame over the area you want to zoom into, and use keyframes to set the motion. The software zooms into the existing pixel data of the recorded frame – it is a digital crop that enlarges the selected portion rather than an optical zoom. This means zooming in significantly on low-resolution footage will reduce quality; for best results, the original clip should be recorded at 1080p or 4K, which leaves enough pixel resolution to support a meaningful zoom in video effect without visible degradation. If the original file is lower quality, the zoom effect will still work but may show some softness at the enlarged size.
Can I zoom in on a video in Media Player?
Can I zoom in on a video in Media Player?
Windows Media Player does not include a built-in zoom in on video feature for post-production purposes – it offers basic display zoom via browser or OS-level scaling, but this only enlarges the playback window, not the video itself as a permanent edit. To permanently zoom in on a video so it appears closer in the exported file, you need an editing software or tool like Movavi Video Editor. VLC Media Player has a limited interactive zoom (View → Interactive Zoom) that magnifies the playback view in real time, which is useful for watching a specific area but does not create an edited, exported file. For a zoom in video effect that becomes part of the permanent video file – saved and shareable – desktop editing software is required.
How do I adjust the zoom view?
How do I adjust the zoom view?
In Movavi Video Editor, adjusting the zoom view after applying the Pan and Zoom effect is done directly in the preview window: select the zoom keyframe on the timeline to activate the frame handles in the preview, then drag the edges of the focus frame to resize the crop area (making it smaller zooms in further; making it larger pulls back), and drag the frame itself to reposition the focus to a different part of the shot. For smooth how to zoom video adjustments over time, add or move keyframes on the timeline to change the speed or direction of the zoom motion – a keyframe at the start of the clip and one at the end creates a continuous slow push-in; placing them closer together creates a faster snap zoom. Preview the result in real time after each adjustment by pressing play in the preview window.
See other useful how-to guides
Join us for discounts, editing tips, and content ideas


1.5M+ users already subscribed to our newsletter