
Movavi Video Editor
Create awesome videos easily
If you’re here, you’re probably curious about how you can view someone’s Instagram account with one of your own. Instagram’s filled with photos, videos, and stories that catch the eye. And with billions of users on the platform, it makes sense that onlookers would want to view them, too.
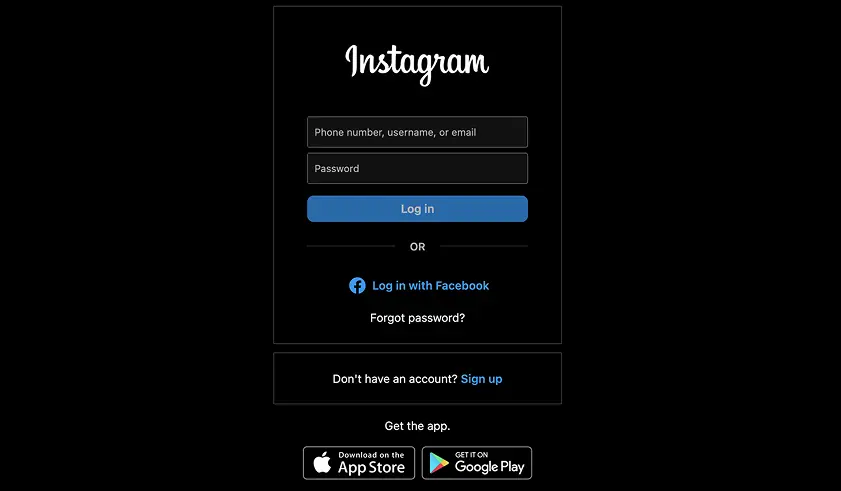
Don’t have an Instagram account? Just know that Instagram keeps most of its users’ content locked down. This means that you’d either have to log in (if you have an existing account) or sign up for a new one to view profiles and access features.
So if you’re only curious to view a profile or two, these restrictions can be quite frustrating.
In this guide, we'll walk you through the best legal methods to browse Instagram without an account.

The simplest way to view Instagram profiles without an account is to access them directly via the profile URL. Every Instagram profile has a unique web address that can be visited in any browser, even if you're not logged in.
Here's how to do it:
1. Open your preferred web browser on your computer or phone.
2. In the address bar, type in instagram.com/ followed immediately by the username of the profile you want to view. For example, to view National Geographic's profile, you would enter:
`instagram.com/natgeo`
3. Press enter or click go, and the profile will load on your screen.
When accessing an Instagram profile via URL without an account, you'll be able to see all the publicly available information and content, including:
However, there are some limitations to keep in mind. You won't be able to:
So while directly accessing Instagram profiles without an account is great for a quick anonymous peek, your experience will be limited compared to logged-in browsing. In the next section, we'll cover how search engines can expand your Instagram access.

Your favorite search engine can be a powerful tool for discovering Instagram content without an account. With a few simple search tricks, you can uncover posts, profiles, and hashtags related to any topic - no login required.
Here's how to use Google to search Instagram:
1. Go to Google.com in your web browser.
2. In the search bar, type `site:instagram.com` followed by your search keywords. For example, to find travel-related Instagram posts, you would search:
`site:instagram.com travel`
3. Press enter and browse the results. You'll see a mix of public Instagram posts, profiles, and hashtags related to your search term.
4. To narrow down the results, you can add additional keywords or use other search operators. For example, searching `site:instagram.com travel "best places"` will only show pages that include the exact phrase "best places."
When you click on a result, you'll be taken directly to that public Instagram post, profile, or hashtag page, where you can browse without logging in. This is a great way to quickly view Instagram posts about a specific topic or from a certain account.
Note that without an account, you’ll only sometimes be able to view publicly available content. Private accounts and stories still won’t show up in search results, and you also won’t be able to interact with posts or profiles.
But if you want to view someone’s public Instagram casually, Google Search is a great way to do so without having to create an account.
Hashtags are a fundamental part of how content is organized and discovered on Instagram. When a user includes a hashtag like #travel or #foodie in their post, that post is added to a collection of all the public posts that use the same hashtag. And the best part? You can browse these hashtag collections without even having an Instagram account.
To view an Instagram hashtag page anonymously, simply type the URL into your browser following this format:
`instagram.com/explore/tags/your-hashtag/`
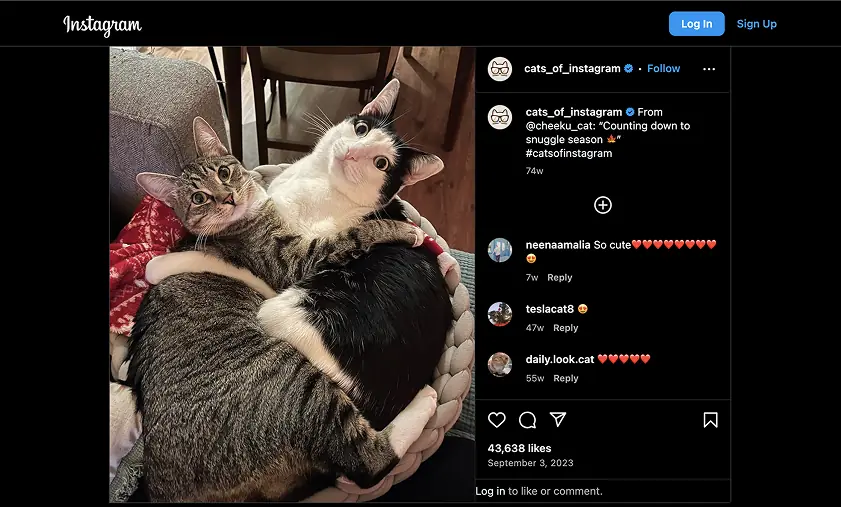
Replace "your-hashtag" with the hashtag you want to browse (without the # symbol). For example, to see posts tagged with the popular #catsofinstagram hashtag, you would visit:
`instagram.com/explore/tags/catsofinstagram/`
This will take you to a page displaying the top posts and most recent stories for that hashtag, updated in real-time. It's a great way to seamlessly view trending Instagram content without logging in. However, you won't be able to like or comment on the posts unless you have an account.
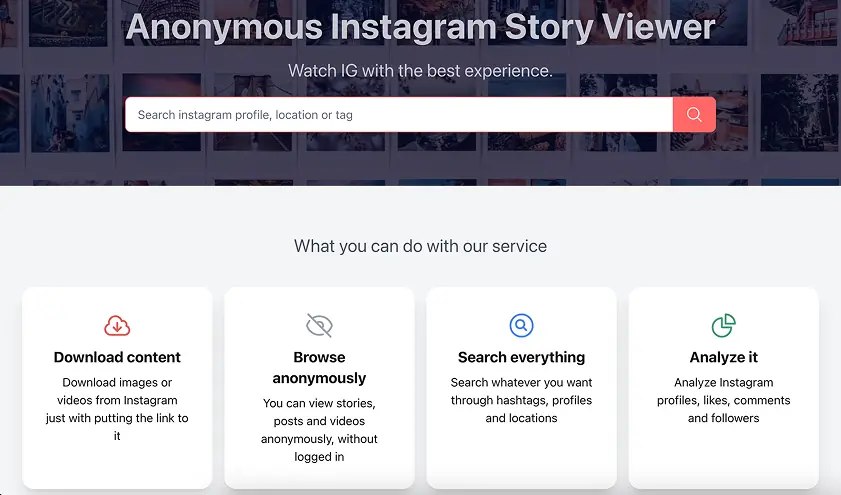
When searching for ways to view Instagram without an account, you'll likely come across various third-party tools and websites promising easy access. These Instagram viewers can offer features beyond what's possible with the official app, but they also come with some drawbacks and risks.
Here's a quick comparison of some popular third-party Instagram viewers:

The main advantage of these tools is the ability to view Instagram content, including stories in some cases, without needing to log in or even have an account. They can be handy for casual browsing or checking out a specific profile anonymously.
However, using unofficial third-party apps comes with some notable downsides. The user experience is often clunky compared to the native Instagram interface, certain features may be missing or inconsistent, and there's always the risk that the tool could stop working if Instagram changes its API.
Possible risks when using third-party Instagram viewers
The biggest downside to using Instagram viewers is that these pose huge privacy and security risks to your personal accounts (even if you don’t use Instagram).
As these are unverified tools and are considered non-affiliated with Instagram, there’s a possibility that they use questionable methods to obtain the data you need. These often come at the cost of violating Instagram’s terms of service.
These suspicious third-party tools are infamous for injecting malware and spam into accounts. They even attempt to phish users’ personal information, like using real Instagram account credentials if they’re entered.
Your browsing account may also be compromised once you allow them access, collect your data, and sell it to other third parties.
If you’re still curious to try, be sure you’re well-equipped. Be careful about the third-party Instagram viewers you use. Check for reviews from trusted sources. Also, look for an “HTTPS” in the URL for a secure connection. And never enter any of your personal info (like your real Instagram account login information) if you’re prompted to.
As a word of caution, if what they’re asking for is suspicious, trust your instincts and back away.
The safest way to browse Instagram is to ultimately do so via the platform itself. You can easily access Instagram on any mobile device and on your desktop. You’ll need to create an account for this, but you also avoid the potential privacy and safety risks when using unauthorized third-party viewing tools.
As we've seen, there are several ways to view public Instagram content without an account. But what about private profiles? Can you peek behind the curtain without logging in or following?
The short answer is no. When an Instagram user sets their profile to private, they are in complete control over who can see their posts and stories. Only approved followers can view private profiles, and there's no legitimate way around this.
If you come across a third-party website or app that claims to show you private Instagram profiles without an account or following, beware. These are almost certainly scams. At best, they'll waste your time with fake or outdated content scraped against Instagram's terms. At worst, they may try to steal your personal information or install malware on your device.
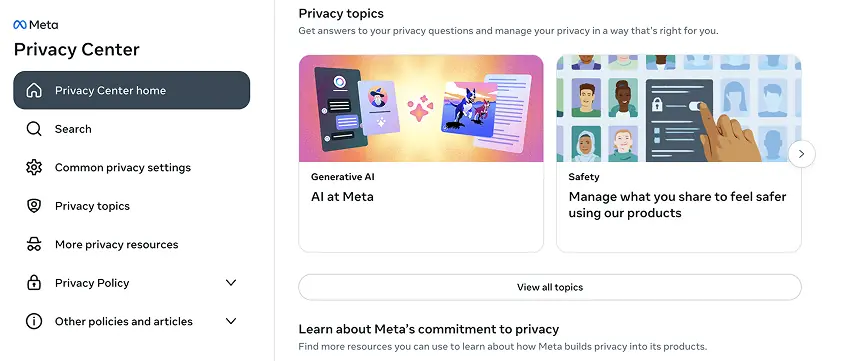
Instagram's privacy settings are intentionally designed and rigorously enforced. The platform prioritizes user control and security, so there are no "secret backdoors" or loopholes to access private content without permission. Anyone saying otherwise is likely trying to deceive you.
The bottom line? If you want to view a private Instagram profile, your only legit option is to create an account and send a follow request. Anything else is either a scam or a violation of the user's wishes. Respect people's privacy online, just as you would in real life.
6️⃣ Viewing Instagram without an account – is it legal?
You might have been sweating bullets while reading all these ways to view Instagram anonymously.
There’s no need to worry. It’s completely legal for you to view Instagram without having to log in, as long as you stick to viewing public posts and accounts, and use the approved methods.
As we’ve tackled, methods like entering Instagram profile URLs directly, using hashtag pages, and searching directly on Google are all safe and legitimate ways to view Instagram content. These are legal because the data is already publicly available, as both Instagram and the account holder (set to public) allow it to be accessed.
That said, we’ve also shared other methods that pose security and privacy risks. And these most likely use ways to access personal information that violate Instagram’s terms of service.
Scraping large amounts of data, using unauthorized third-party viewers, and impersonating or harassing others are all strictly not allowed.
If you’re found to violate Instagram’s terms and limits, you may be banned from using the account or even face legal consequences, so it’s best you avoid these methods entirely.

Common questions about viewing Instagram without an account
There are a few ways to view public Instagram content without logging in:
Enter an Instagram profile URL directly into your browser
Search for profiles, hashtags, and posts using Google
Visit Instagram hashtag pages by URL
Use a reputable third-party Instagram viewer tool
No, Instagram does not track or reveal information about who views public profiles or posts when they are not logged in. So you can browse anonymously without the user knowing.
No, there is no legitimate way to view posts from a private Instagram account without following them and being approved. Anyone claiming otherwise is likely trying to scam you.
Not really. Instagram does not provide a way to see all of the accounts associated with a particular user. If someone has multiple Instagram accounts, you would need to find each one individually. Focus on the account they have chosen to share with you.


1.5M+ users already subscribed to our newsletter