Step 1. Download and install the HD file converter
First, download and install Movavi’s HD video converter on your Mac or Windows computer. You can follow the instructions that appear on your computer screen to install the program.
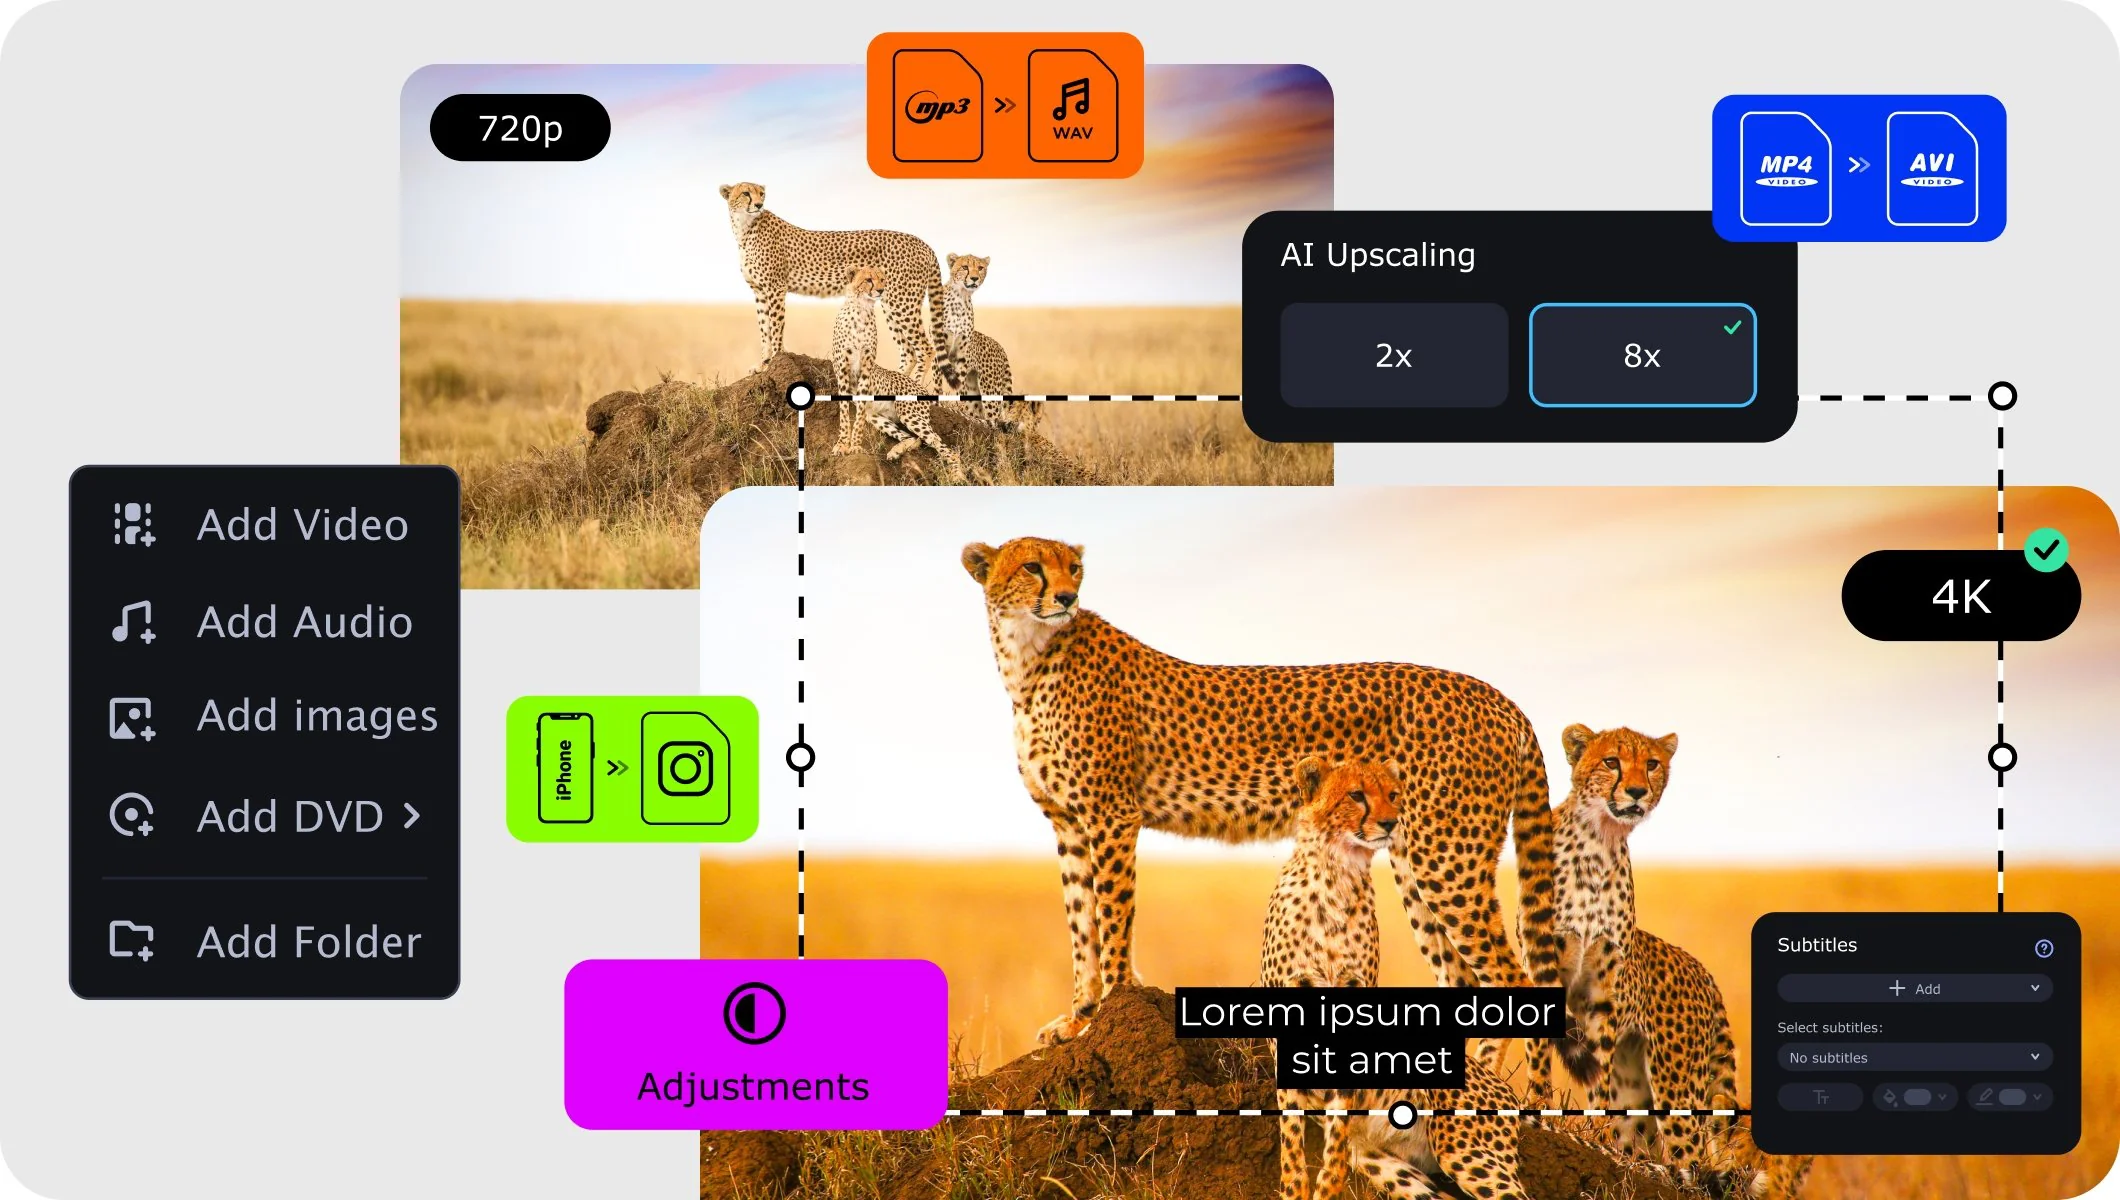
Movavi Video Converter lets you change video resolution to 720p, 1080p, or 4K, switch between formats, and upscale older footage using built-in AI.
Whether you’re converting a 480p video file for a presentation, upgrading home movies for a big-screen TV, or prepping HD footage for social media, Movavi handles the whole job in one app – no online upload required.
70M+


The HD converter shouldn’t just change resolution – it should do it fast, cleanly, and without guesswork.
One-click HD video presets – 720p, 1080p, and 4K
Movavi Video Converter has ready-made HD video presets for every popular resolution – 720p HD, 1080p Full HD, and 4K Ultra HD. Pick the output quality you need, select a format (MP4 is recommended for the widest compatibility), and hit Convert. No digging through codec menus or guessing which settings produce the best video quality for your target device or platform.
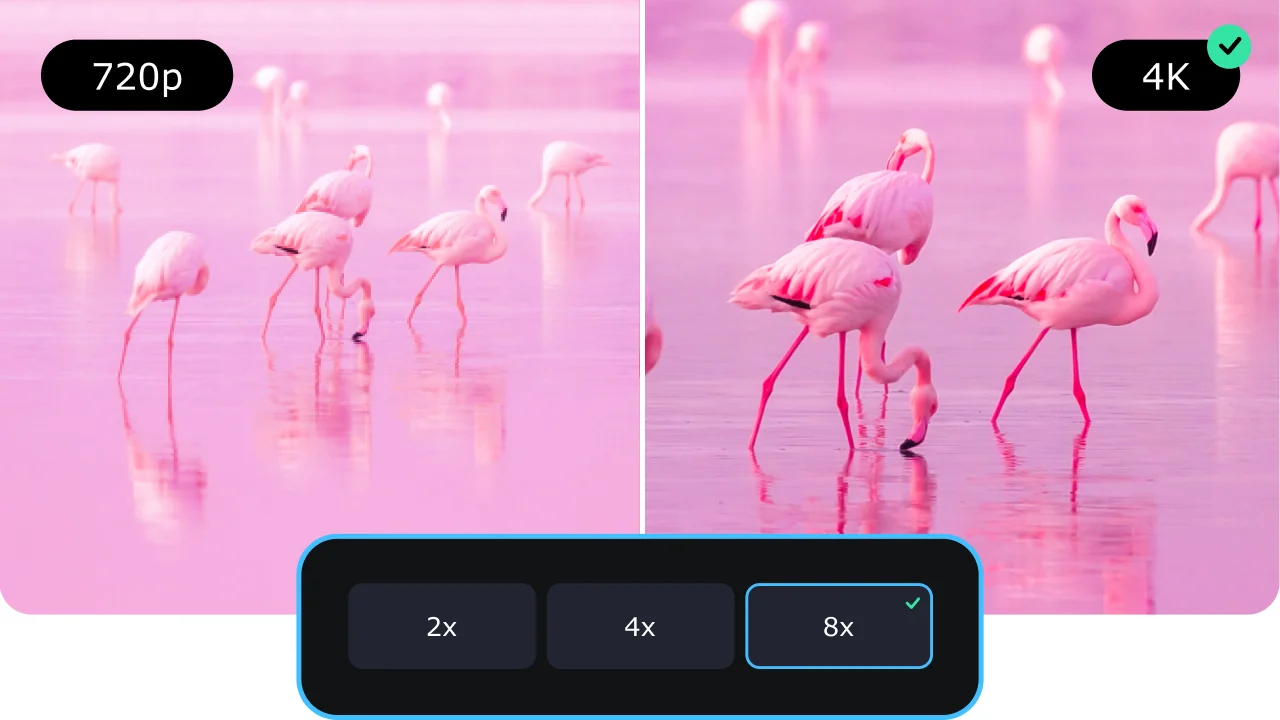
Sharpen old and low-res video with AI upscaling
Movavi’s built-in AI upscaler can increase video resolution by up to 4× or 8×, pulling out details that standard resizing algorithms would blur. This is the practical way to convert old home videos, 480p files, and standard-definition footage to a watchable HD output – the AI fills in missing detail rather than just stretching pixels.
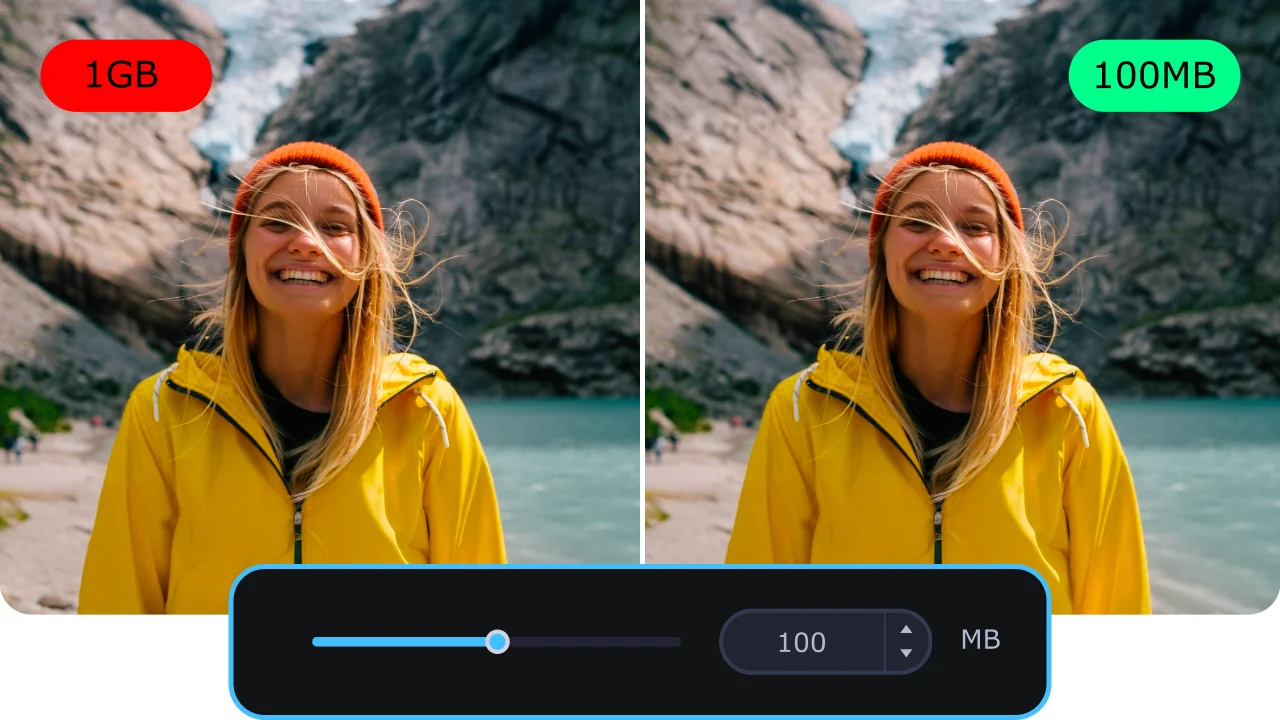
Lightning-fast conversion without quality loss
SuperSpeed mode uses GPU hardware acceleration to convert HD and 4K video files at up to 79× faster than real time on supported hardware. When switching between similar formats without re-encoding, it remuxes the file – so the video quality stays identical to the source and the conversion completes in seconds regardless of file size.

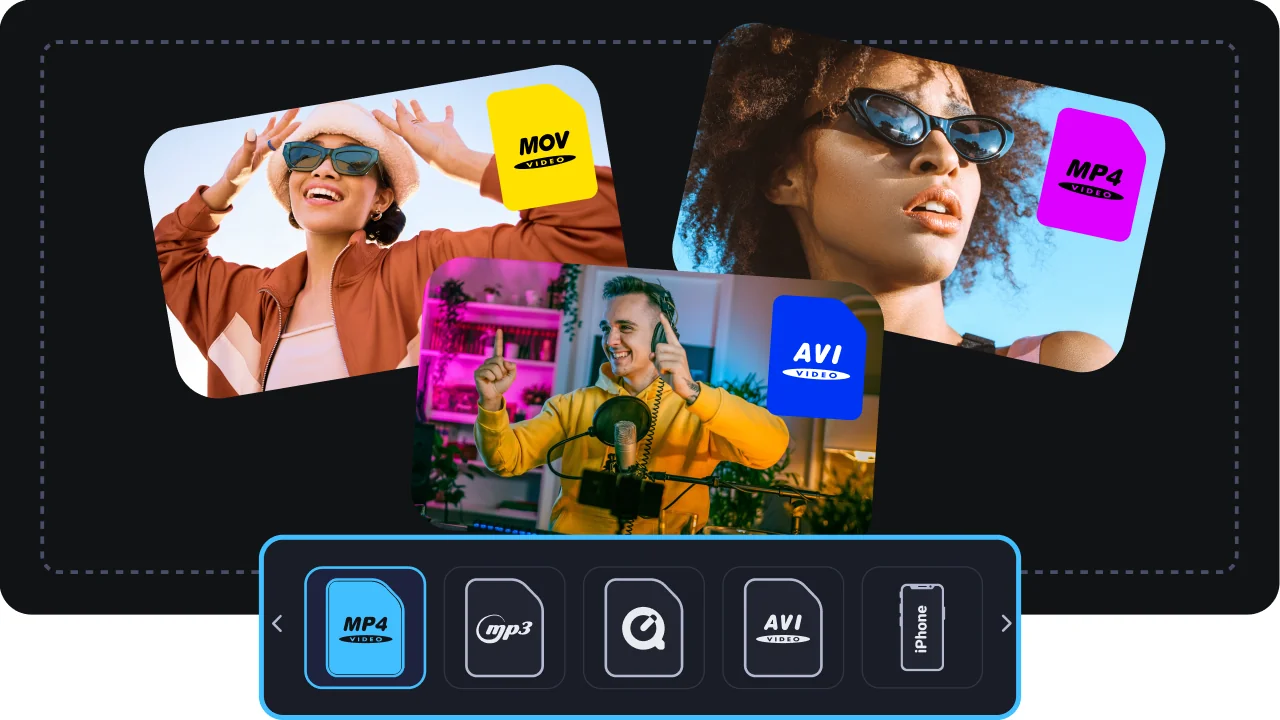
180+ formats and device-specific presets
Movavi Video Converter supports over 180 video and audio codecs and formats, including MP4, MKV, MOV, AVI, WMV, FLV, AVCHD, and more. The Devices tab includes ready-made presets for iPhone, Android, smart TVs, gaming consoles, and social platforms like YouTube and Instagram – so you can change video format and resolution together in one pass without looking up platform specs.
Three things that put Movavi ahead of other free and online HD video converters.
From any video file to a sharp HD output – done in minutes.
First, download and install Movavi’s HD video converter on your Mac or Windows computer. You can follow the instructions that appear on your computer screen to install the program.
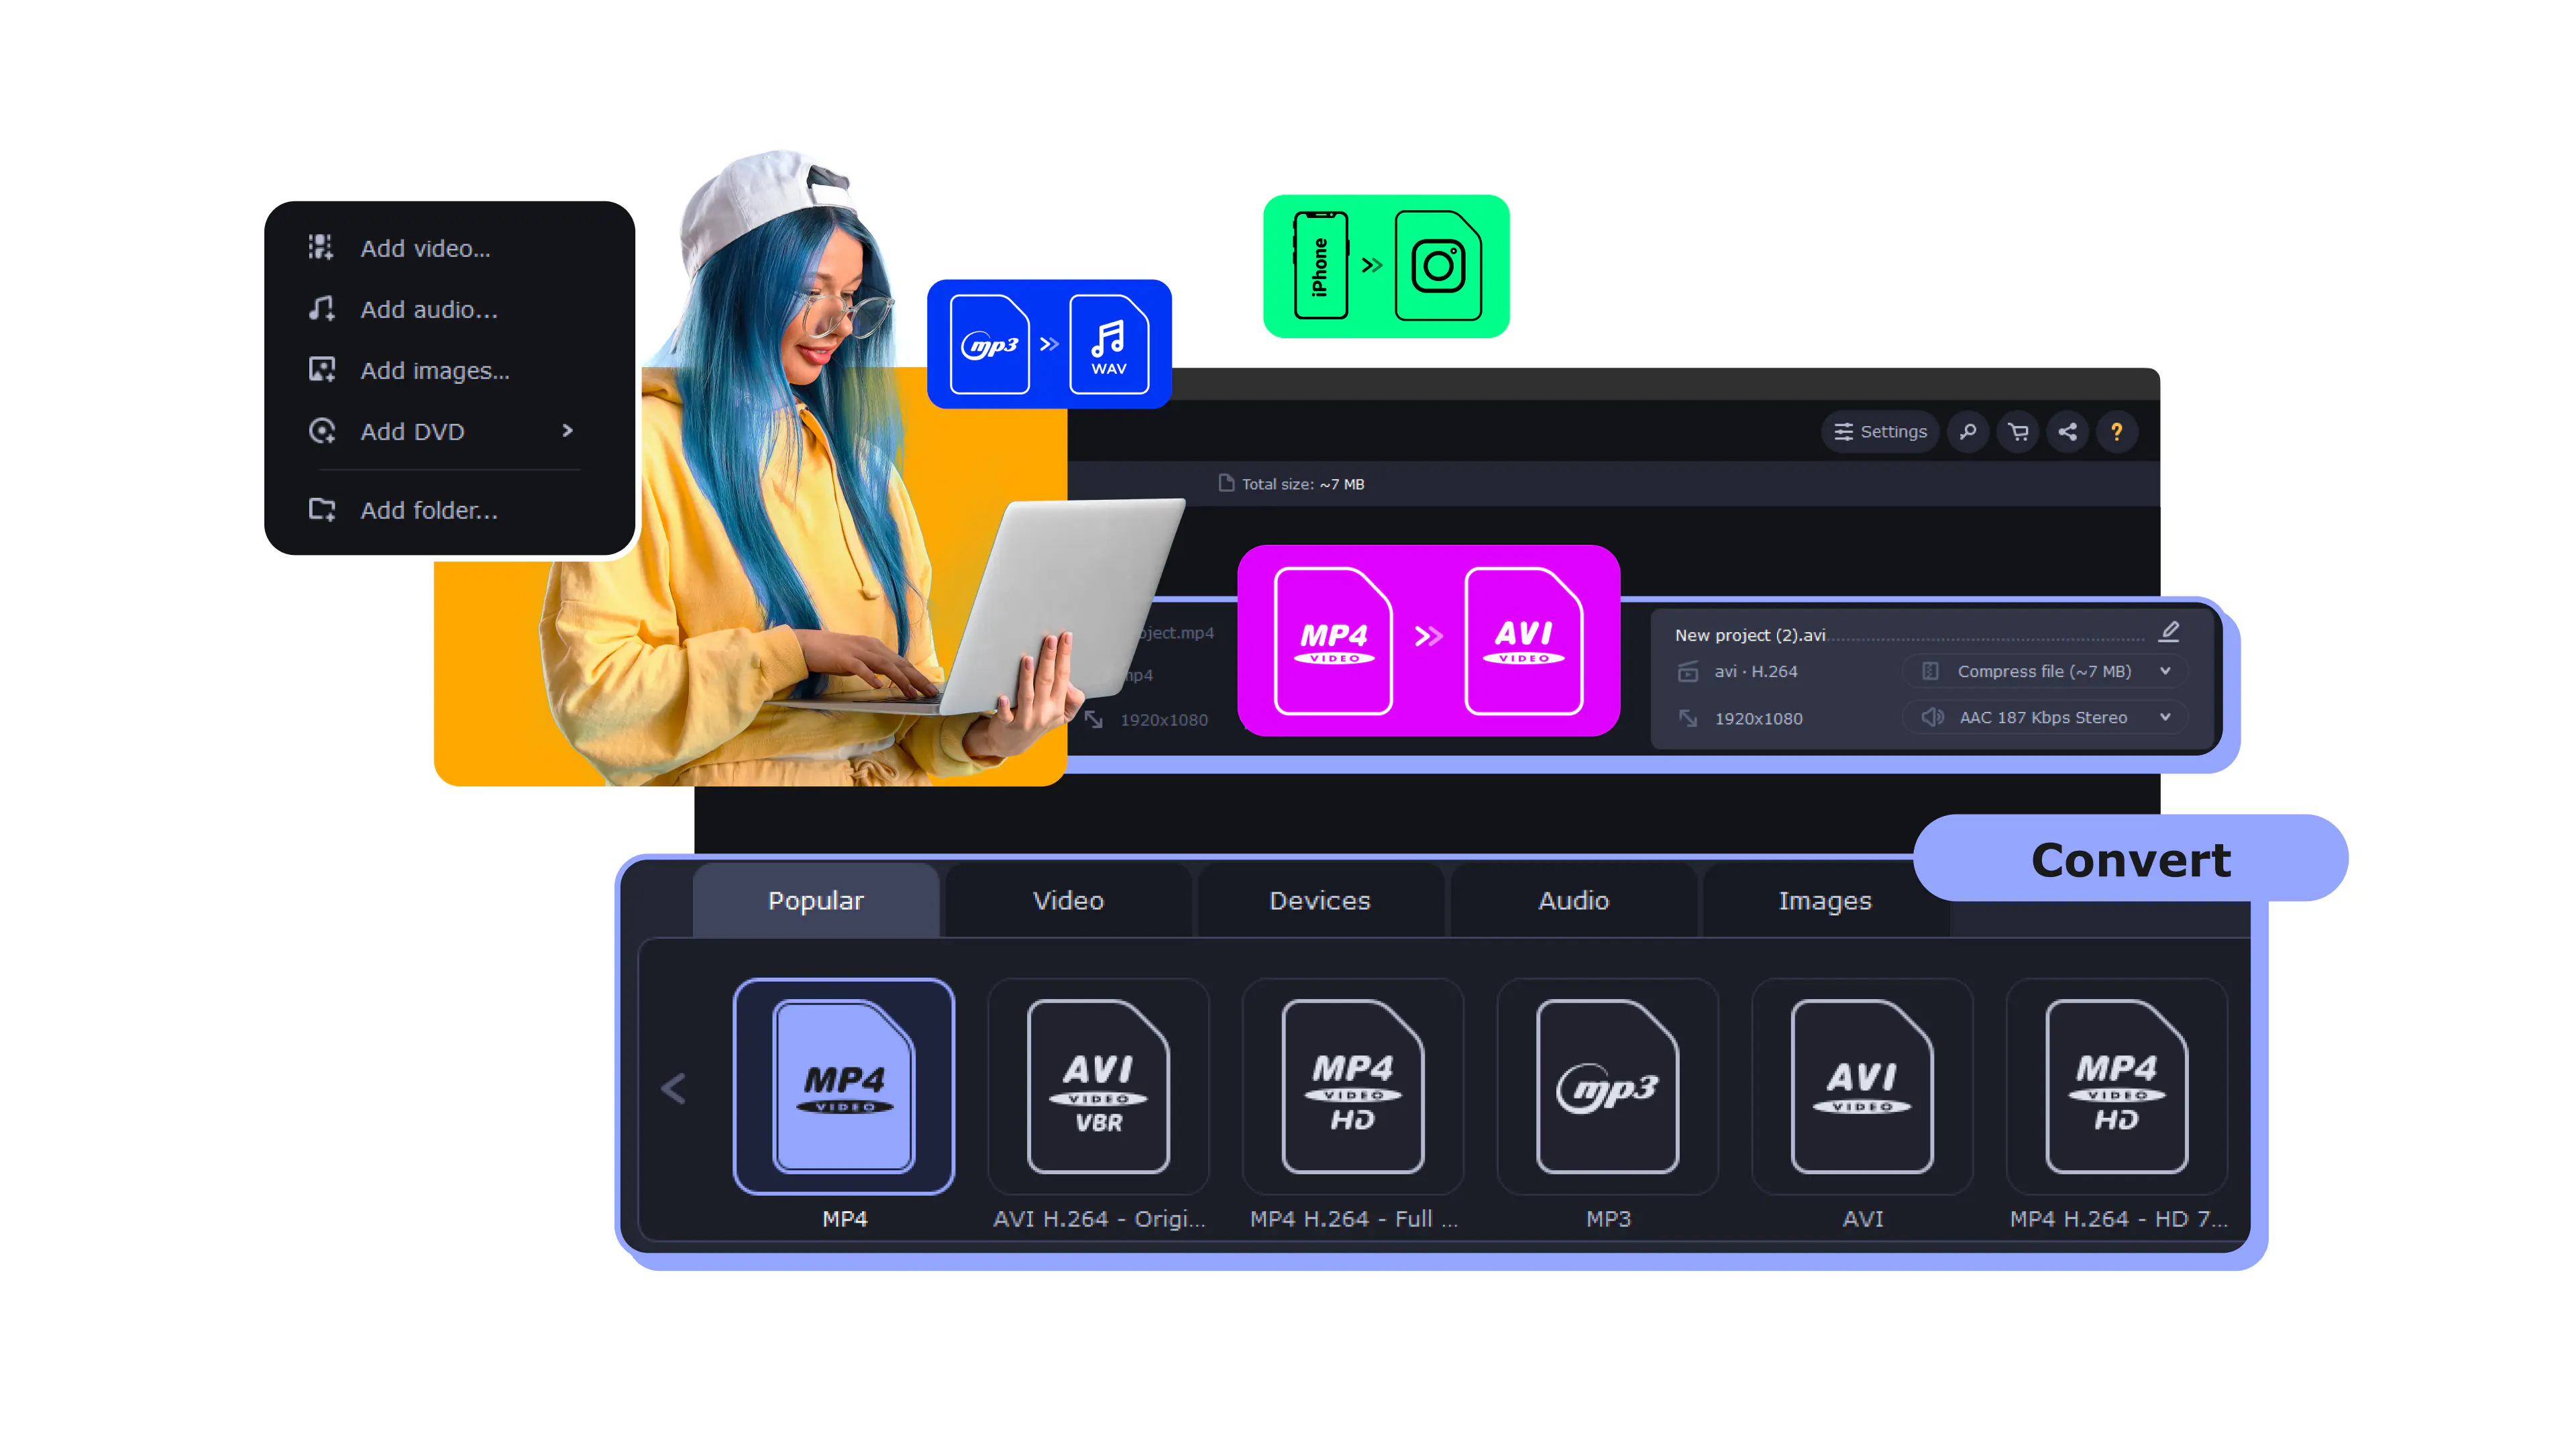
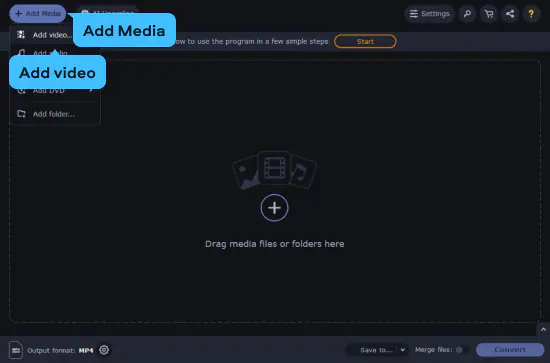
After installing the software, open it. From there, add files to convert by clicking Add Media and Add video, at which point you can select your files and add them to the conversion queue. Movavi Video Converter supports batch processing, which means you can convert several files simultaneously if needed.
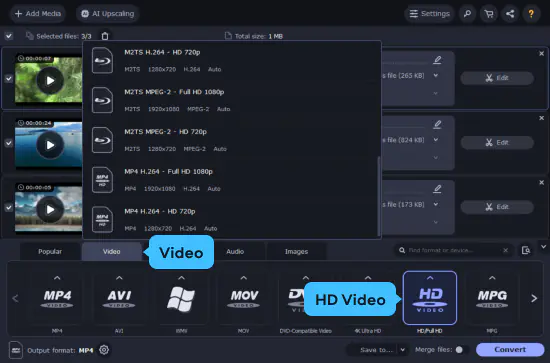
Select the file format you would like to convert your videos to by opening the Video tab toward the bottom of the window. For HD videos, you would select the HD Video preset group and click on the compatible preset. If you want to convert 8K video files to 4K or 2K formats, you can select the 4K Video group and locate the matching preset.
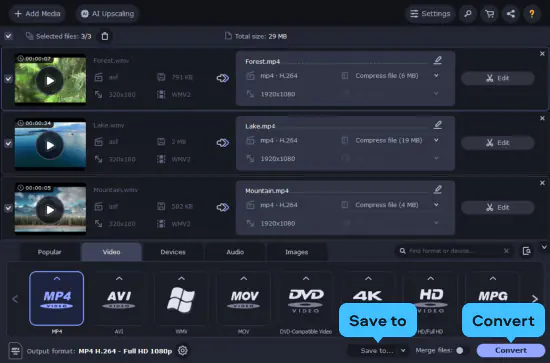
You can select a save destination for your converted files by clicking Save to. In the next window, select the appropriate folder to save the file and click Open. To start the file conversion process, click Convert and wait for the conversion to complete. Once the file has been converted, you can access it in the save folder and play it with a media player or move it to another device.
Using Movavi Video Converter, converting HD videos is easy, and you can also convert files in many other formats such as MP4, MOV, 3GP, MKV, and AVI. You can also convert Blu-ray and DVD formats into other file formats to watch them on nearly any computer or mobile device.
Upgrading video resolution is a practical need that shows up across personal, professional, and creative projects alike.
Families preserving home movies · PERSONAL
Decades of home videos shot on camcorders, phones, and early digital cameras often sit in SD or 480p formats that look painfully blurry on today’s HDTVs and monitors. Movavi’s AI upscaling and HD presets let families convert old video files so those memories look sharp on a modern screen – whether for a birthday slideshow, a family reunion, or just better weekend viewing.
YouTubers and content creators · CONTENT CREATION
Creators who record on older gear, webcams, or phones that cap out at 480p or 720p need to deliver 1080p content to stay competitive on YouTube and Instagram. Movavi Video Converter lets them change video resolution and format in a batch run before uploading, so every video in their archive gets the same quality upgrade without touching each file manually.
Business and corporate video teams · BUSINESS
Marketing teams pulling clips from old company archives, training departments repurposing SD screen recordings, and agencies delivering client projects all run into the same problem: source footage that doesn’t meet HD delivery requirements. Movavi Video Converter’s batch conversion and HD presets let small internal teams bring an entire library of video files up to 1080p spec in one session.
Common questions about HD video conversion, resolution upgrades, and what to expect from the process.
To convert a video to HD quality using Movavi Video Converter:
If you want a free online option, Movavi also offers a browser-based video converter – though the online version caps file sizes at 500 MB and is slower than the desktop software for larger files. For consistent results across multiple files, the desktop app is the better pick.
Converting a 480p video to 1080p in Movavi is the same process as any HD conversion: add the file, select the 1080p Full HD preset from the HD Video section, and hit Convert. The important thing to understand is that going from 480p to 1080p is an upscale – the video resolution will be 1920 × 1080, but the actual level of detail is limited by what’s in the original 480p source. Standard resizing will make the video larger but softer. For the best possible result, enable Movavi’s AI upscaling feature in the output settings – the AI algorithm reconstructs missing detail rather than just stretching pixels, which produces a noticeably sharper 1080p output from a 480p source than basic rescaling alone.
Yes, with the right HD video converter and realistic expectations. Movavi Video Converter can change the resolution of old camcorder footage, DVD rips, and early digital recordings up to 1080p. The standard resizing approach produces a technically HD file that plays at the right resolution but may look soft if the source was shot at very low quality. Movavi’s AI upscaling feature meaningfully improves this: it uses AI to analyze the video quality and fill in detail rather than just scaling. The result won’t match native HD footage, but it’s noticeably sharper than a straight rescale – which makes a real difference when you’re watching old home movies on a modern TV. For best results, start with the highest-quality source file available (the original tape or disc rather than a compressed copy).


1.5M+ users already subscribed to our newsletter