HandBrake is basically the opposite. Open it for the first time and it feels like a pilot’s cockpit – sliders, tabs, acronyms everywhere. I’ll be honest, it took me a little while to figure out what was what, but once I leaned on the presets it clicked. I converted a big HD file, and while it wasn’t the fastest, the result looked great and took up half the space. The real value here is the control: if you’re willing to mess with the settings, you can fine-tune your output in ways most video format changer options don’t even let you touch. It’s free, open-source, and not exactly “user-friendly,” but once you learn it, it’s hard to beat.
How to convert video files with HandBrake
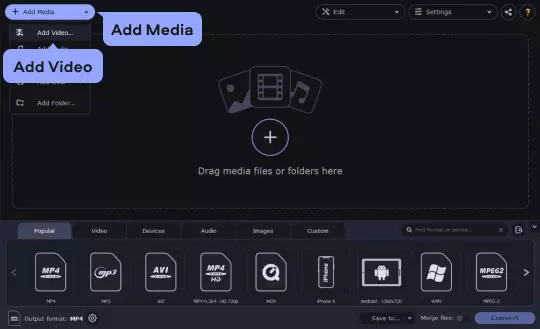
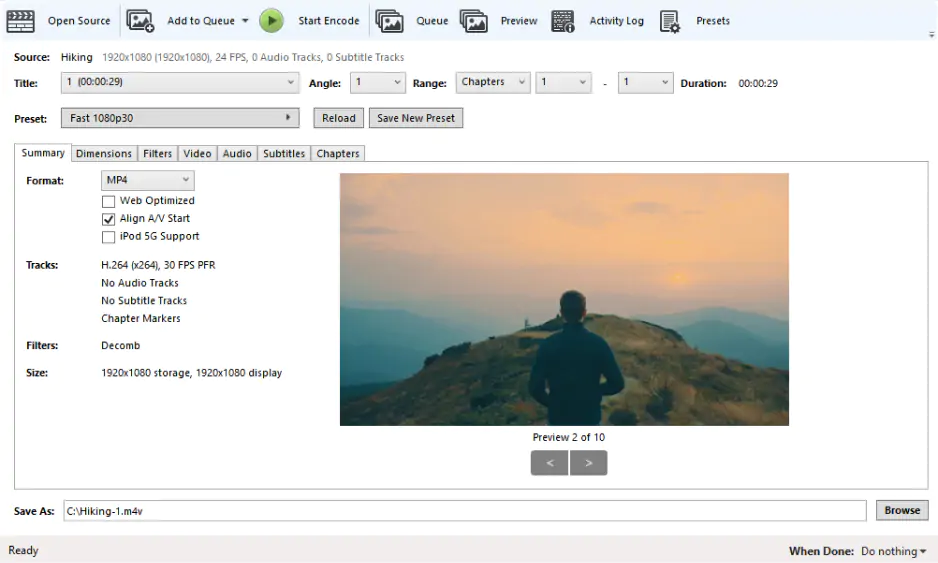
1. Install HandBrake from the official site and open it.
2. Click Open Source and choose a single file or a folder (you can also drag & drop). On the right, pick a preset (I usually start with Fast 1080p30 or Fast 720p30 for quick, reasonable results).
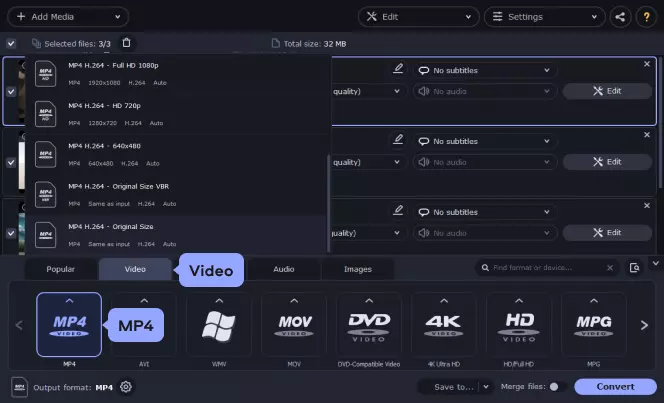
4. Under Format, choose MP4 (most compatible) or MKV. Check Web Optimized if the result will be streamed from the web. Switch to the Video tab: set Video Codec to H.264 (x264) for compatibility. For quality, use Constant Quality (RF) – I test with RF 20–23 (20 = higher quality, bigger file; 23 = smaller file with acceptable quality). In Audio, choose the audio track and set codec to AAC, bitrate around 128 kb/s (or 192 kb/s if you want better audio).
5. If you need to crop, add subtitles, or adjust framerate, use the Dimensions, Subtitles, and Filters tabs. I usually leave Framerate at Same as source.
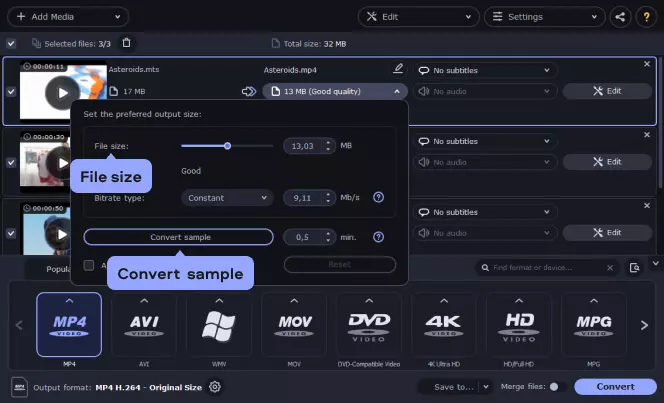
6. Set an output filename and folder at Save As (bottom). For multiple files: after adjusting settings for one file, click Add to Queue, then load the next file and repeat. When ready, click Start Queue. Verify the output by opening the file in a player and checking resolution and audio. If artifacts appear, reduce RF (lower number) or use a slower preset for better encoding.