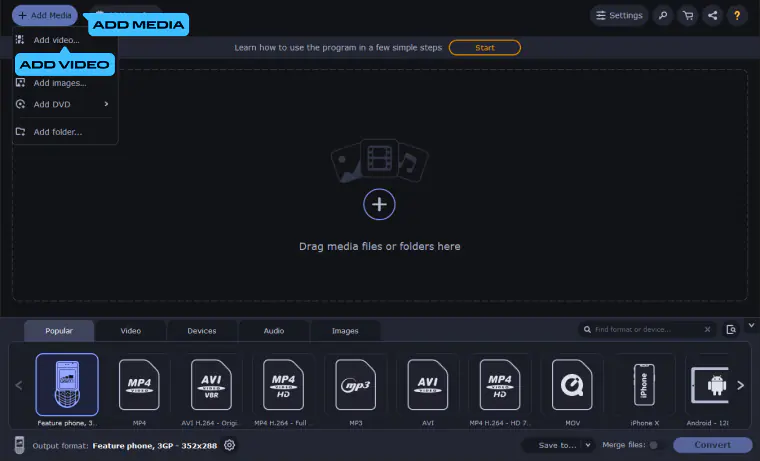
If you need to convert multiple files or your file is too large for the online converter, try the desktop alternative. The Movavi converter is a versatile audio, video, and image format changer. It deals with over 180 file formats, can convert files in bulk quickly, with high output quality and resolution. Its SuperSpeed mode gives you the fastest conversion speed and no quality loss. It has versions for both Windows PC and Mac and is really lightweight, allowing you to process photos, movies, and music files even on a weak computer.
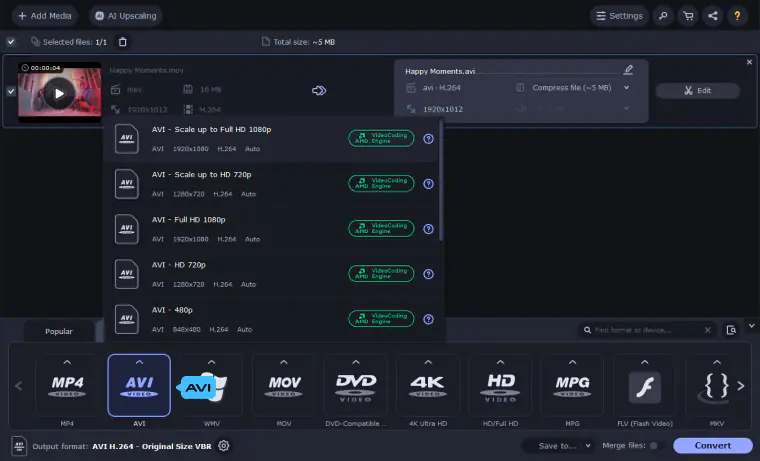
How to convert MP4 to AVI fast and easy? Read the guide below to find out!