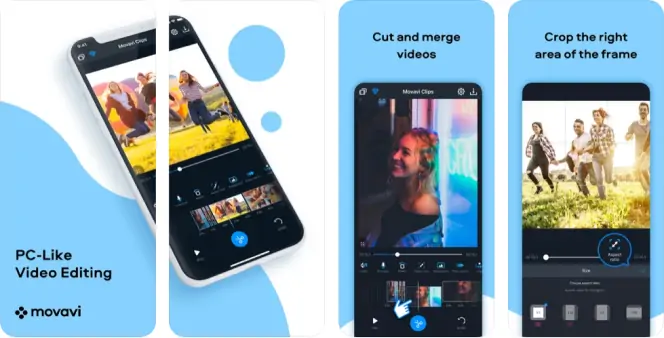
I’ve tested out some other options including InShot. This is an alternative video editing app for iPhone, iPad, and Android users. It has a number of professional-grade features that allow you to cut up, trim, merge, and alter your video clips. I also found it easy to also apply custom transitions, filters, audio tracks, text, and more.
InShot is made for social media lovers. It allows you to quickly pick up your video snaps, edit them, and then post them to your TikTok or Instagram accounts (or anywhere else you might wish). It’s free to use, although some transitions and effects require an in-app subscription.
Here’s how to brighten a video without losing quality using InShot.
1. Download and install InShot
You’ll need to start by downloading and installing InShot on your Android, iPhone, or iPad device from the App Store or Play Store.
Download InShot for iOS
Download InShot for Android
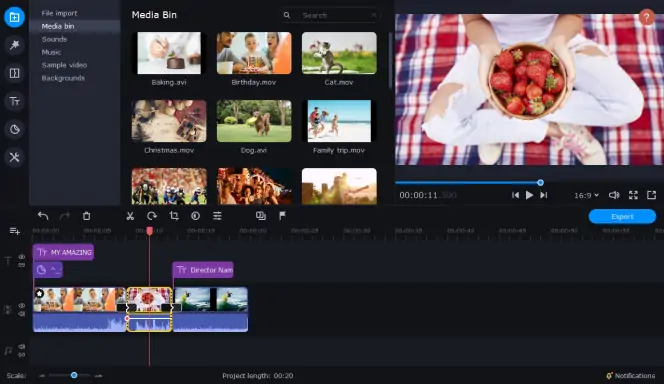
2. Select the video clip for editing
Once the InShot app is installed, open it on your device.
Click Video to select a video clip to edit. Using the on-screen menu, choose a video file (or files) to edit, then press the green tick icon in the bottom-right.
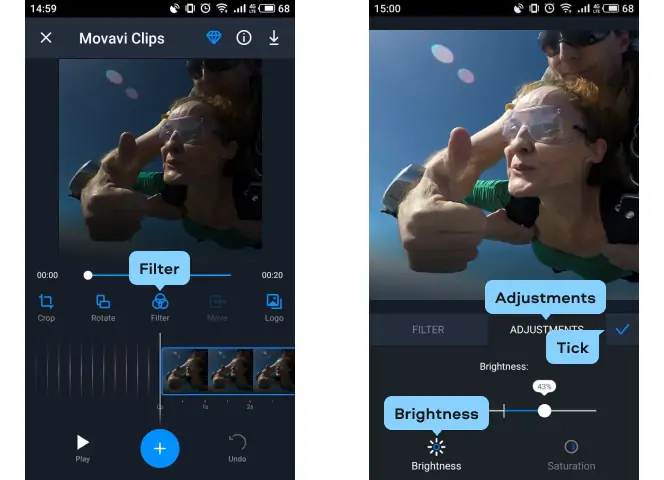
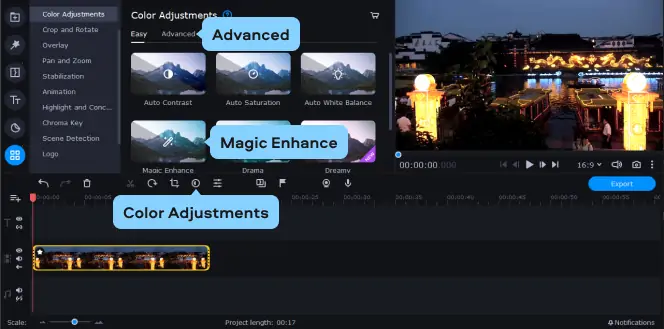
3. Adjust the video brightness
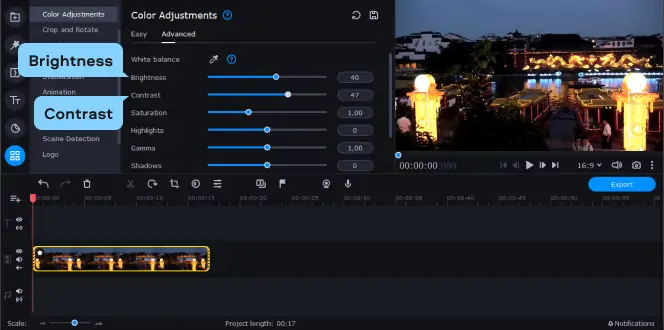
The video clip (or clips) you selected will appear in the edit menu. To brighten the video using InShot, tap Filter > Adjust using the carousel options at the bottom.
Make sure the Lightness slider is selected by tapping the icon. Using your finger, move the Lightness slider to the right to increase the video brightness. If you need to decrease the brightness, move the slider left instead. I found it to be pretty sensitive.
When you’re ready to save your changes, tap the tick icon directly above the slider twice to return to the main editing menu.
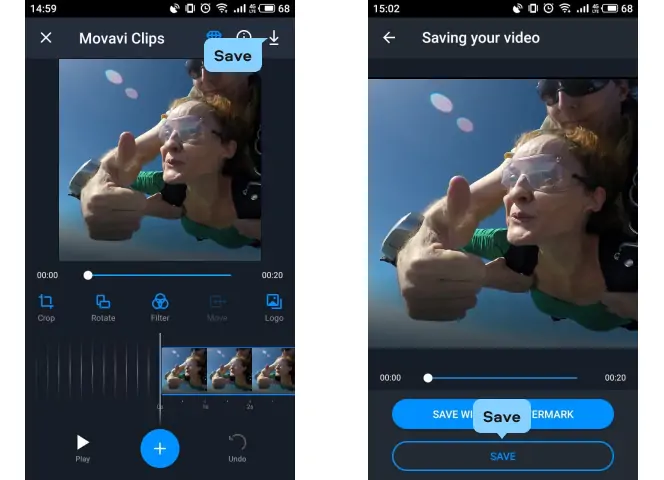
4. Adjust the video brightness
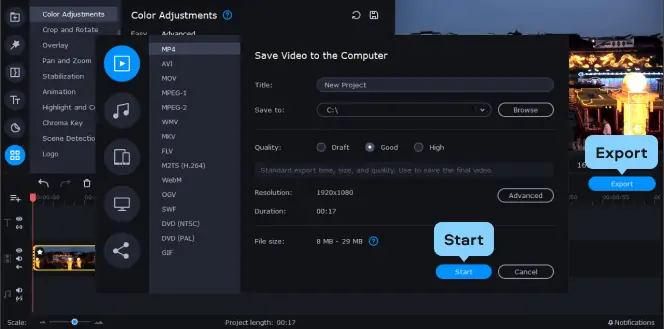
In the main editing menu, you can make further changes to your video clip (such as trim the video, apply text or music, etc). If you’re happy to save the brightened video clip, press Save in the top-right.
You’ll need to choose the resolution and frame rate you’d like to use for your video clip, with the estimated file size listed beneath. Make any additional changes (or leave the settings intact), then tap Save again to save the edited video clip.