How to Use QuickTime to Record a Screen with Audio

  1. Locate and install the special Soundflower plug-in.

  2. Specify the audio input and output settings.

  3. Open QuickTime and select New Screen Recording from the File menu.


Prefer a solution that works without additional plug-ins? Try Movavi Screen Recorder as a real alternative!

Edited by Ben Jacklin
20 344

Many screen recorders don’t have audio capabilities, resulting in muddled, noisy audio – not ideal! Let’s talk about how to record a screen on a Mac and a few alternatives to make a QuickTime screen recording with audio that’s clear and crisp.

Feature

Is it available in QuickTime?

Screen recording

Yes, but you will need to add audio or download a plugin to record system audio.

System audio recording

Not automatically. Users can download Soundflower, a plugin that routes system audio to QuickTime’s screen recorder.

How to record a screen and audio

Soundflower is a free plugin for macOS that creates a virtual audio output that you can use when playing a video in QuickTime to record your screen with audio. To get started, you’ll need to download Soundflower:

1. Open the Soundflower download page in your preferred browser.

Go to the Soundflower download page

2. Click the green Safe download button. Your download will begin automatically.

3. Click on the Soundflower DMG file at the bottom left corner of your browser window, or you can find it in your downloads folder by opening holding ⌥ (Option) + ⌘ (Command) + L.

4. Once you click on the Soundflower DMG file, your installer will open. Follow the prompts to complete the installation.

5. When the installation is complete, restart your computer, and you’ll be all set to make your first QuickTime screen recording with audio.

QuickTime screen recording with audio

Now that you’ve downloaded and installed Soundflower, you’re almost ready to record your screen and audio together. Whether you’re recording a Zoom meeting, online video, or a video in Quicktime, to record your screen with audio, you’ll need to set up your audio input and output. Here’s how to use Soundflower with QuickTime:

1. Open a Finder window and go to your Applications folder.

2. Scroll down and click on Utilities.

3. Double-click to open the Audio MIDI Setup app.

4. Click on the + at the bottom left corner of the window.

5. Select Create Multi-Output Device.

6. A list of audio devices will appear. Click the box to the left of Soundflower (2ch). A checkmark should appear in the box. At this time, you should also ensure that the box for Built-in Output is checked.

7. You’ll also notice boxes to the right of the audio devices list labeled Drift Correction. Make sure that only Built-in Output is checked in this section.

8. Click the Settings cog at the bottom left of the screen and select Use this for Sound Output.

Now your settings are adjusted, and you’re ready to use QuickTime to record your screen with audio. To take a QuickTime screen recording with sound, follow these steps:

1. Open QuickTime Player. You can find it in your Applications folder.

2. Click on the File menu and select Open File to open the video that you want to record in QuickTime.

3. Navigate to the clip you want to record. Then, click on the File menu in QuickTime again and select New Screen Recording.

  1. Open QuickTime Player. You can find it in your Applications folder.

  2. Click on the File menu and select Open File to open the video that you want to record in QuickTime.

  3. Navigate to the clip you want to record. Then, click on the File menu in QuickTime again and select New Screen Recording.

  4. A rectangle with a dashed outline and a menu at the bottom will appear on your desktop. From the menu, you can choose to record your full screen, select a portion of the screen to record or record a selected window. You can also use this feature to take a screen capture of a window or part of the screen with the QuickTime recorder, as well.

  5. Click Options from the menu and choose Other location to select where you want to save your screen recording.

  6. Once you’ve chosen the QuickTime Player window to record your video, click Record.

  7. While your video is recording, look at the top menu bar of your Mac. You should see that a Stop button has appeared along with any other icons present on the right side of the menu bar. Click this whenever you’re ready to stop recording.

  8. After you stop the recording, your new video will open automatically.

4. A rectangle with a dashed outline and a menu at the bottom will appear on your desktop. From the menu, you can choose to record your full screen, select a portion of the screen to record or record a selected window. You can also use this feature to take a screen capture of a window or part of the screen with the QuickTime recorder, as well.

5. Click Options from the menu and choose Other location to select where you want to save your screen recording.

6. Once you’ve chosen the QuickTime Player window to record your video, click Record.

7. While your video is recording, look at the top menu bar of your Mac. You should see that a Stop button has appeared along with any other icons present on the right side of the menu bar. Click this whenever you’re ready to stop recording.

8. After you stop the recording, your new video will open automatically.

Recording your iPhone/iPad screen with audio with QuickTime

QuickTime Player screen recording with audio can be performed with your iPhone and iPad, too. To do this, follow these steps:

  1. Connect your device to your Mac.

  2. Launch QuickTime and click File, then New Movie Recording.

  3. Next to the Rec button, there’s a drop-down menu. Click it and select your device for both camera and microphone input.

  4. Tap the Rec button and record your activity.

  5. Tap Stop when you’re ready.

Keep in mind that you can’t record system sound from the computer using this method.

QuickTime recorder’s pros and cons

Pros:

  • Free and available for any macOS laptop or desktop.

  • Compatible with iPhone and iPad for mobile recording.

  • Easy to use, even for beginners.

Cons:

  • Setting up screen recording with audio from your computer requires multiple steps.

  • When recording with Soundflower, users can’t actually hear the computer’s audio.

  • Have to wait until video recording is complete to check that the correct audio is recorded with the video.

Where are QuickTime recordings saved?

When using QuickTime to record your screen, your output video will automatically save to your Documents folder, but you can change the destination for your video. Just click on Options before you start recording, select Other Location, and browse your computer to choose where you want to save your file. If you forget to do this step, open a finder window and search for Screen recording. The most recent recording should be the video you’re looking for, and you can rename and relocate it for easy access later.

QuickTime alternatives

Program

Best for

Download

Capturing videos of all kinds on a Mac or PC with system audio or microphone audio

Free screen recording and live streaming for users on a tight budget

Online screen recording for users who prefer not to download a screen recording app

At Movavi, we’re committed to providing you with verified information only. Here’s what we do to ensure this:

  • When selecting QuickTime alternatives to include in our reviews, we researched both demand and popularity.

  • The desktop and online products we picked as alternatives have been tested by Movavi Content Team.

  • When testing, we aim to highlight the best features that help users record screen and audio.

  • We study user reviews from popular review platforms and make use of this information when writing our product reviews.

  • We collect feedback from our users and analyze their opinions of Movavi software as well as products from other companies.

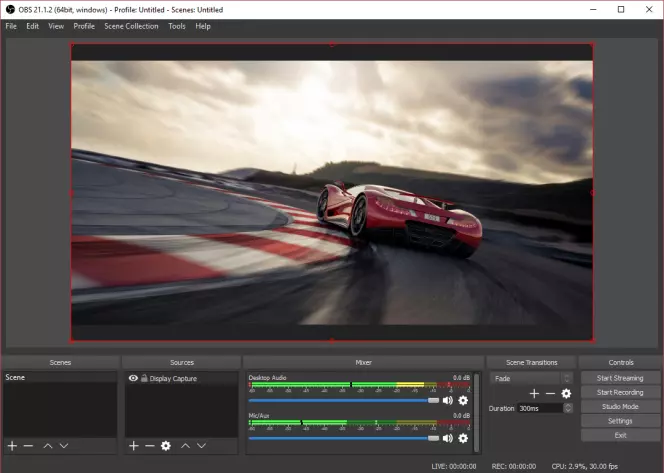
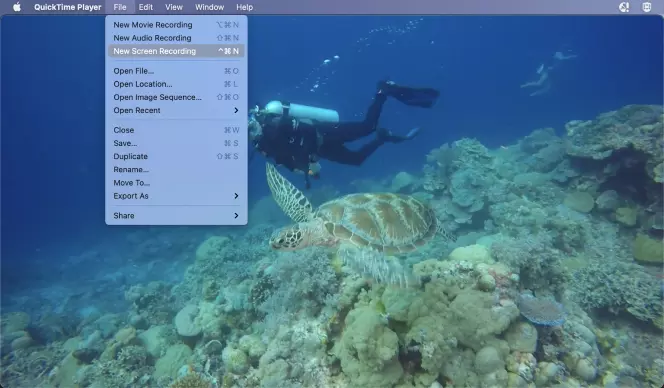
Best for: capturing videos of all kinds on a Mac or PC

Movavi Screen Recorder

Key features:

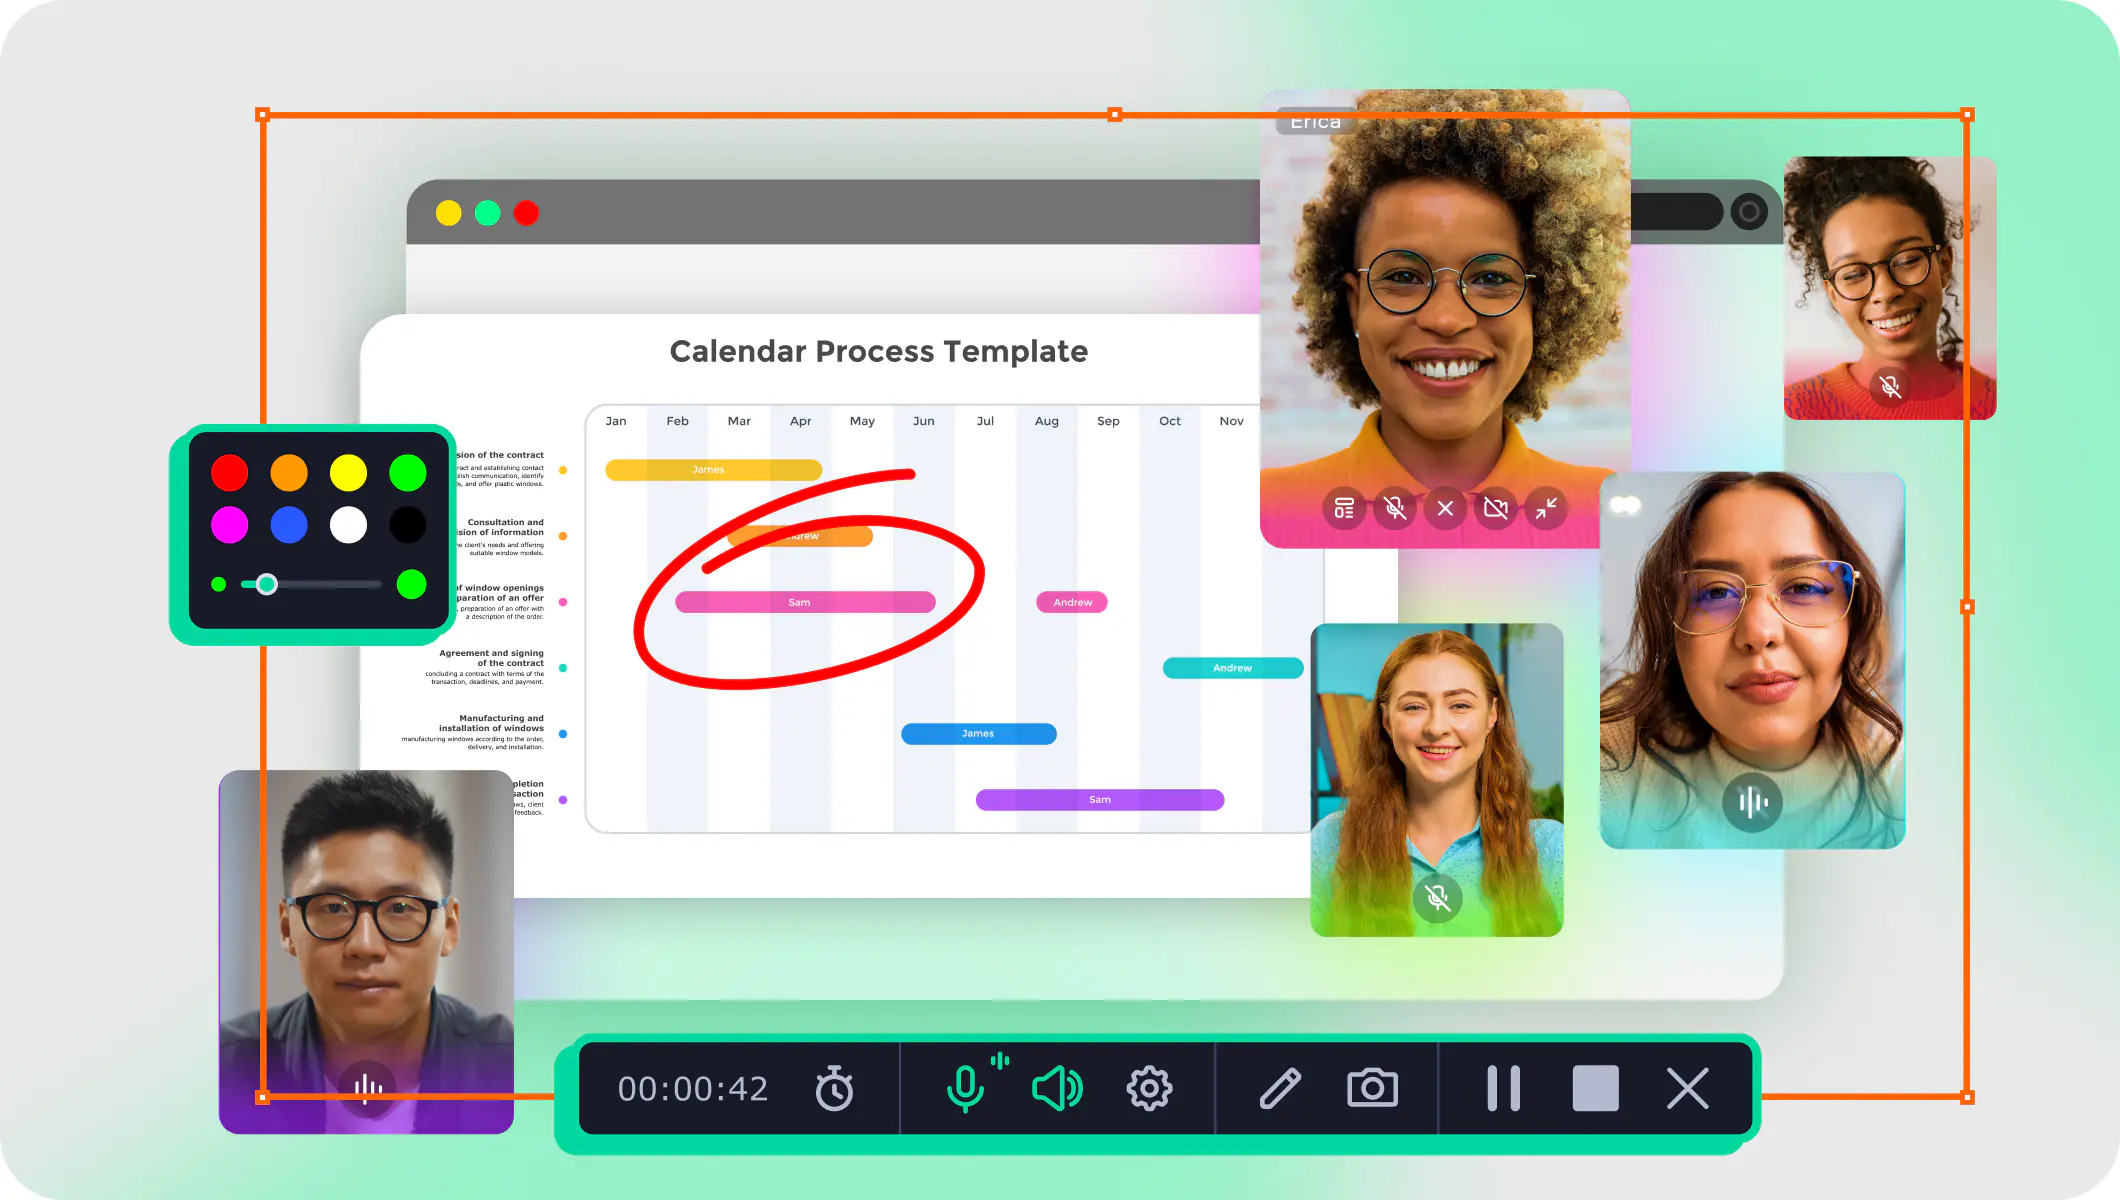
  • Connect with your team on a whole new level – record your voice as you present on a call and share the video recap later
  • Save anything you need to keep from your screen in HD and 4K to boost your day-to-day productivity
  • Keep your colleagues up-to-date with screenshots – capture an entire screen or snip just a part of it, then edit and send via WhatsApp or email
  • Draw on videos and screenshots, show keystrokes and mouse movements to explain the complicated matters in simple terms
  • Upload your videos to YouTube and Google Drive right from the app to streamline your work environment

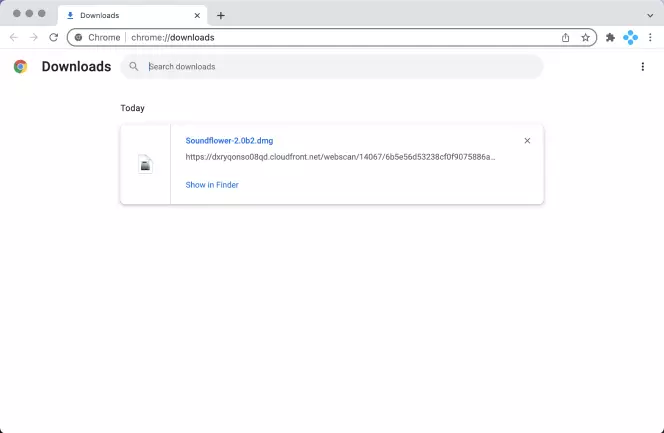
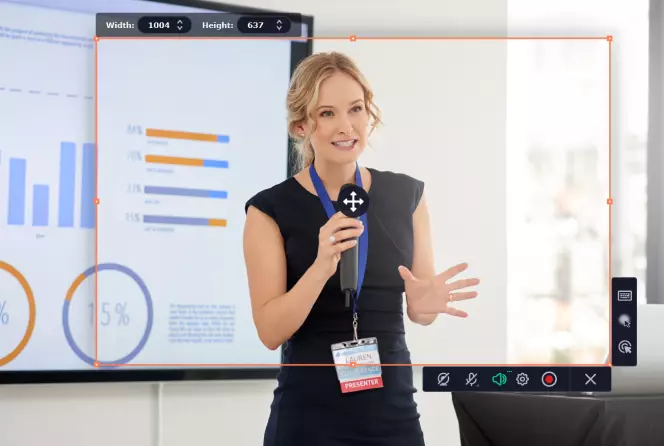
Movavi Screen Recorder is a free-download tool to record webinars, online calls, video instructions, and video clips from your screen on your desktop or laptop. It’s available for either macOS or Windows.

Pros:

  • Grab system sound, mic, even speaker feeds – clean and noise-free

  • Schedule to record at any time, then watch later

  • Save your recordings in every popular file format

Cons:

  • No limits to your creativity in the full version of the program

Best for: live streaming on a budget

OBS Studio

Key features:

  • Real-time video and audio capturing and mixing.

  • User-friendly audio mixer with filters for a noise gate, gain, and noise suppression.

  • Modular UI for easy customization.

OBS Studio is an open-source program that enables users to record their screens and/or live stream their recordings. With its webcam capture capability, users can insert videos of themselves into their screen recordings for tutorials, presentations, and live streams.

Download OBS Studio

Pros:

  • High-quality video exports.

  • Free with no watermark.

  • Highly customizable for personalized user experience.

Cons:

  • Recording from the microphone is not intuitive.

  • Issues with lagging on desktops with limited resources.

  • Not very user-friendly for beginners.

Best for: online screen recording with no download

Screencapture.com

Key features:

  • Scheduling capabilities to automate recordings

  • Picture-in-picture feature with webcam in screen recording

  • Capable of capturing system and microphone audio simultaneously

Screencapture.com gives users the option to either record their screens online without downloading any software or download the developer’s app for a more robust experience. The free version includes a watermark on the export video.

Go to Screencapture.com

Pros:

  • Strong emphasis on privacy for recordings

  • Fast video processing, even for HD exports

  • Options to record audio from system or microphone

Cons:

  • The free version includes a watermark

  • No video editing capabilities for online screen recordings

  • Advanced recording tools are not available

In summary: Start recording videos with audio today

Recording videos with QuickTime takes a little bit of front-end work. Once you have Soundflower set up, though, recording is quick and easy. If you don’t have the time to dive into that process, though, there are still options available to take screen recordings – either online or with a desktop app. Why not try downloading Movavi Screen Recorder today and see how quickly you can start recording, editing, and sharing videos in QuickTime or through any other video player.

Movavi Screen Recorder

The perfect way to record anything from your screen

Disclaimer: Please be aware that Movavi Screen Recorder does not allow capture of copy-protected video and audio streams.

Frequently asked questions

Does Mac QuickTime screen recording record audio?

Without Soundflower, QuickTime’s screen recording feature will not record audio. Once you’ve set up Soundflower, your movie or video clip will include audio from your computer. You can, however, add audio later if you’re recording your screen for a tutorial or if you need separate audio from the sound in the video clip.

How do I record my screen and audio at the same time on a Mac?

  1. Download, install and set up Soundflower.

  2. Open the video you want to record in QuickTime.

  3. Choose the option to record a selected window.

  4. Click Record.

  5. When you’re done recording, click the Stop button on the top menu bar.

How do I record internal audio on a Mac without SoundFlower?

Without downloading Soundflower, you have a few options to record internal audio without a lot of background noise. You’ll just need to download, install, and run a screen recording app, such as Movavi Screen Recorder, OBS Studio, or Screencapture.com. Movavi offers a robust, cost-effective solution for screen recording on the fly.

What is Soundflower?

Soundflower is a free program that lets users route their computer’s audio internally. You can think of it as using virtual audio cables to connect your computer’s audio output directly to your recording software. So, basically, during a screen recording, audio will be piped directly into your recording device (e.g., QuickTime recorder) to give you clear sound in your video export file.

Why does my Mac screen recording have no sound?

The reason could be:

  • The built-in microphone wasn’t selected as the audio input device for the recording. Next time you capture your screen with sound using QuickTime Player, select your inbuilt microphone as the input device: click Options, then select Built-in Microphone.

  • QuickTime Player doesn’t have access to your microphone. Go to Applications and grant the app the permission to record your mic.

  • If you want to record your computer audio, install Soundflower add-on.

How do I turn on my microphone for QuickTime?

To turn on your microphone for QuickTime screen recordings, follow these simple steps:

  1. In the  System Preferences of your Mac, find Security & Privacy, and click Microphone.

  2. Find QuickTime in the list of apps that can use your microphone and grant the app access to it.

Click the link below for more information:

Have questions?

Have questions?

If you can’t find the answer to your question, please feel free to contact our Support Team.

Join for how-to guides, speсial offers, and app tips!