Movavi Video Editor
Create awesome videos easily

Try Movavi Video Editor!
Edit and enhance videos easily
Add stylish transitions, titles, and filters
Stabilize and reverse video, equalize sound, and more

Interested in shooting videos? This article will really come in handy if you want to know how to make your videos look more professional and cool. Read this list of top videographer tips and tricks and make use of them while shooting your own videos.
We listed some different types and definitions of cinematic techniques that are popular in filmmaking. Study how to combine them properly and create a unique video or film. Using the right techniques, you will be able to direct the viewer’s attention and deliver the concept of your video.
Top film techniques
Here are some basic techniques that will be useful for everyone who wants to learn more about the filmmaking process. Don’t forget that a movie is not only about what you shoot but also about how you do it. Read our article to learn about visual storytelling and tricks to engage the audience in the film.
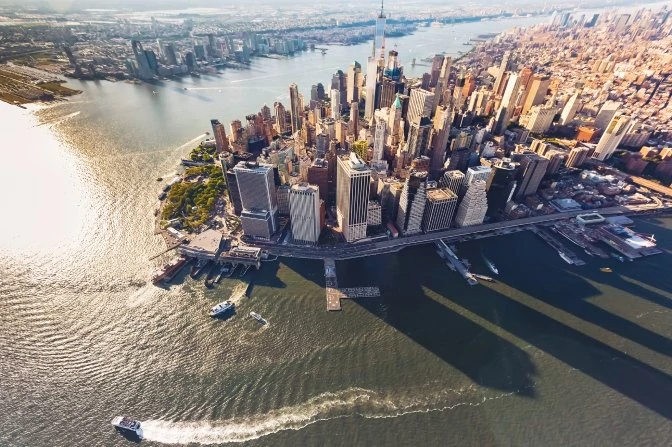
It’s a filming technique that shows a wide area of land from a very high angle. The objects are viewed directly from above. This shot is often used as an introductory shot to establish the setting and point up the small size of subjects.
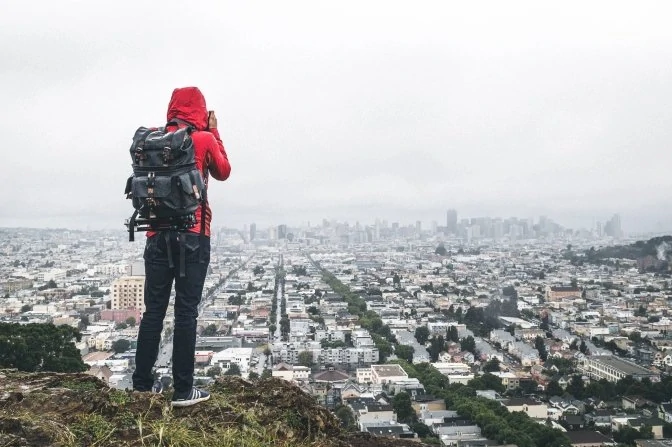
With the help of this cinematography technique, the viewer can get a more particular idea of the location of the scene. A long shot shows the whole human body from head to toe. Compared to the bird’s-eye shot, subjects stand closer to the camera.
The characters catch the attention of the viewer. But still, the audience is not emotionally involved. This shot is used to describe the surroundings of the scene. It should emphasize the moves and actions of the characters rather than their exact emotions.

This is one of the most popular shots used in movies. It’s often used to establish a new scene or location. A medium shot shows the characters sharing some information, captures the dialogs of two or more people.
The medium shot is also common for interviews in documentary films. The viewer can see the characters closely – from the knees up or waist up. It’s possible to see their body language and facial expressions.
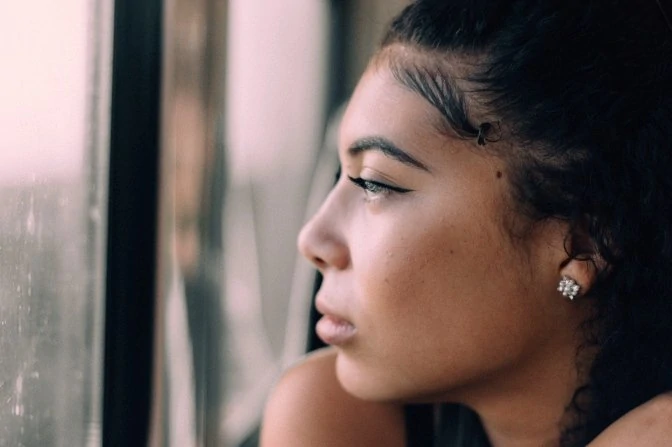
It’s a cinematic technique that features only the head of the character. The close-up shot aims at demonstrating the actors’ emotions and makes the audience engage with the characters and feel empathy for them.
This shot is also a basic tool for emphasizing significant details. It can be used to show an actress touching a ring on her finger. Close-ups help the viewers better understand the emotional state of the characters. The setting becomes really insignificant here.
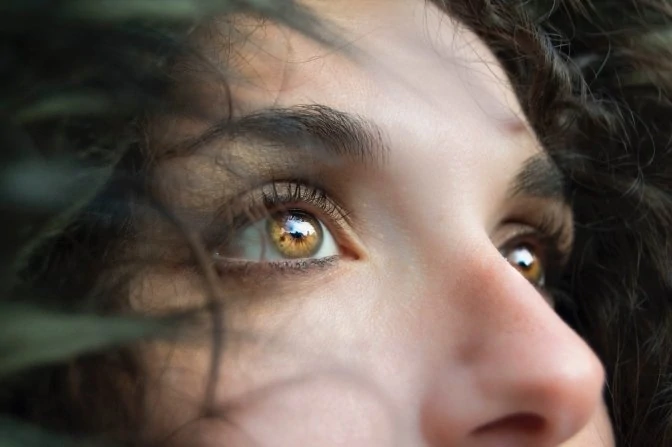
This is the shot framing a part of the character’s face, for example, the actor’s eyes. It increases the drama and intensity of the scene. The viewer is captivated by the actor’s emotions. Extreme close-up works with objects too. It can show the hand cutting a wire to prevent a bomb blast.
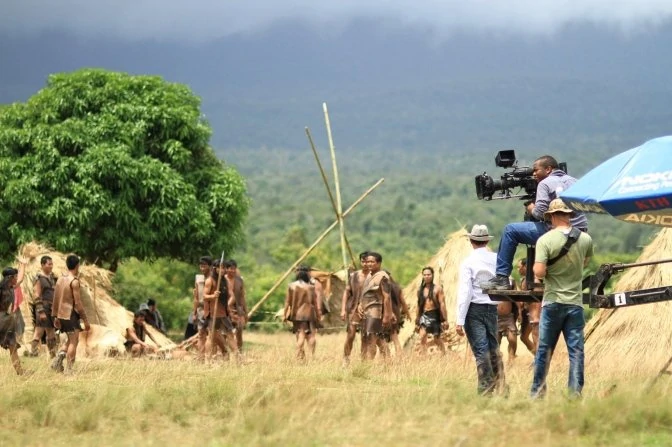
It’s a type of shot when a camera is moving up or down by more than a couple of feet in the scene. The filmmakers use devices like cranes or jibs to put the cameras on. The thing is that they are quite expensive though it’s possible to replace them with drone cameras. Crane shots are supposed to add more suspense to the scene, and they can usually be found at the end of movies.
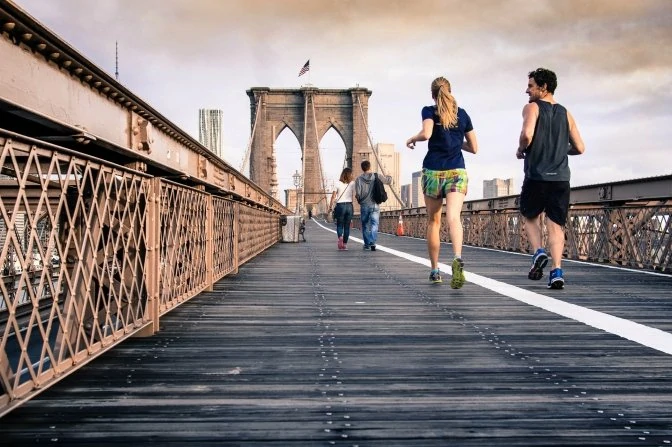
This video shooting technique is used to follow a character or to explore the surroundings. The camera is mounted on a dolly, which is a wheeled cart placed on the rail track. The dolly is following the subject, otherwise, it would leave the frame.
The viewer gets a dynamic visual effect while watching such scenes. The camera can also be placed on a moving vehicle if the subject moves really fast.
Panning means turning the camera horizontally from a fixed position. It looks very professional when the camera moves smoothly and accurately. The motion of the camera is imitating the motion of the character’s head from left to right. Take advantage of this shot to show the surroundings.
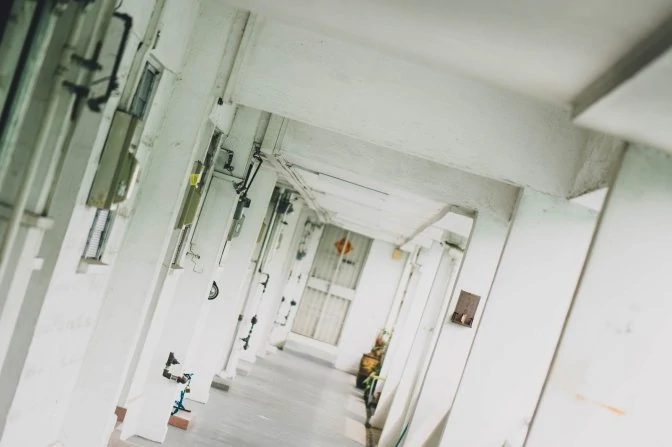
Tilt is a cinematography technique when the camera is moving vertically up and down from a fixed position within a scene. The shot switches the attention of the viewer from one area to another or can be used to slowly reveal something when the camera moves down. The tilt shot is often used as an establishing or introductory shot.
In this shot, the camera is rotated so that the horizon isn’t parallel to the bottom of the frame. The Dutch angle demonstrates the emotional state of characters which is disorientation, uneasiness, and tension. Directors of horror movies make good use of this cinematic technique.
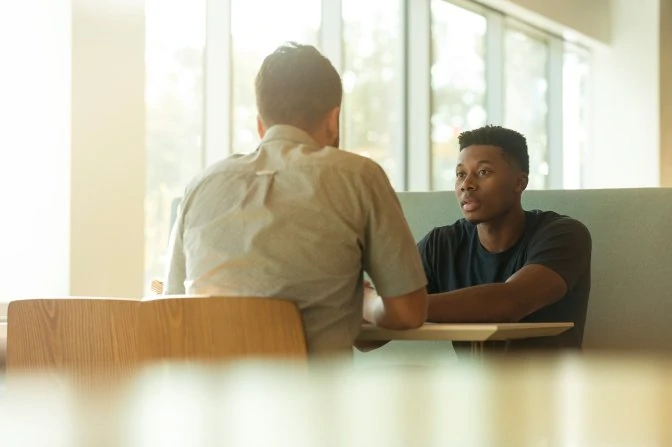
This shot is taken from over the shoulder of one of the characters and shows the audience the other one. The head and the shoulder of the person in the foreground are out of focus when another person is in focus.
Over-the-shoulder shot is one of the most important techniques in filmmaking as it reveals the connection of the characters between each other, the viewer can see their interaction. These shots are usually taken when the characters have a conversation.
It’s a technique of changing the focal length of the camera lens. This creates an illusion of the camera moving closer or farther to the objects. When you zoom in, the objects become bigger in the frame. Zoom out, and the objects get smaller. In both examples, the camera has a fixed position, and it’s not actually moving anywhere. The zoom shot focuses on a character or an object of the scene.
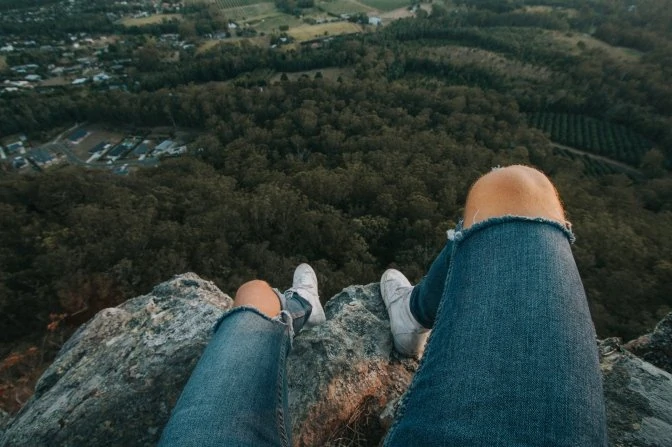
This is the film angle when the viewers see what’s going on in the video through the character’s eyes. The audience sees the same as the actor himself. It helps the viewers feel like they are part of the story.
Point-of-view shot has become really popular with bloggers as they shoot their videos using action cameras placed on their heads, so the viewers can see what a blogger is going through.
To learn more about cinematography techniques, check this article by StudioBinder:
30 best cinematography techniques & tips you didn’t learn in film school
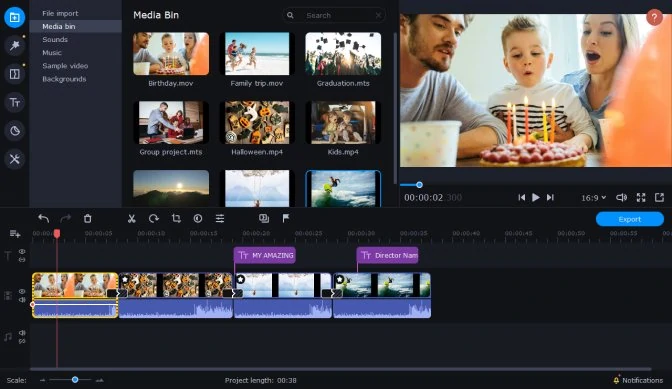
When the shooting process is complete, it’s time for editing your video. You can easily edit your footage with Movavi Video Editor. Trim the video, remove unwanted parts, add filters, transitions, titles, and effects, place ready-to-use intros and outros. You can also add your own voiceover to the video and upload music.
There’s also a stabilization function that will remove the camera shake from your videos. Use the chroma key to change the video background. Develop your personal style with Movavi Video Editor.

To achieve professional-looking camera moves in your video productions, consider using Movavi Video Editor. This powerful software lets you easily add dynamic camera movements, transitions, and special effects, taking your videos to the next level. Whether you're a seasoned filmmaker or a beginner, Movavi Video Editor provides the tools you need to create captivating and visually stunning content.
Vlogging equipment for beginners
Free alternatives to Filmora
How to Use Picture-in-Picture | How to Make a PiP Video
Top 7 Best Free MP4 Splitters for Windows, Mac, and Online
How to Remove an Audio Track from an MKV File
Types of Shots in Films | Basic Shot Types and Camera Angles
Add Text to a Video Online and Free | 9 Best Apps
Best Sites to Download Free Sound Effects for Video Editing
3️⃣ Easy Ways to Voice-Over a Video


1.5M+ users already subscribed to our newsletter