Why I picked it
It consistently delivers on its promise of simple, high-quality recording with extras like scheduling and annotation, and reviews confirm its reliability on both Windows and macOS.
Best for
Recording video tutorials
OS
Windows and Mac
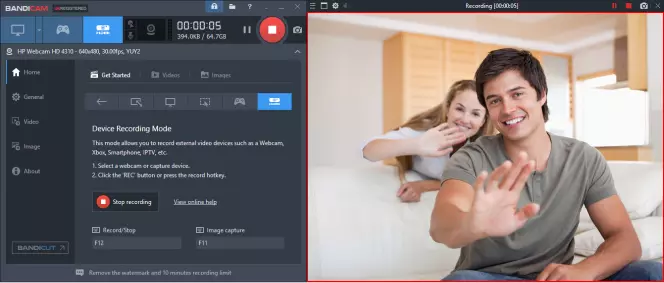
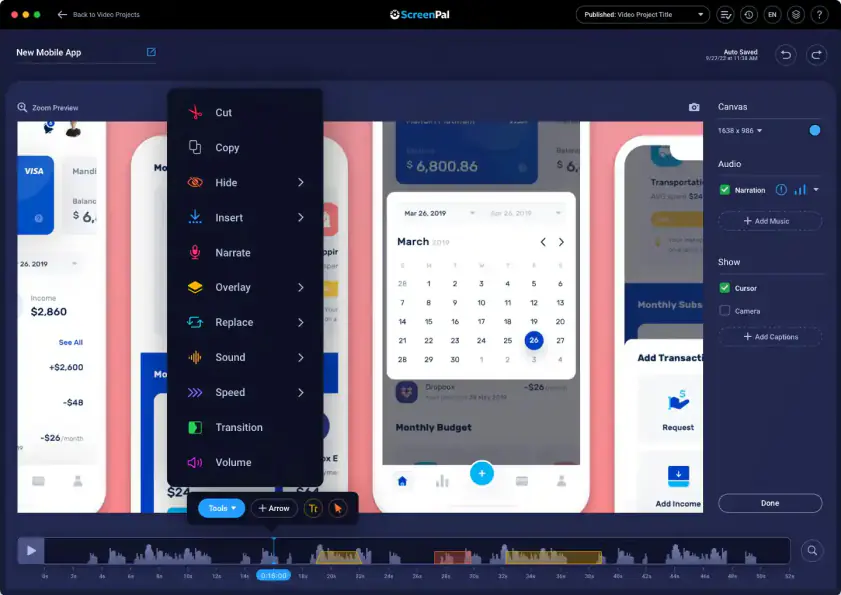
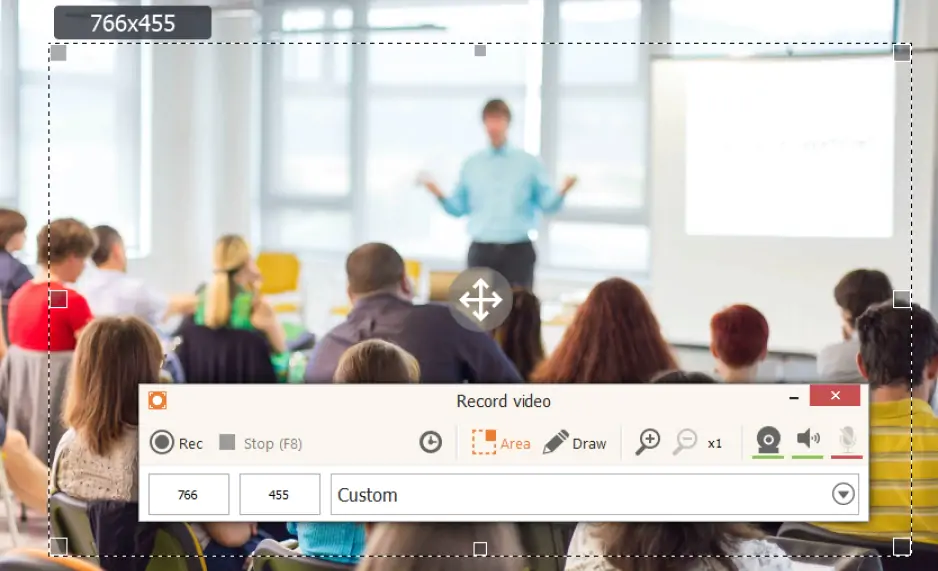
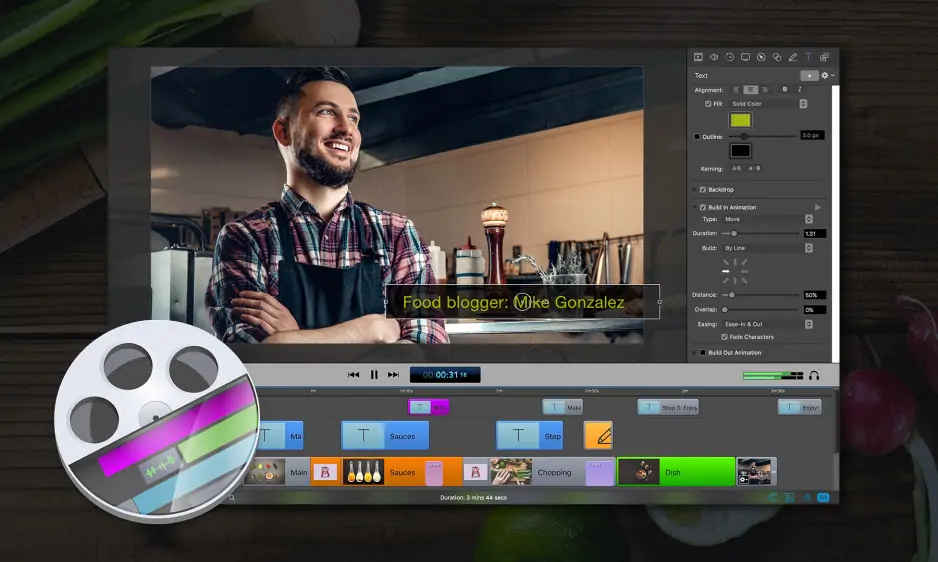
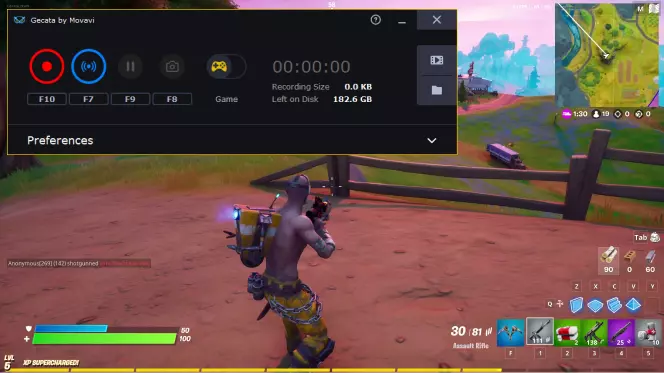
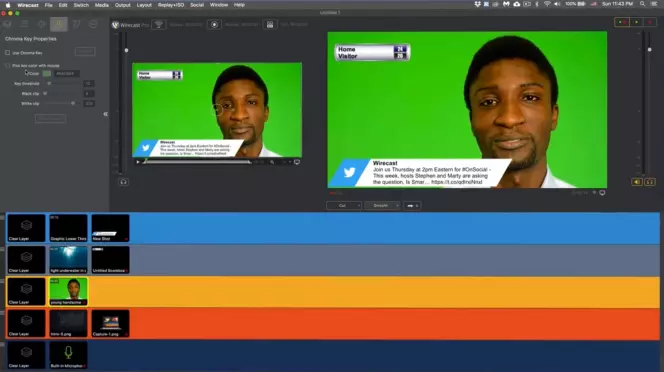
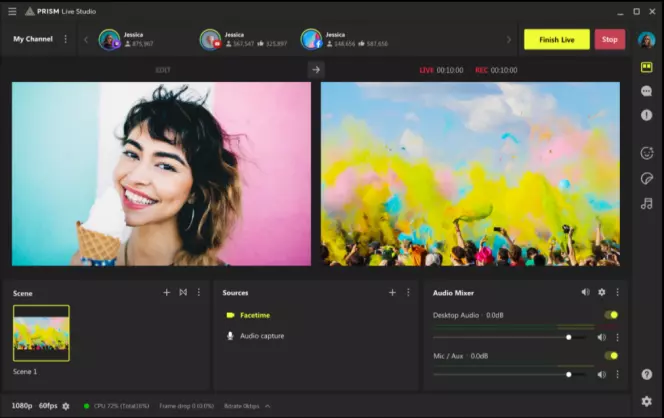
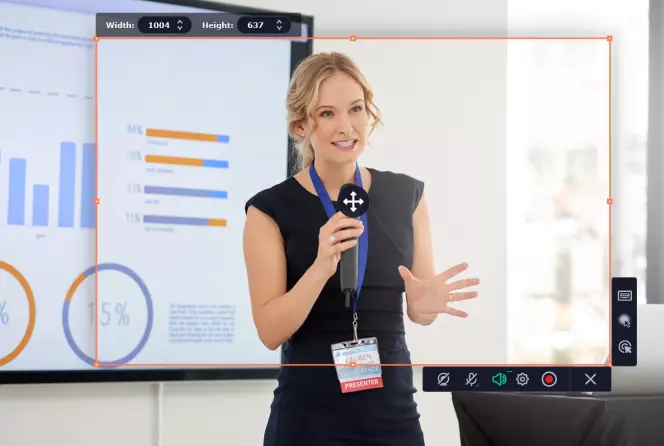
Movavi Screen Recorder is a software similar to OBS, which is a more reliable option to consider when looking for OBS alternatives. Notably, it lets you record and share screen activities, online calls, video tutorials, and more. What I like about this software is that it lets you record only what you want, from your screen to your webcam output or even audio only. Moreso, its built-in editing, scheduling, keystroke/mouse highlights, and on-screen drawing make routine captures fast.
I also noticed it has simple editing tools, which lets you draw on videos during the recording process, and makes it possible to schedule recordings. In the recent updates they highlighted some fixed bugs, including making the application run faster, which I can confirm from my experience. You can try Movavi Screen Recorder for free on Windows and macOS before you buy, and there’s an affordable subscription fee if you decide to purchase the software.
Key features:
- Record in HD
- Capture keystrokes & cursor
- Add text & highlights to screencasts
- Screen and webcam overlay
- Record system sound & mic
- Schedule auto recordings
- Clear audio capture
- Edit screenshots with text/arrows