
Movavi Screen Recorder
The perfect way to record anything from your screen
Disclaimer: Please be aware that Movavi Screen Recorder does not allow capture of copy-protected video and audio streams.
Windows 11 Snipping Tool not Working [12 Fixes]
Key takeaways

Special pick: Movavi Screen Recorder

Movavi Screen Recorder is a great alternative to Snipping Tool when you need to take screenshots quickly and easily. This app is easy to use, and it offers features like screen recording, as well. Plus, you can record in 4K resolution and edit your screenshots in just a few simple steps.

When selecting troubleshooting problems and solutions to include in our articles, we research both demand and popularity.
All software fixes mentioned in this article have been tested by Movavi Content Team.
When testing, we aim to highlight the best solutions and what they’re best suited for.
We study user experience and reviews from popular review platforms and make use of this information when writing our articles.
We collect feedback from our users and analyze their opinions of Movavi software as well as products from other companies.
5 main reasons Snipping Tool is not working
First, it’s important to understand why the Windows 11 Snipping Tool is not working for you. Several things could be going on, including some known bugs and issues that can easily be fixed with a little troubleshooting. Let’s walk through a few of the most common causes when Snipping Tool doesn’t work in Windows 11:
Focus Assist is turned on. When this happens, Snipping Tool can’t open in Windows 11.
Snipping Tool won’t open because the application is corrupted and crashes when you try to launch it.
Your graphics driver is outdated and incompatible with Snipping Tool.
Another app is running and interfering with Snipping Tool.
Your certificate is expired. This happened to a lot of users due to a mistake on Microsoft’s part in the upgrade process after the Windows 11 update from Windows 10.
12 fixes for Windows 11 Snipping Tool not working
1. The official fix from Microsoft: Update Windows
According to Microsoft, when Snipping Tool stops working, you should first go to Settings and hit the Windows Update button. In the updates window, click on Check for updates and install update KB5008295. After you restart your computer, you should be able to use Snipping Tool again. This fix only works if Windows 11 Snipping Tool is broken because of an expired certificate or because the software hasn’t been updated. If this doesn’t work, continue troubleshooting and try one of the other fixes we’ve listed below.
2. Use an alternative app for taking screenshots
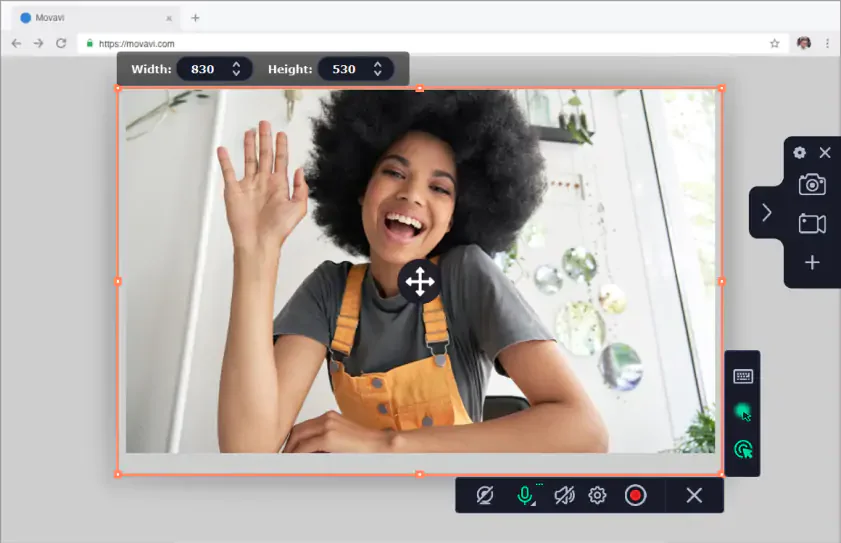
Diagnosing and fixing a Snipping Tool error in Windows 11 can be frustrating and time-consuming. Some users have found that it’s actually easier to avoid Snipping Tool entirely and opt for a different program for screenshots and screen recording. Movavi Screen Recorder makes this easy with an intuitive interface and easy video editing. Plus, you can capture webcam footage while you record your screen, too. To use Movavi Screen Recorder instead of Snipping Tool, just download the software and follow the installation instructions. Once you’ve installed the software, you can easily take advantage of all its features and tools.
3. Turn off Focus Assist
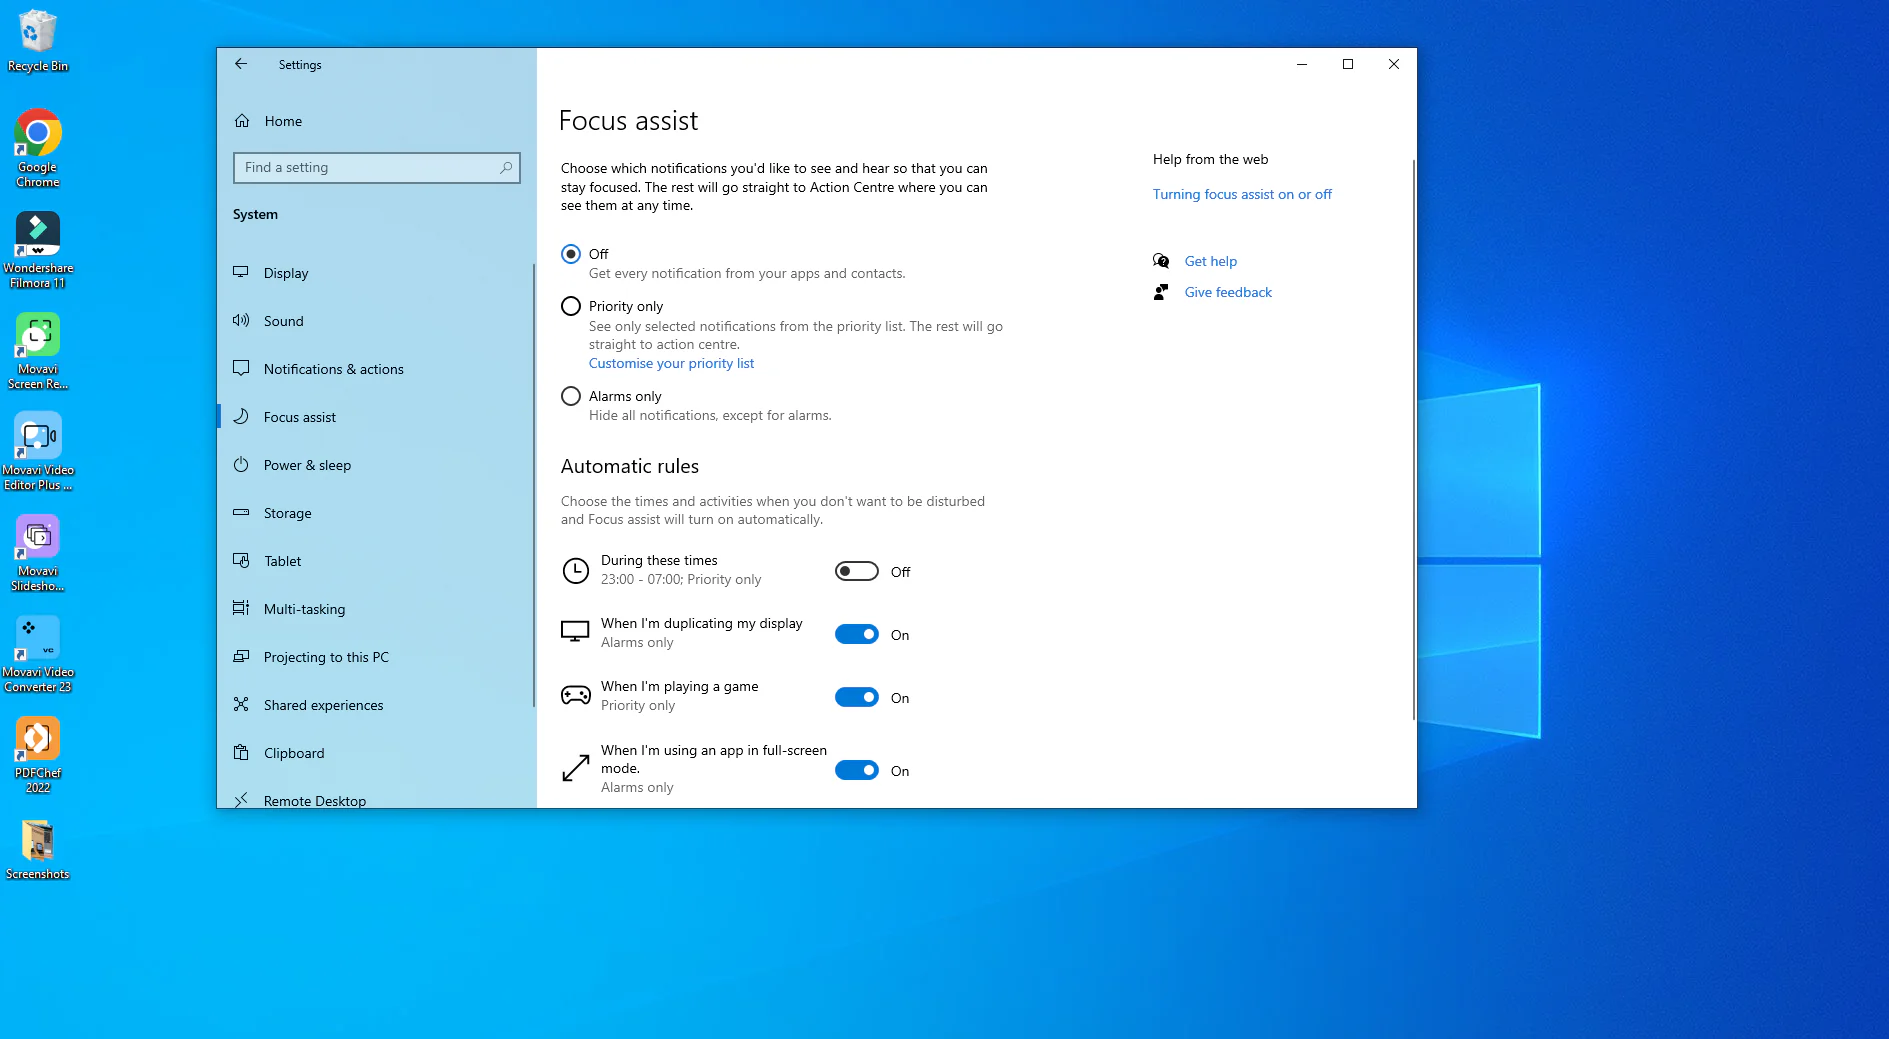
This feature allows users to work with fewer distractions, as it stops extraneous apps from launching and blocks notifications. Unfortunately, when Focus Assist is turned on, one of the apps you can’t use is Snipping Tool. To disable Focus Assist, follow these steps:
Go to the Start menu and choose Settings.
In the Settings window, click on System and then click on Focus Assist.
From here, you can either turn Focus Assist off entirely, or you can choose Priority only and then click on Customize priority list.
This will open a new window where you can click on + Add an app and add Snipping Tool to enable it while using Focus Assist.
4. Perform a clean boot in Windows 11
You may be experiencing a Snipping Tool error in Windows 11 due to interference from third-party apps. If your computer’s been running for several days without a reboot and/or you have anti-malware and other apps running in the background, it may be time to do a clean boot. Here’s how you do this:
Hit the Windows key on your keyboard or go to the Start menu.
In the search bar, type in msconfig and select the first result to come up under Best match. This will bring up a System Configuration window.
Select the Services tab at the top of this window, and – at the bottom of the window – check the box marked Hide all Microsoft services.
After you check this box, click on the Disable all button.
Next, click on the Startup tab next to the Services tab at the top of the window and choose Open Task Manager.
In the Task Manager window, click on the Startup tab at the top, next to App history, and then go through and disable each of the apps in the list that comes up. This will disable all of the third-party apps that automatically start when you reboot your computer. If interference from one of these apps is causing your problem with Snipping Tool, restarting your computer should now solve the problem.
5. Reinstall Snipping Tool if this app can’t open
If the Windows 11 Snipping Tool shortcut is not working, you may have a corrupted download of the app. To repair this error, you might need to uninstall and reinstall the app on your computer. You may want to try some of the other fixes for the problem first, but uninstalling and reinstalling the app shouldn’t hurt anything.
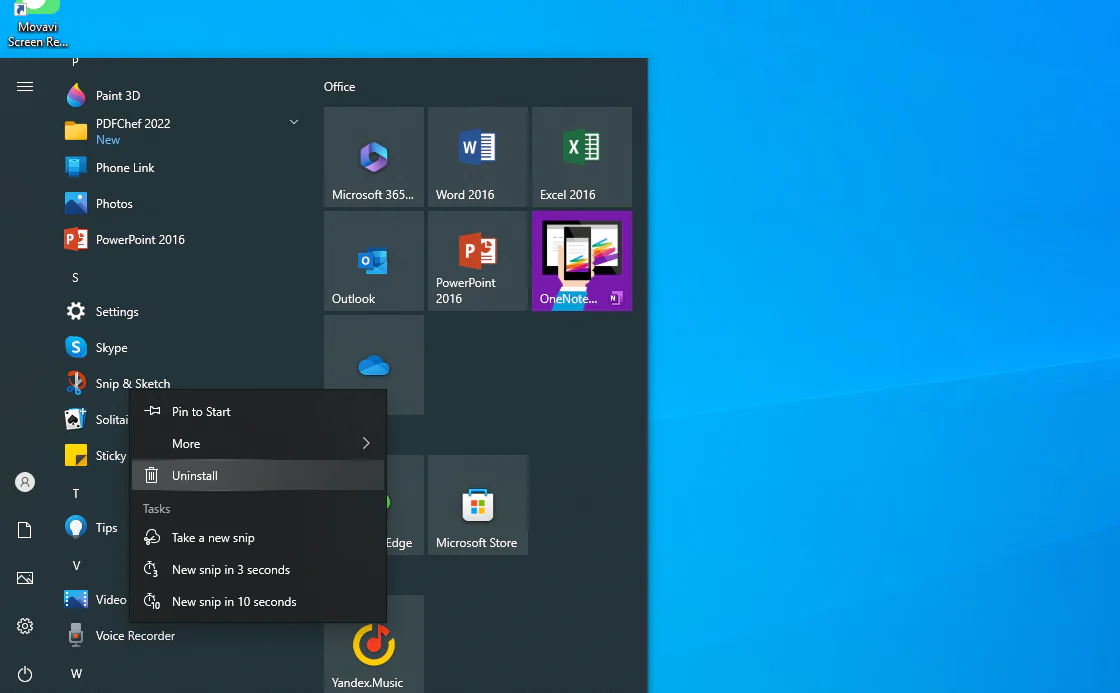
In the Start menu, choose Settings.
Select Snipping Tool and click on Uninstall.
After you’ve uninstalled Snipping Tool, restart your computer.
Once you’ve rebooted, go to the Start menu and select the Microsoft Store app. In the search bar at the top, type in Snipping Tool.
Then, click on the blue Get button and follow the installation instructions.
6. Delete and reset your shortcut
If you can’t open Snipping Tool using a shortcut on your desktop or toolbar, the issue might not be with the app itself. The problem may be with the shortcut. Delete your current shortcut from your desktop or toolbar. Then, go to the Start menu, choose All apps, and right-click on Snipping Tool. From the dropdown menu, select Pin to Start or Pin to taskbar to create a new shortcut.
7. Reset the Snipping Tool app on your computer
If the shortcut is working, but Snipping Tool is running slow or you’re having other issues with it, you may be able to fix the problem by resetting the app. Windows 11 actually has a default feature that makes this easy.
Go to the Start menu and click on All apps.
Right-click on Snipping Tool and choose More from the dropdown menu.
Click on App settings, and a new window will pop up.
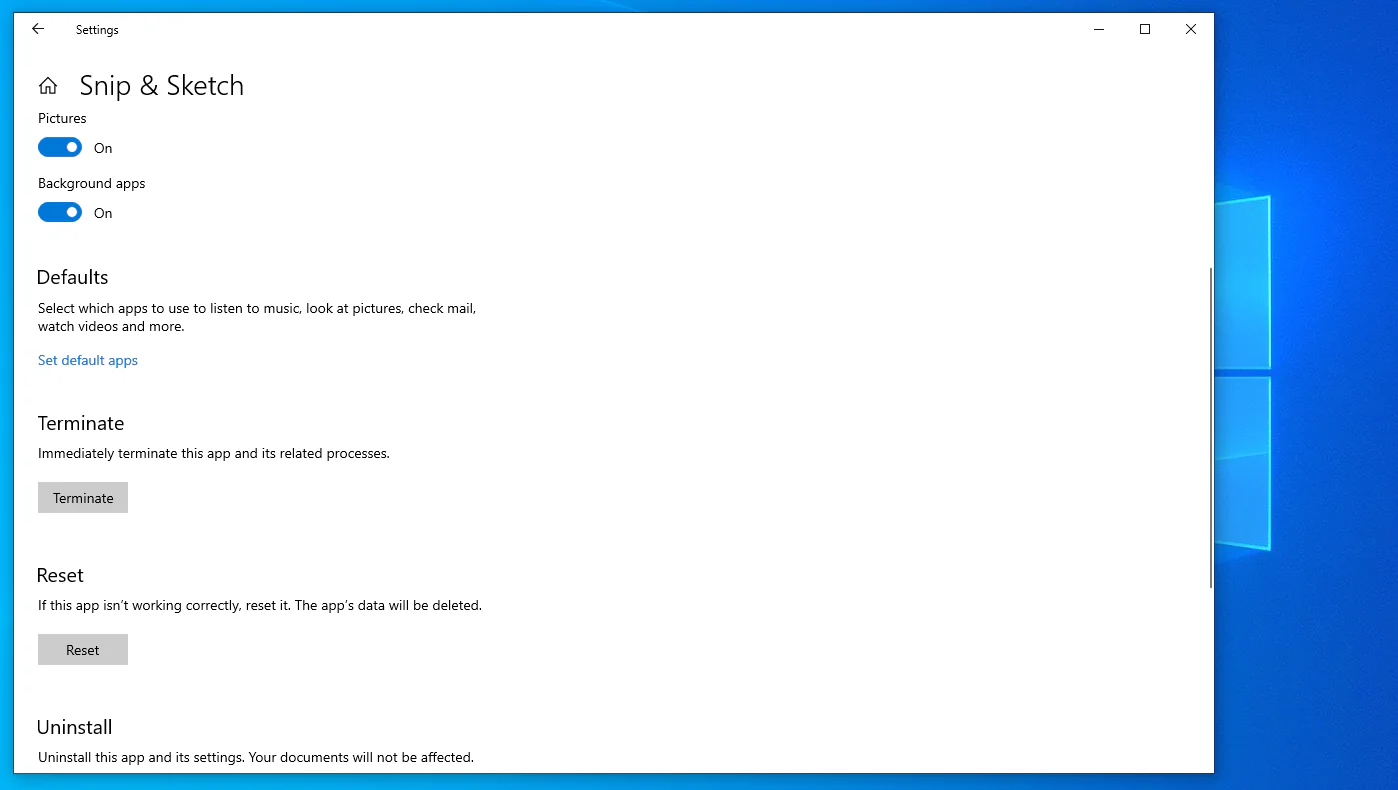
Scroll down through the list of apps and click on Snipping Tool.
In the new window, click on Reset.
After Snipping Tool is reset, restart your computer and try using it again. If this doesn’t work, you might need to uninstall the app, which can be done from this window, as well.
8. Check your save destination
In some cases, Snipping Tool may be working, but it may seem like screenshots aren’t saving properly. If you’re having trouble finding your saved screenshots, try going to the “C:\Users\[Username]\Pictures\Screenshots” folder. This is the default destination for saved screenshots, and Snipping Tool will automatically send them here if you have notifications turned off or if you miss the floating capture and don’t get a chance to send it to your preferred folder.
If you still can’t find your screenshots in the Screenshots folder, check Snipping Tool’s settings. Go to the Start menu, click on All apps, and open Snipping Tool. In the app window, click on “…” in the top right corner and select Settings. Make sure that Automatically save screenshots is toggled on to ensure that all your screenshots are saved properly.
9. Disable Auto Copy to Clipboard
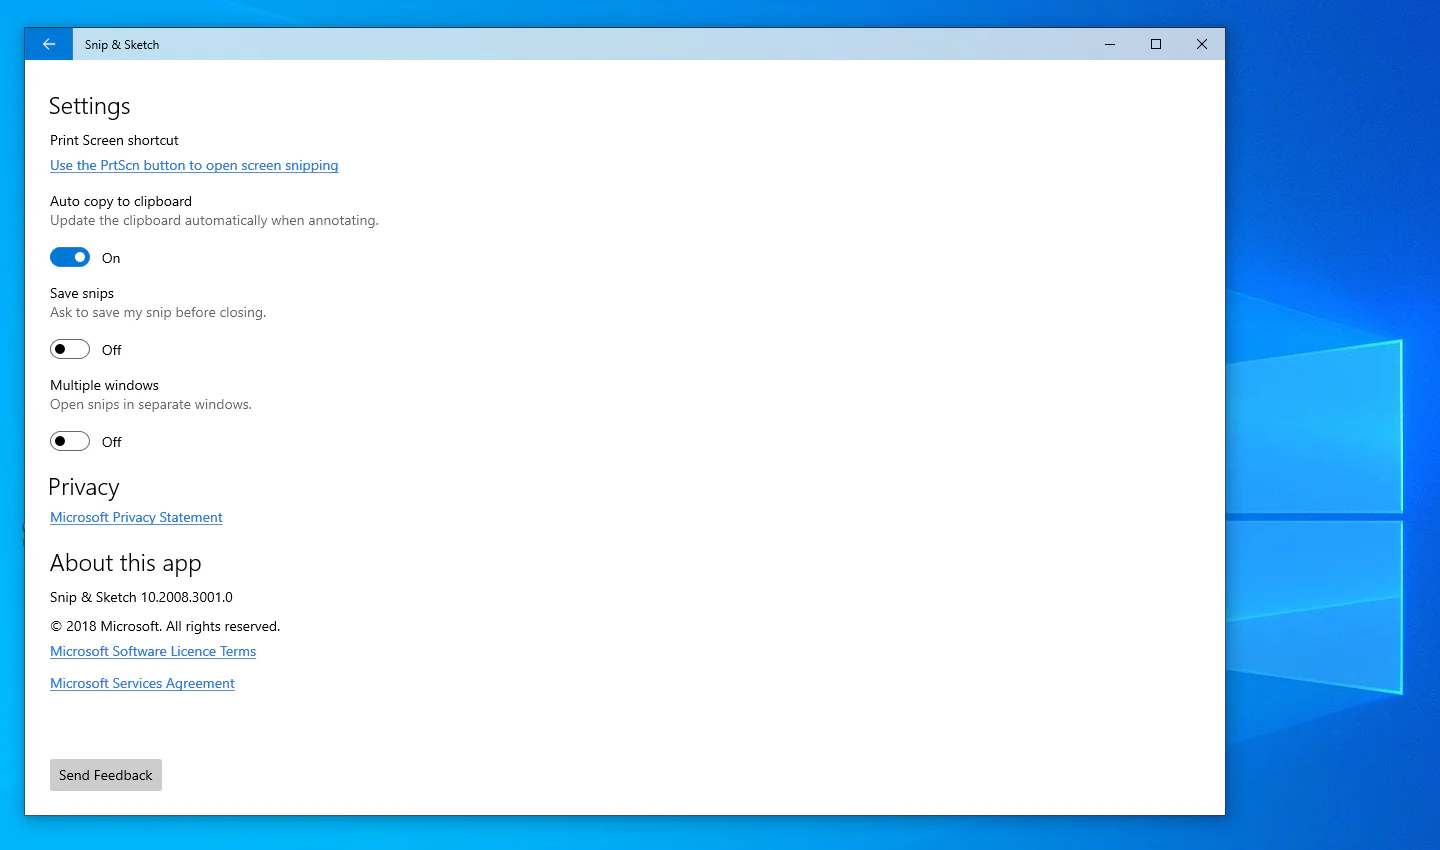
Snipping Tool may be set to copy screenshots to your clipboard (so that you can copy and paste them) instead of saving them to your computer. You can find out if this setting is enabled by opening Snipping Tool and clicking on “…” in the upper right corner of the window. Click on Settings and look for Auto Copy to Clipboard. Toggle this setting off.
10. Use “classic” Snipping Tool from your “Windows.old” folder
If the new version of Snipping Tool is crashing on you, you may be able to get around it by using the old version. Go to your C drive and search for the Windows.old folder. Open the folder and search for Snipping. Right-click on it and pin it to your Start menu to access it from your desktop. Your shortcut will open the Windows 10 version of Snipping Tool from your Windows.old folder and allow you to easily take screenshots again.
11. Disable automatic time on your computer
If Snipping Tool isn’t working and you don’t want to update to KB5008295 right now, you can avoid the expired certificate error by turning off the automatic time setting on your computer and manually resetting it.
Go to Start and click on Settings.
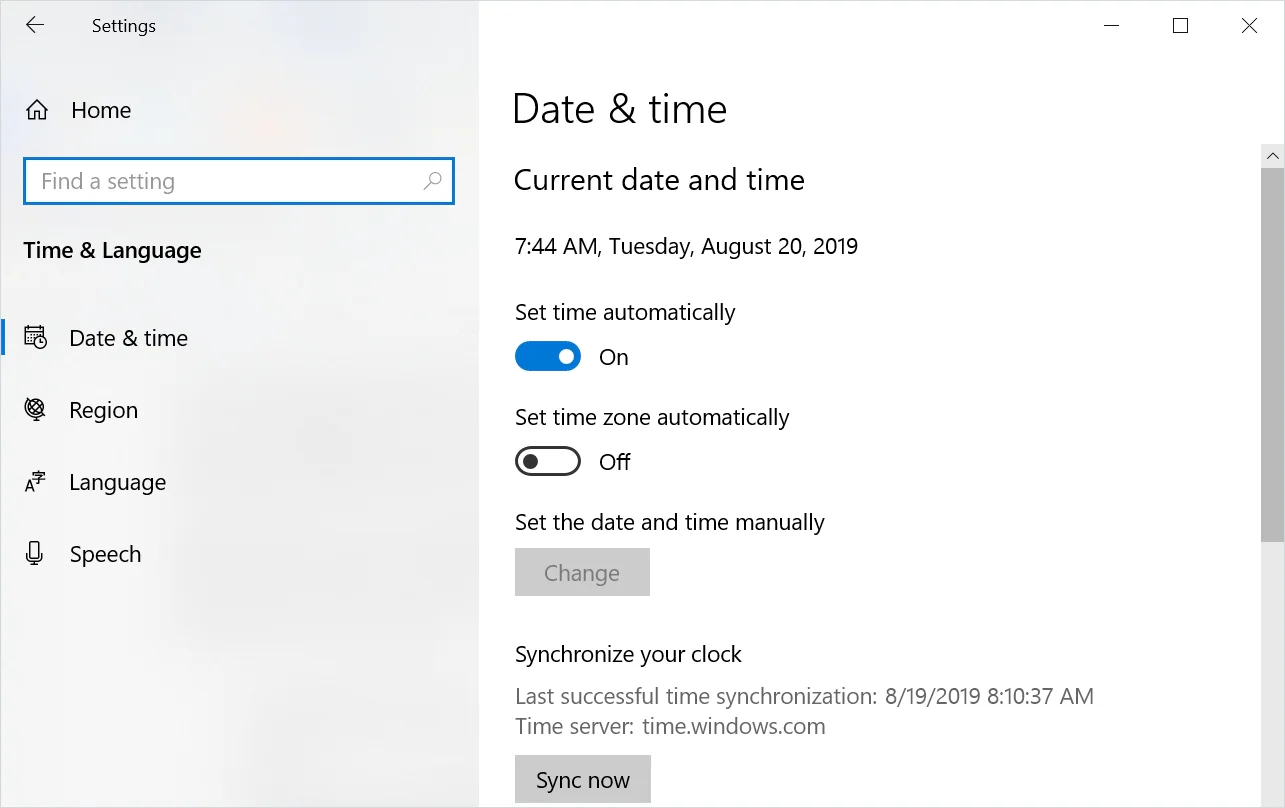
Select Time & Language and go to Date & Time.
Turn off the Set time automatically feature and then go to the option to Set the date and time manually.
Select Change and reset the date and time to any day and time before October 30, 2021. This should work, but remember that you’ll have to manually reset the time whenever you need to use Snipping Tool.
12. Enable the Print Screen keyboard shortcut
Sometimes, setting your Print Screen key (“PrtScr”) to launch Snipping Tool will help you bypass the expired certificate bug.
Open Snipping Tool, click on the “…” menu, and choose Settings.
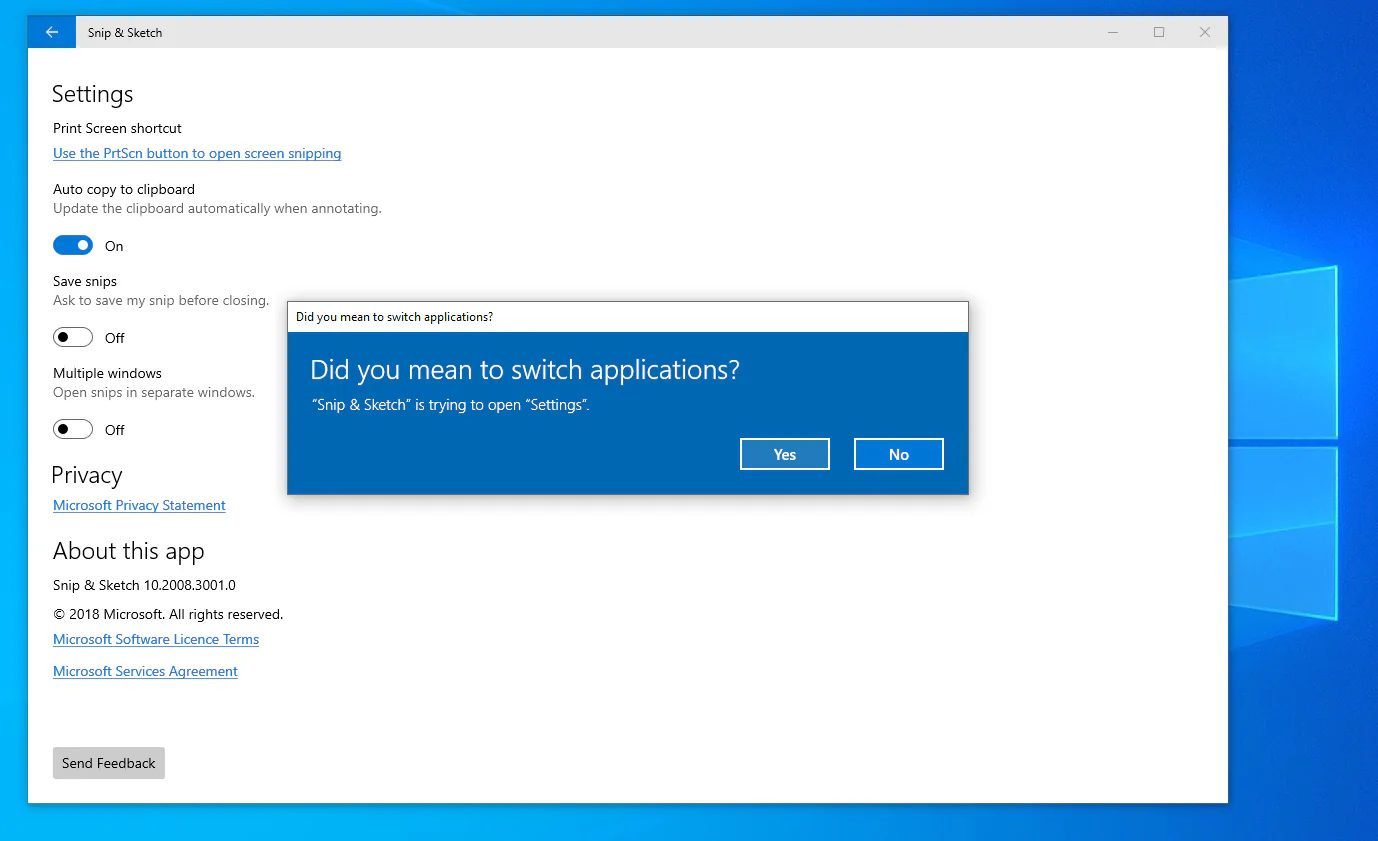
In the settings window, click on Print Screen key shortcut and Change in Windows settings.
A pop-up will appear that asks you if you meant to switch apps. Simply click Yes and then toggle on Use the Print Screen button to open screen snipping. At this point, you can also choose which types of screen grabs you want to launch with the PrntScrn button (e.g., freeform snip, rectangular snip, and full screen snipping).
Now, your PrntScreen button will automatically launch Snipping Tool when you hit it. Be aware, though, that if you want to use PrntScrn for one of its other functions, you’ll need to disable this shortcut to complete those tasks.
Summary
Now you have several strategies for how to fix Snipping Tool in Windows 11. While it’s possible to get Snipping Tool working with a software update or one of the other methods we walked through in this article, it may be easier to opt for another screenshot app. Why not try a free download of Movavi Screen Recorder today?
Disclaimer: Please be aware that Movavi Screen Recorder does not allow capture of copy-protected video and audio streams.
Frequently asked questions
Snipping Tool may not be working because:
Focus Assist is enabled.
The Snipping Tool app is corrupted.
Your graphics driver has not been updated.
Third-party apps are interfering with Snipping Tool.
Your Snipping Tool certificate is expired due to a bug in the Windows 11 update.
Snipping Tool can work on Windows 11 if you have updated to the KB5008295 version or by running Snipping Tool direction from your computer’s “Windows.old” folder. These strategies help you get around the “expired certificate” glitch from the Windows 11 update.
Best screenshot tools for Windows
Streamlabs vs. OBS Studio: Which Is Better?
OBS vs. ShadowPlay for Gaming: Which Is Better [2026]
12 Best Screen Recorders for Google Meet
6 Ways to Record a Webex Meeting in 2026 – Movavi
Apowersoft Review | Apowersoft Screen Recorder Review [2026]
How to record computer screen and audio
How to screen record in Windows 11
Screenshot on Mac Not Working [11 Solutions] – Movavi
[SOLVED] NVIDIA Shadowplay Not Recording – Movavi


1.5M+ users already subscribed to our newsletter