Step 1. Download and install the Photo Editor
Download the installation file and install the app on Mac or PC following the instructions on your computer screen.
Try Movavi Photo Editor!
How to overlay images

Want to design your own greetings card or create a unique image for social media? We’ve got you covered! Overlay images to create multi-layered pictures with Movavi Photo Editor and share them with your friends. Using Movavi Photo Editor, you can easily merge two pictures together, or add an image or texture overlay to a photo. In addition to the options for photo overlay, the program lets you apply special effects and filters, enhance picture quality, add captions, and much more. You don’t need to have any experience in photo editing, the program is easily accessible for beginners.


If you want to know how to overlay pictures, download the program for Windows or Mac and follow the guide below
Step 1. Download and install the Photo Editor
Download the installation file and install the app on Mac or PC following the instructions on your computer screen.
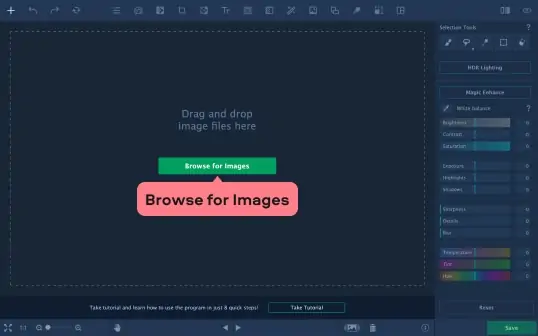
Step 2. Add an image to the program
Click the Browse for Images button and select the picture you want to edit. Or simply drag and drop the file into the program window.
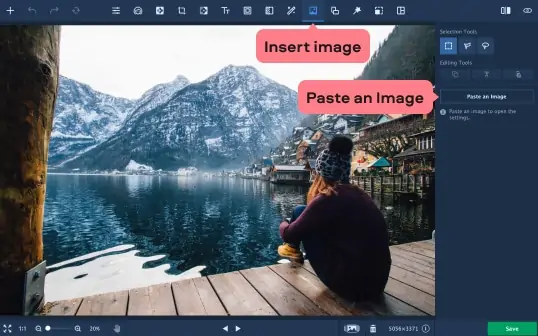
Step 3. Add a photo to the photo
To superimpose one photo onto another, open the Insert image tab at the top of the program window. Then click the Paste an Image button, choose a picture, and click Open. The image will be placed on top of the background picture. Click and drag the new image into the desired position. To change the image size, just drag on the corner handles.
Step 4. Edit the picture
Depending on what you want to achieve, there are different ways to edit the image.
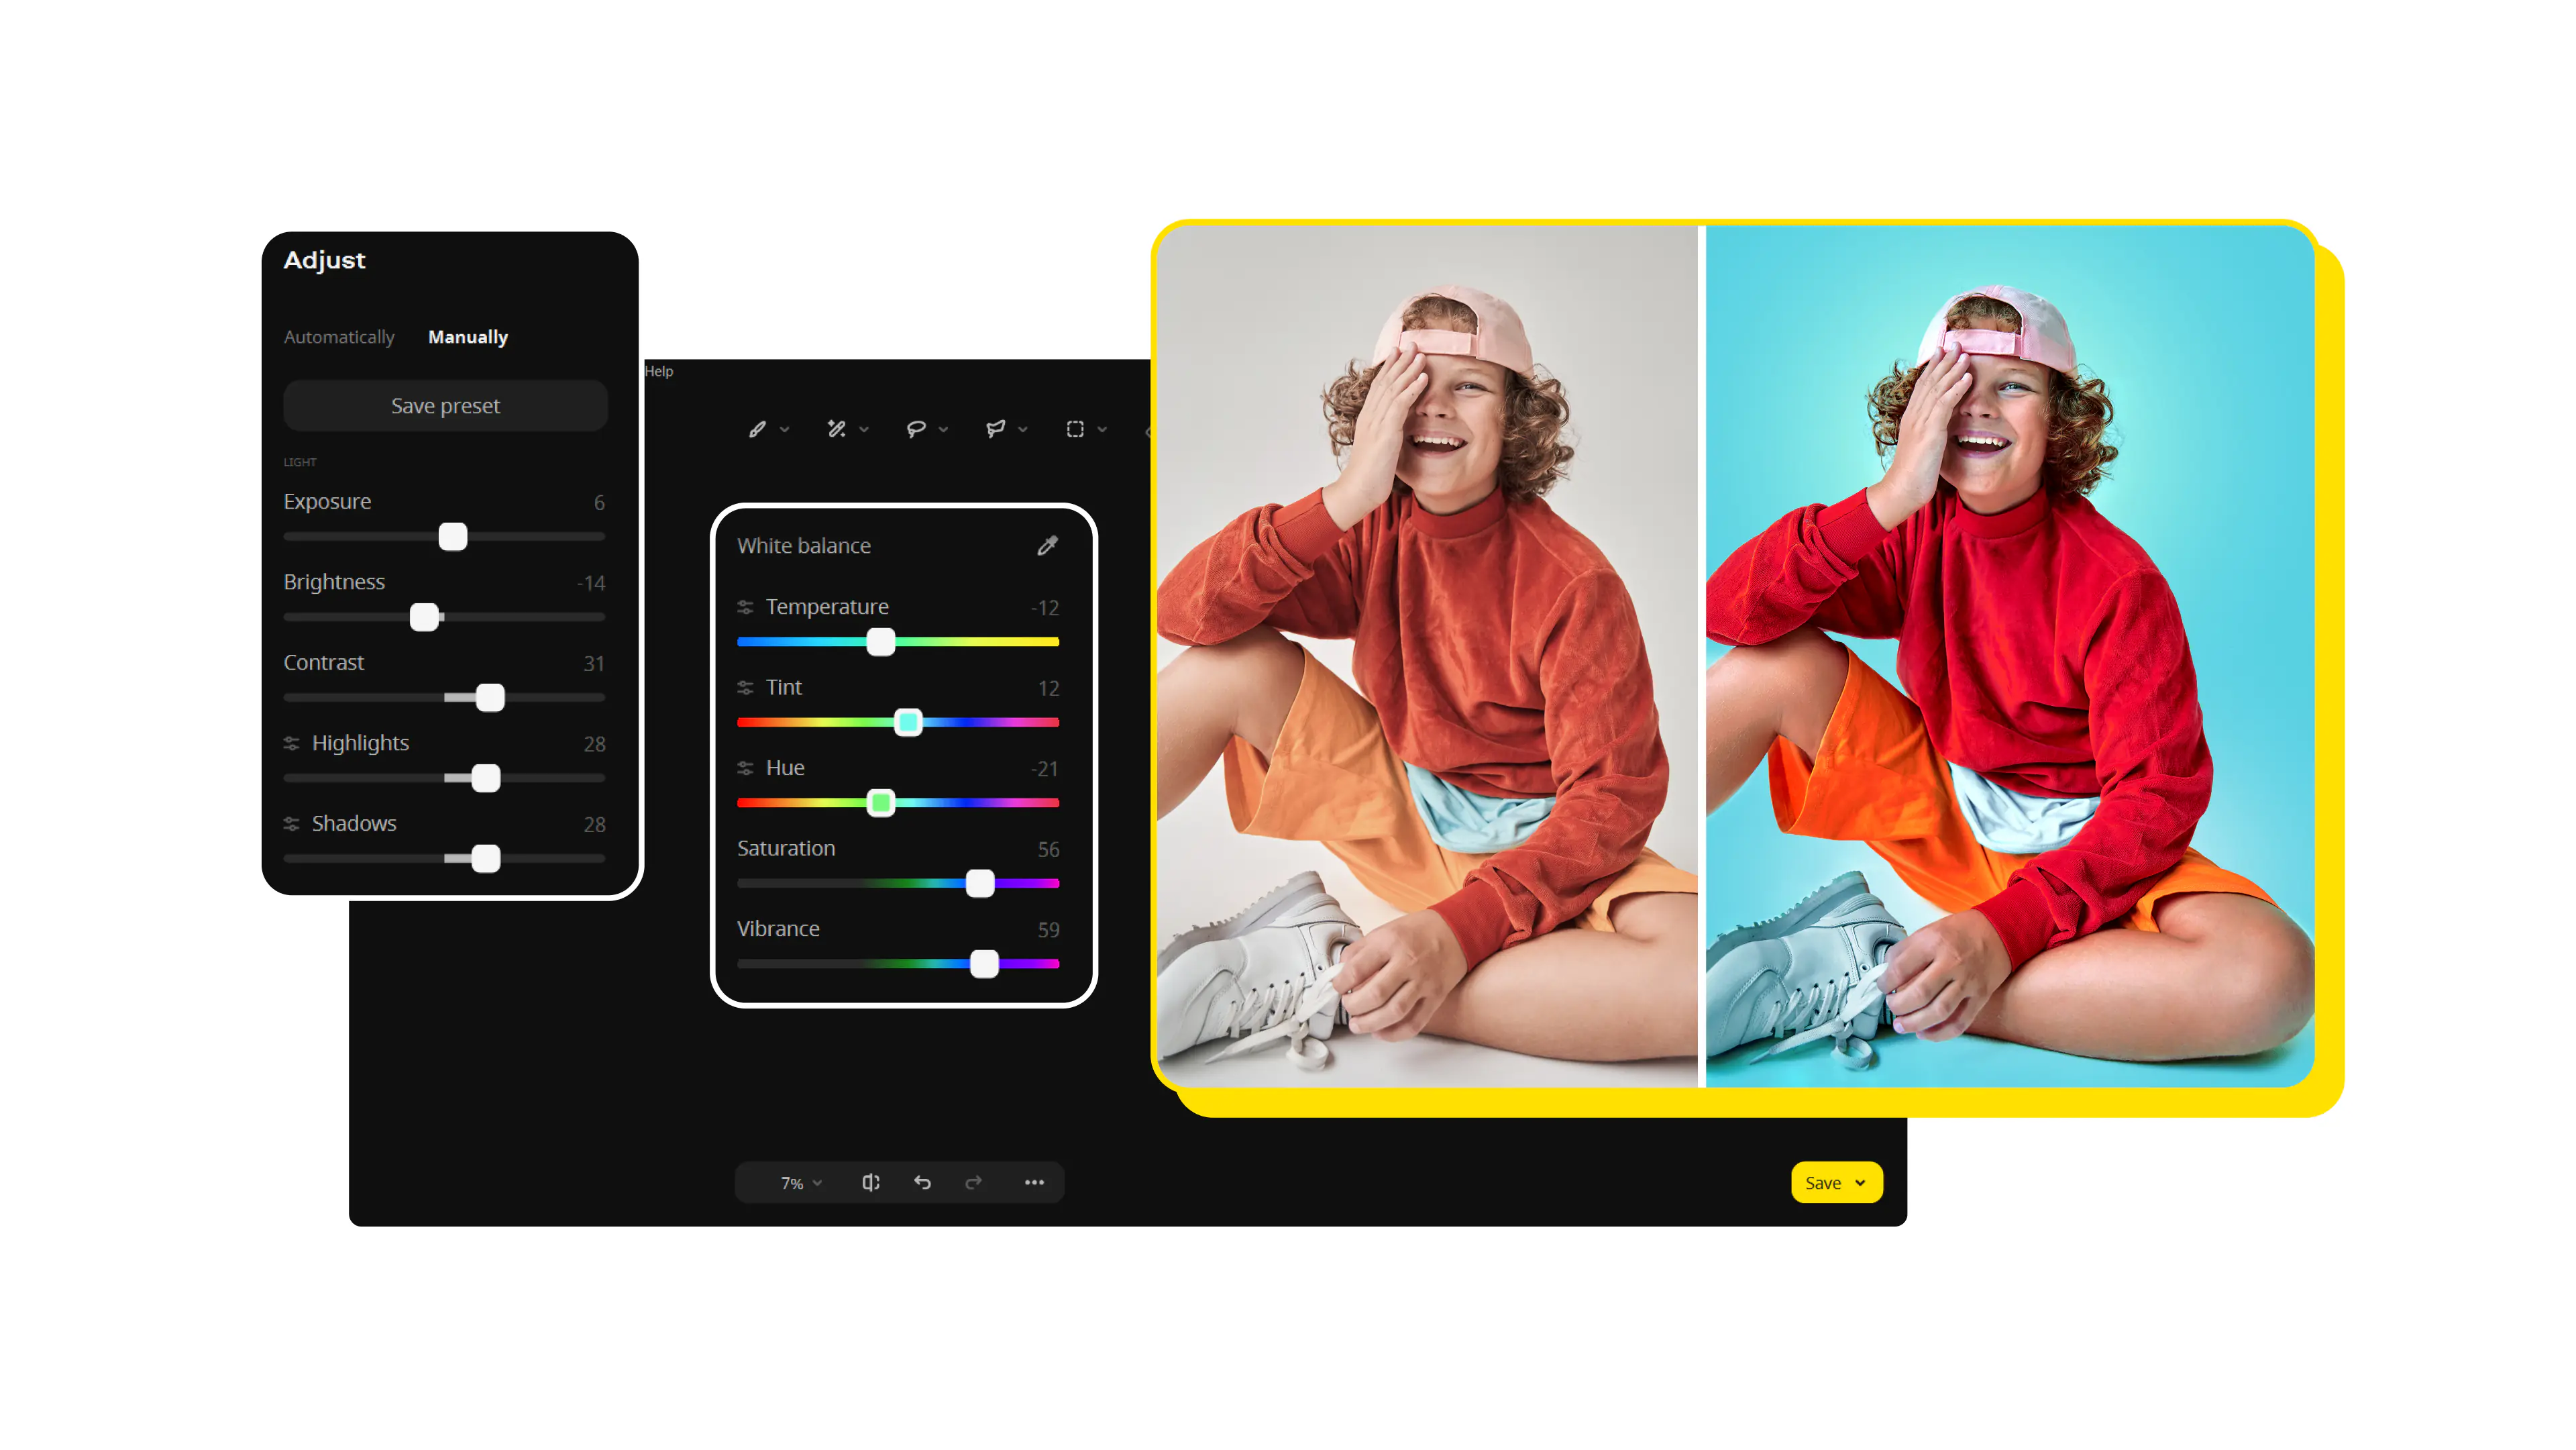
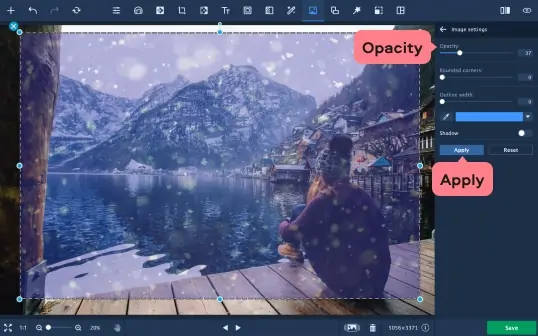
To blend two pictures together or add a texture overlay, you need to change the opacity of the superimposed image. You’ll find the Opacity slider in the right part of the program window. Move the slider until the picture is transparent enough and click Apply.
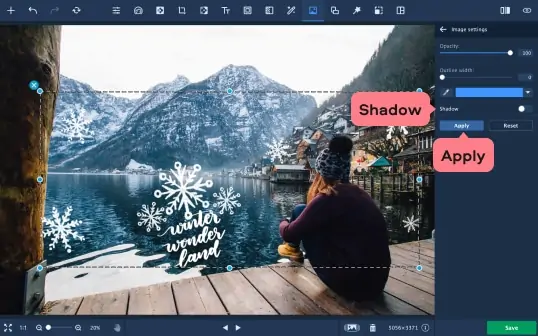
Whether you add an image with a transparent background or a regular picture, use the tools in the right part of the program window to edit it. Besides adjusting the picture opacity, you can also change the outline width and color, and add shadows. When you’ve finished editing, click the Apply button to save changes.
Step 5. Crop the image (optional)
If your two merged images are of different sizes or you want to crop unwanted parts from the merged picture, open the Crop tab and adjust the crop frame manually. You can also enter the desired number of pixels into the Width and Height fields or use the presets. Next, click the Apply button.

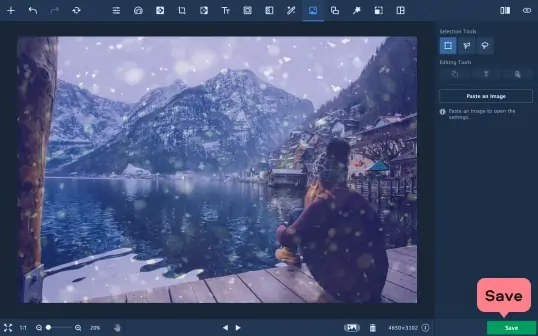
Step 6. Save the edited image
Click Save in the bottom right corner of the program window. Set the appropriate options – file name, format, quality, and destination folder. Then click the Save button.
Now you know the main ways to create an image overlay. You can download ready-made images with transparent backgrounds from the Internet, overlay and blend together any photos, or apply a texture overlay. You can even choose an object on a picture, make the background around it transparent, and then move the object to another picture.
Movavi Photo Editor
A photo overlay is a digital image placed on top of another image, allowing you to create unique and visually appealing effects. Movavi Photo Editor is a powerful tool that lets you easily add overlays to your photos. It offers a wide range of tools, like adjustment layers and blending modes, making it easier to create professional-looking results. This editing software is perfect for both amateur and professional photographers who want to create eye-catching images.
While there are several free apps available, none can match the versatility and quality of Movavi Photo Editor. Movavi Photo Editor stands out because it offers a vast collection of high-quality overlays, including textures, patterns, and shapes. The intuitive interface allows for easy overlay integration, even for users new to photo editing.
If you're looking for the best photo overlay app for your iPhone, consider Movavi Photo Editor. It's designed for use on iOS devices and offers a wide range of overlays and editing features. The app's user-friendly interface makes it easy to add overlays to your photos, regardless of your editing experience. This software is ideal for iPhone users who want to enhance their photos and create unique visual effects.
For the best photo overlay experience on your Android device, choose Movavi Photo Editor. This app is available on the Play Store and offers a wide range of overlay options and intuitive editing tools. With its user-friendly interface, editing becomes effortless, making it an excellent choice for Android users of all skill levels.
Photo overlays are a versatile tool that can be used in many creative ways. Whether you're adding a vintage effect or creating a unique collage, Movavi Photo Editor provides the tools to bring your ideas to life. You can use overlays to add depth and interest to your photos, create unique collages, or even design personalized invitations and cards.
See other useful how-to guides
How to cut a picture
How to rotate a picture
How to shrink picture size
Makeup Photo Editor | Add Makeup to Your Photos Easily
How to Blur a Part of a Picture – Movavi Photo Editor
Best Free Greeting Card Software | Paid and Free Greeting Card Makers
How to Add Text to a Photo | Put Text on Images
How to Remove the Background from a Picture in 6 Simple Steps
What Is White Balance in Photography? White Balance Definition
Raster vs. Vector | What's the Difference?

Have questions?
You may also like
An easy way to record from your screen in HD. Make video footage of any application, record online streaming video, webinars, even Skype calls, and save clips in all popular formats
A comprehensive, streamlined video editing program that has everything you need to create amazing home movies with custom soundtracks, special effects, cool titles, and transitions.
Join us for discounts, editing tips, and content ideas


1.5M+ users already subscribed to our newsletter